Understanding your RV sanitation systems can prevent some foul problems
Motorhomes are self-contained with a fresh water system as well as holding tanks to handle waste water from the various plumbing fixtures. While dealing with waste water isn’t the most glamorous part of owning a motorhome, it is nonetheless an important part. Unlike a residential plumbing system like in your home, an RV has a number of things that have to be kept in mind and taken care of or else you’ll be in for a few messy and smelly problems. Fortunately, it’s not that bad if you understand how things work and pick up a few tips to help keep them working as it should. Let’s first look at how an RV’s waste water system is constructed.
Your RV Has Two Water Systems – Not One
To begin with, there are really two systems, not just one. The gray water system handles the waste water from the sink drains, shower drain and dishwasher, if equipped. The black water system handles the waste from the toilets. This method provides for two separate holding tanks, one to hold the black water and one to hold the gray. The reasoning behind this began in the early days of RV use. Drainage from sinks and showers contributed more volume than waste water from the toilets and needed to be drained more frequently. In addition, the gray water was relatively clean and could oftentimes be allowed to drain onto the ground, although many locations no longer allow that due to local public health laws. On the other hand, the black water wasn’t very sanitary and needed to be disposed of in a proper dump station or sewer connection. Having the two separate tanks made it possible to have multiple dump cycles rather than dumping all the waste at the same time. Another benefit to the two-tank system is that the gray water tank is relatively clean because it’s mostly soapy water while the human waste and toilet paper found in the black tank can cake up inside the tank walls, causing tank level sensors to foul and give errant readings.
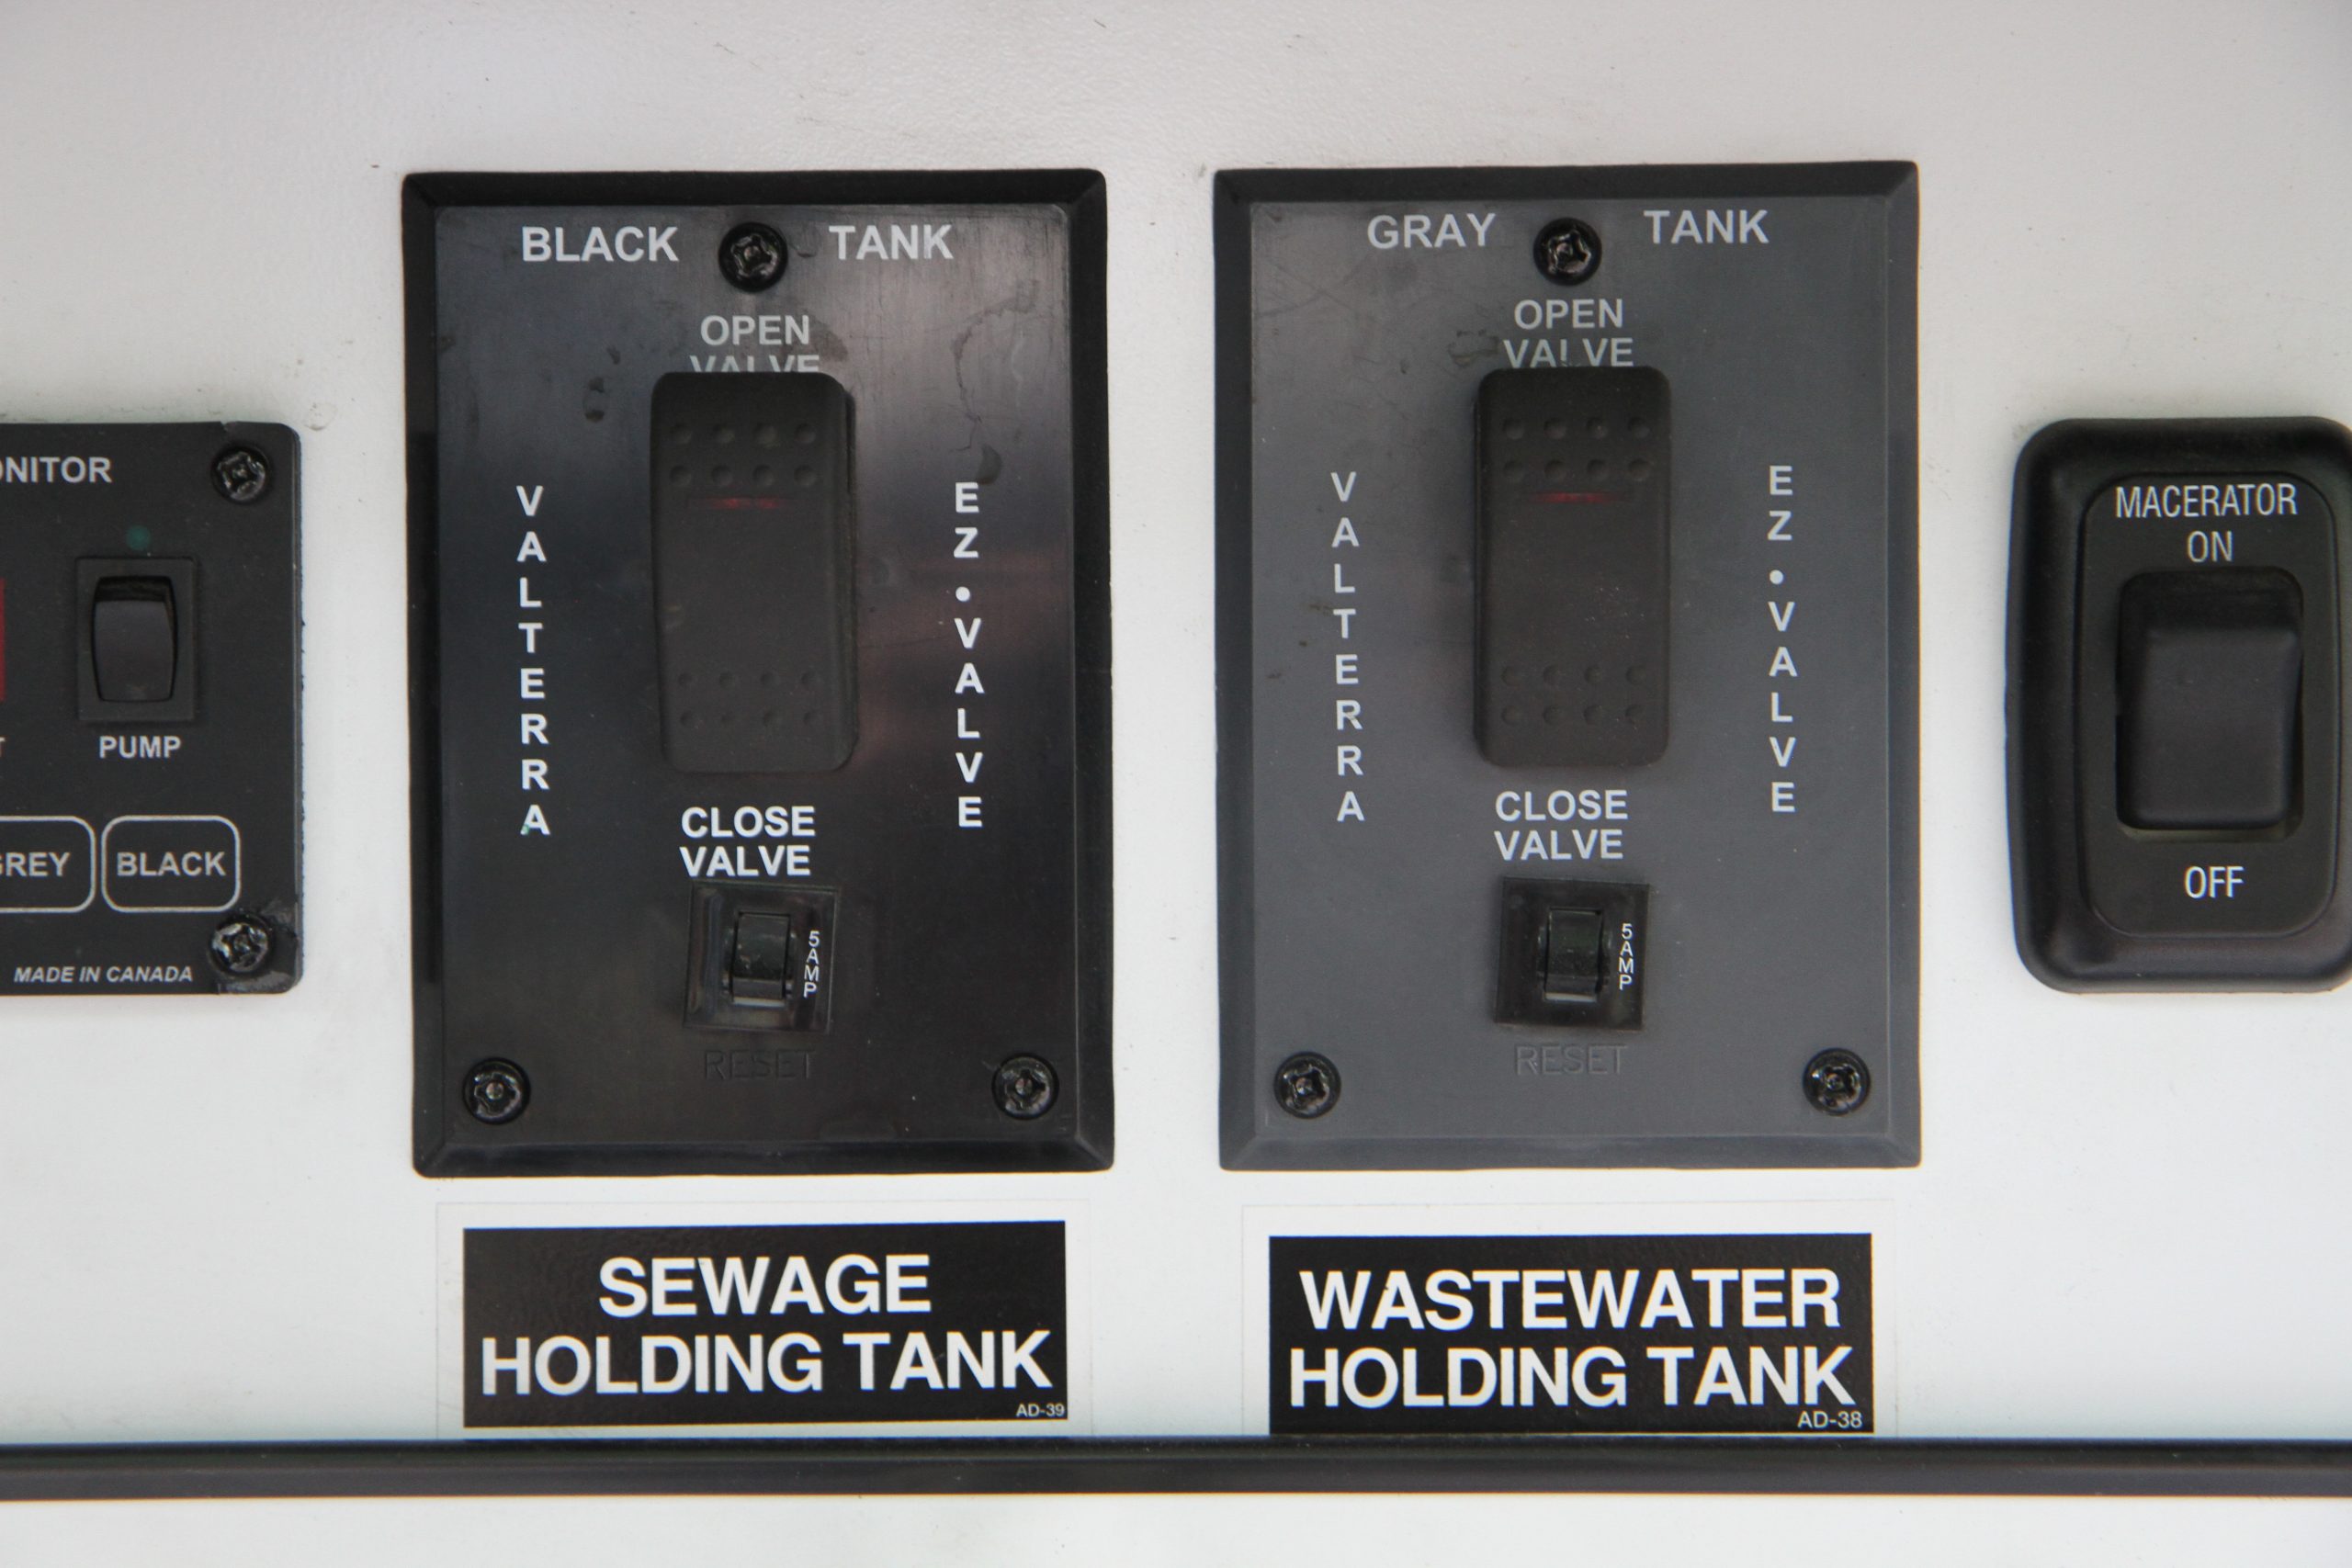
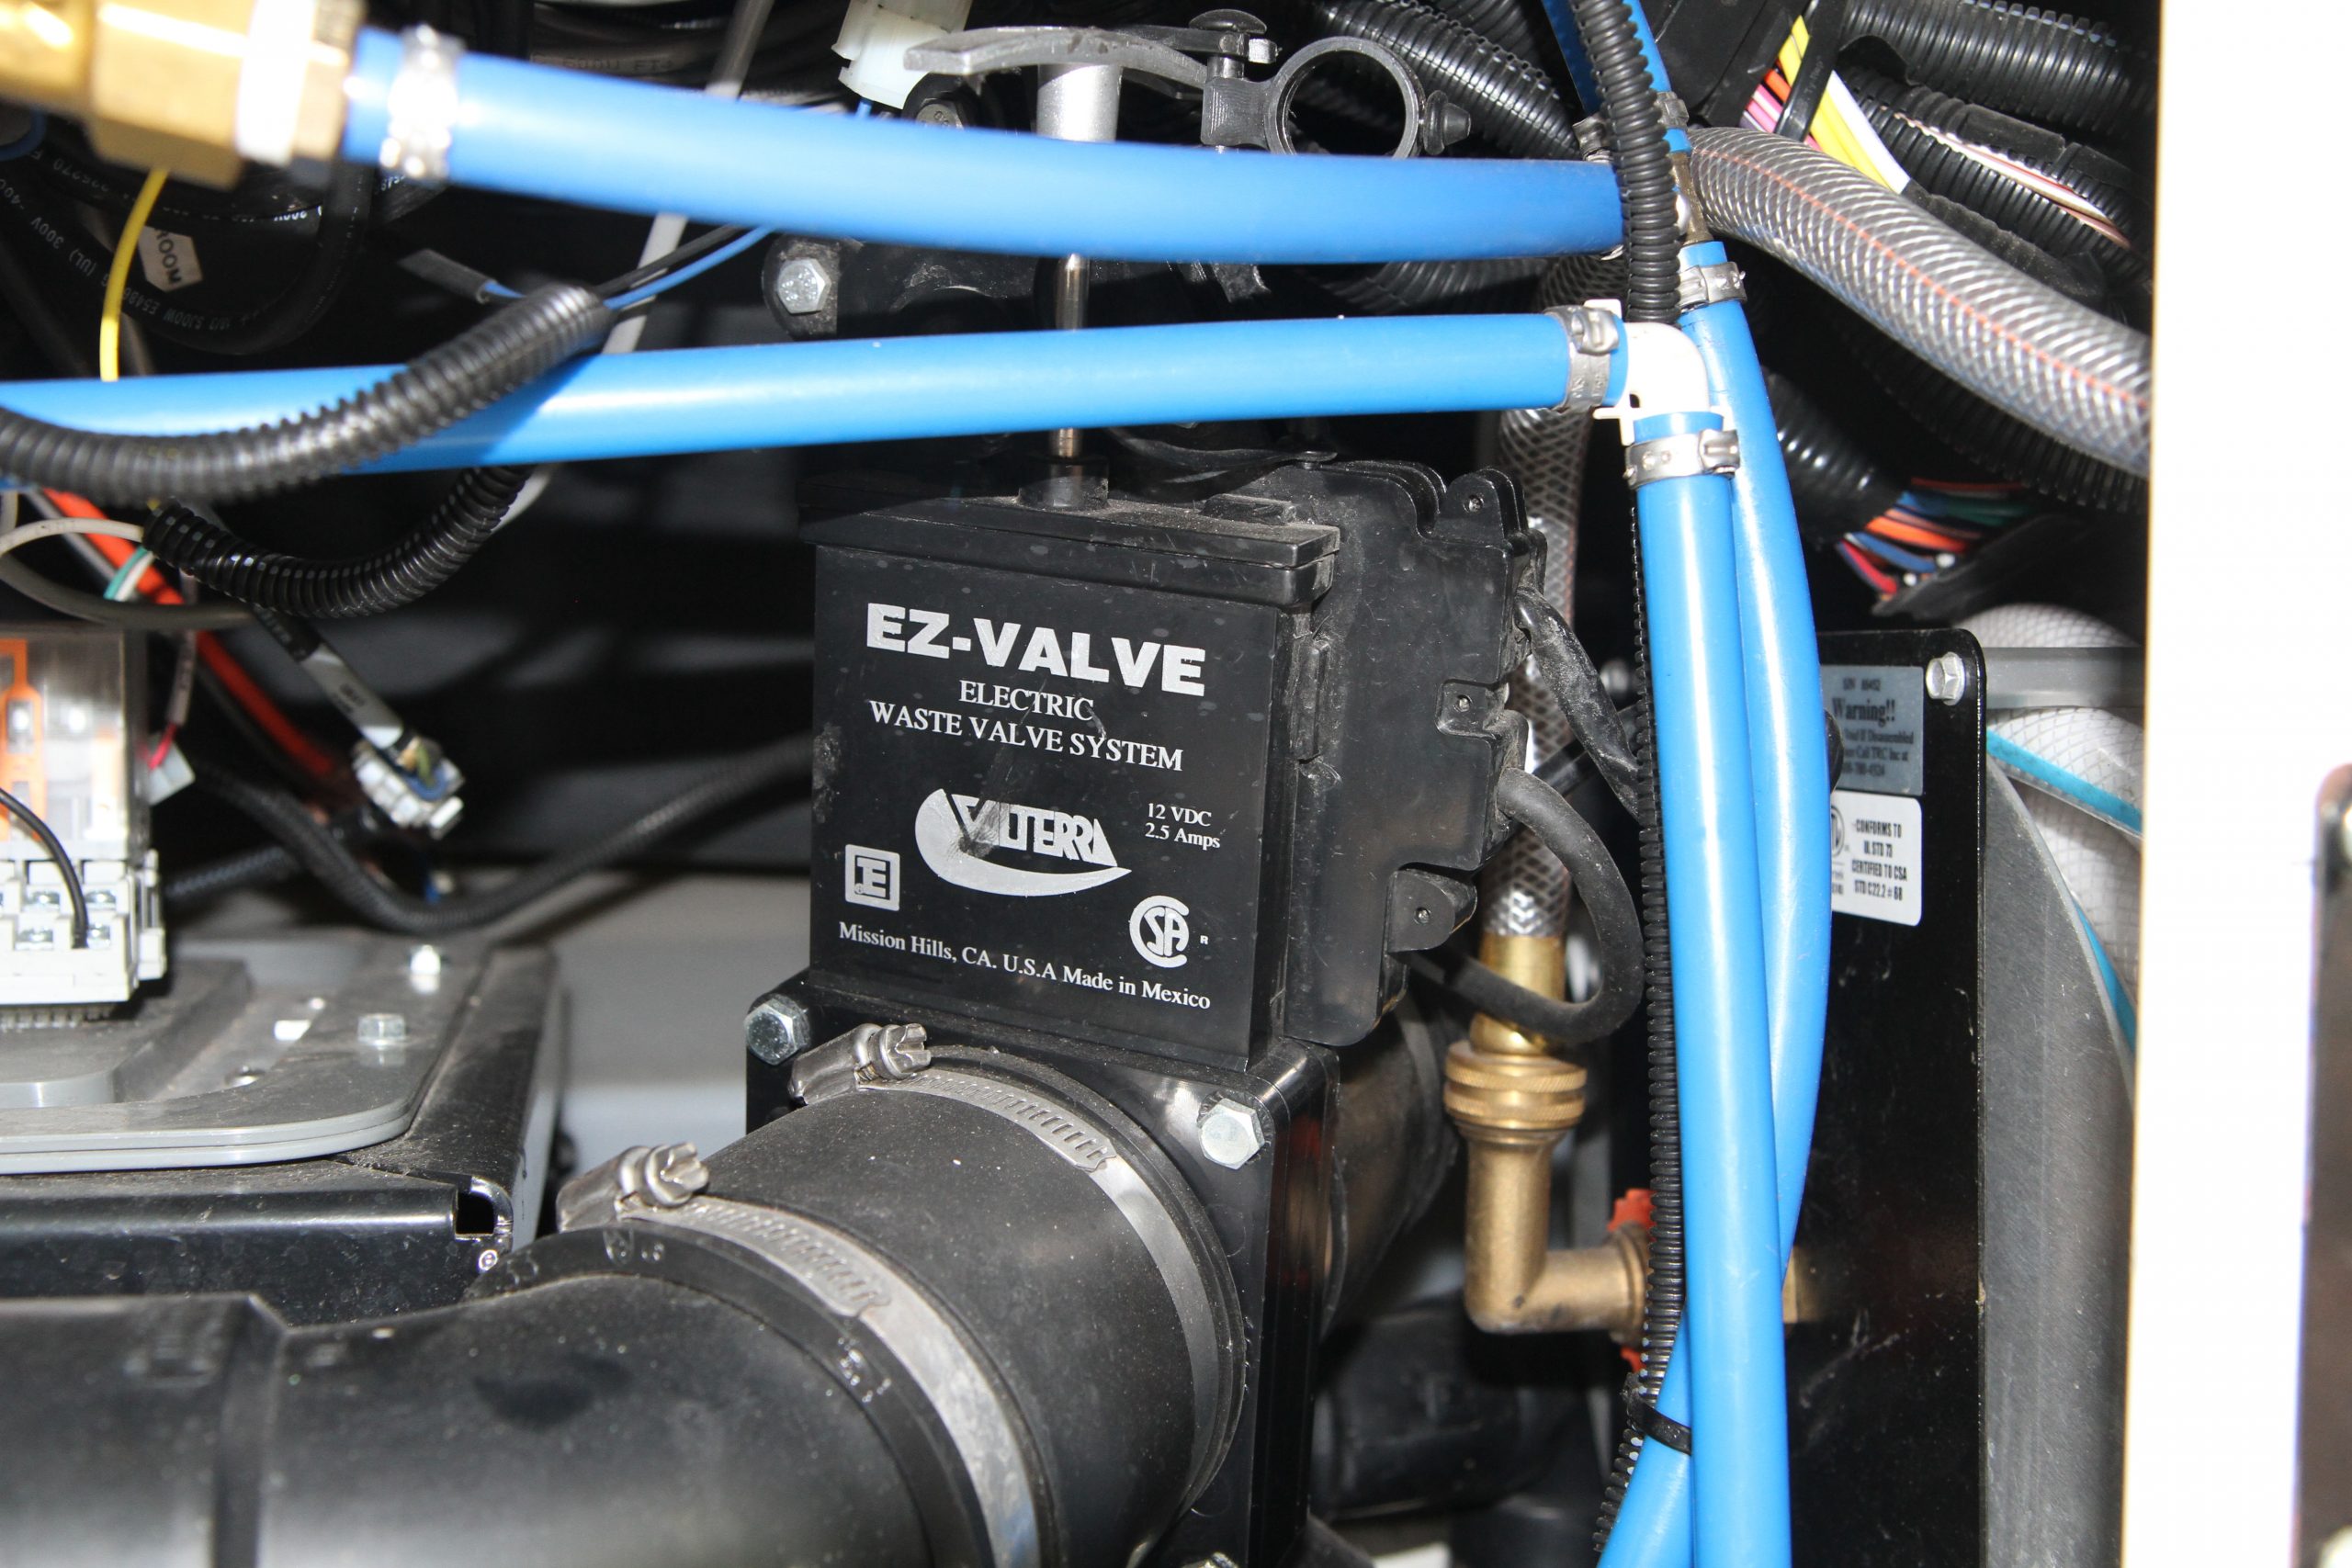
The vast majority of motorhomes have a single sewer connection used to connect the sewer hose to the holding tanks. A pair of dump valves, one for each holding tank, connects via a wye connector to this common outlet. These valves are blade type valves to prevent clogging and can be either manually operated or electrically operated with a remote switch.
A set of remote electric dump valve switches in our Entegra Coach.
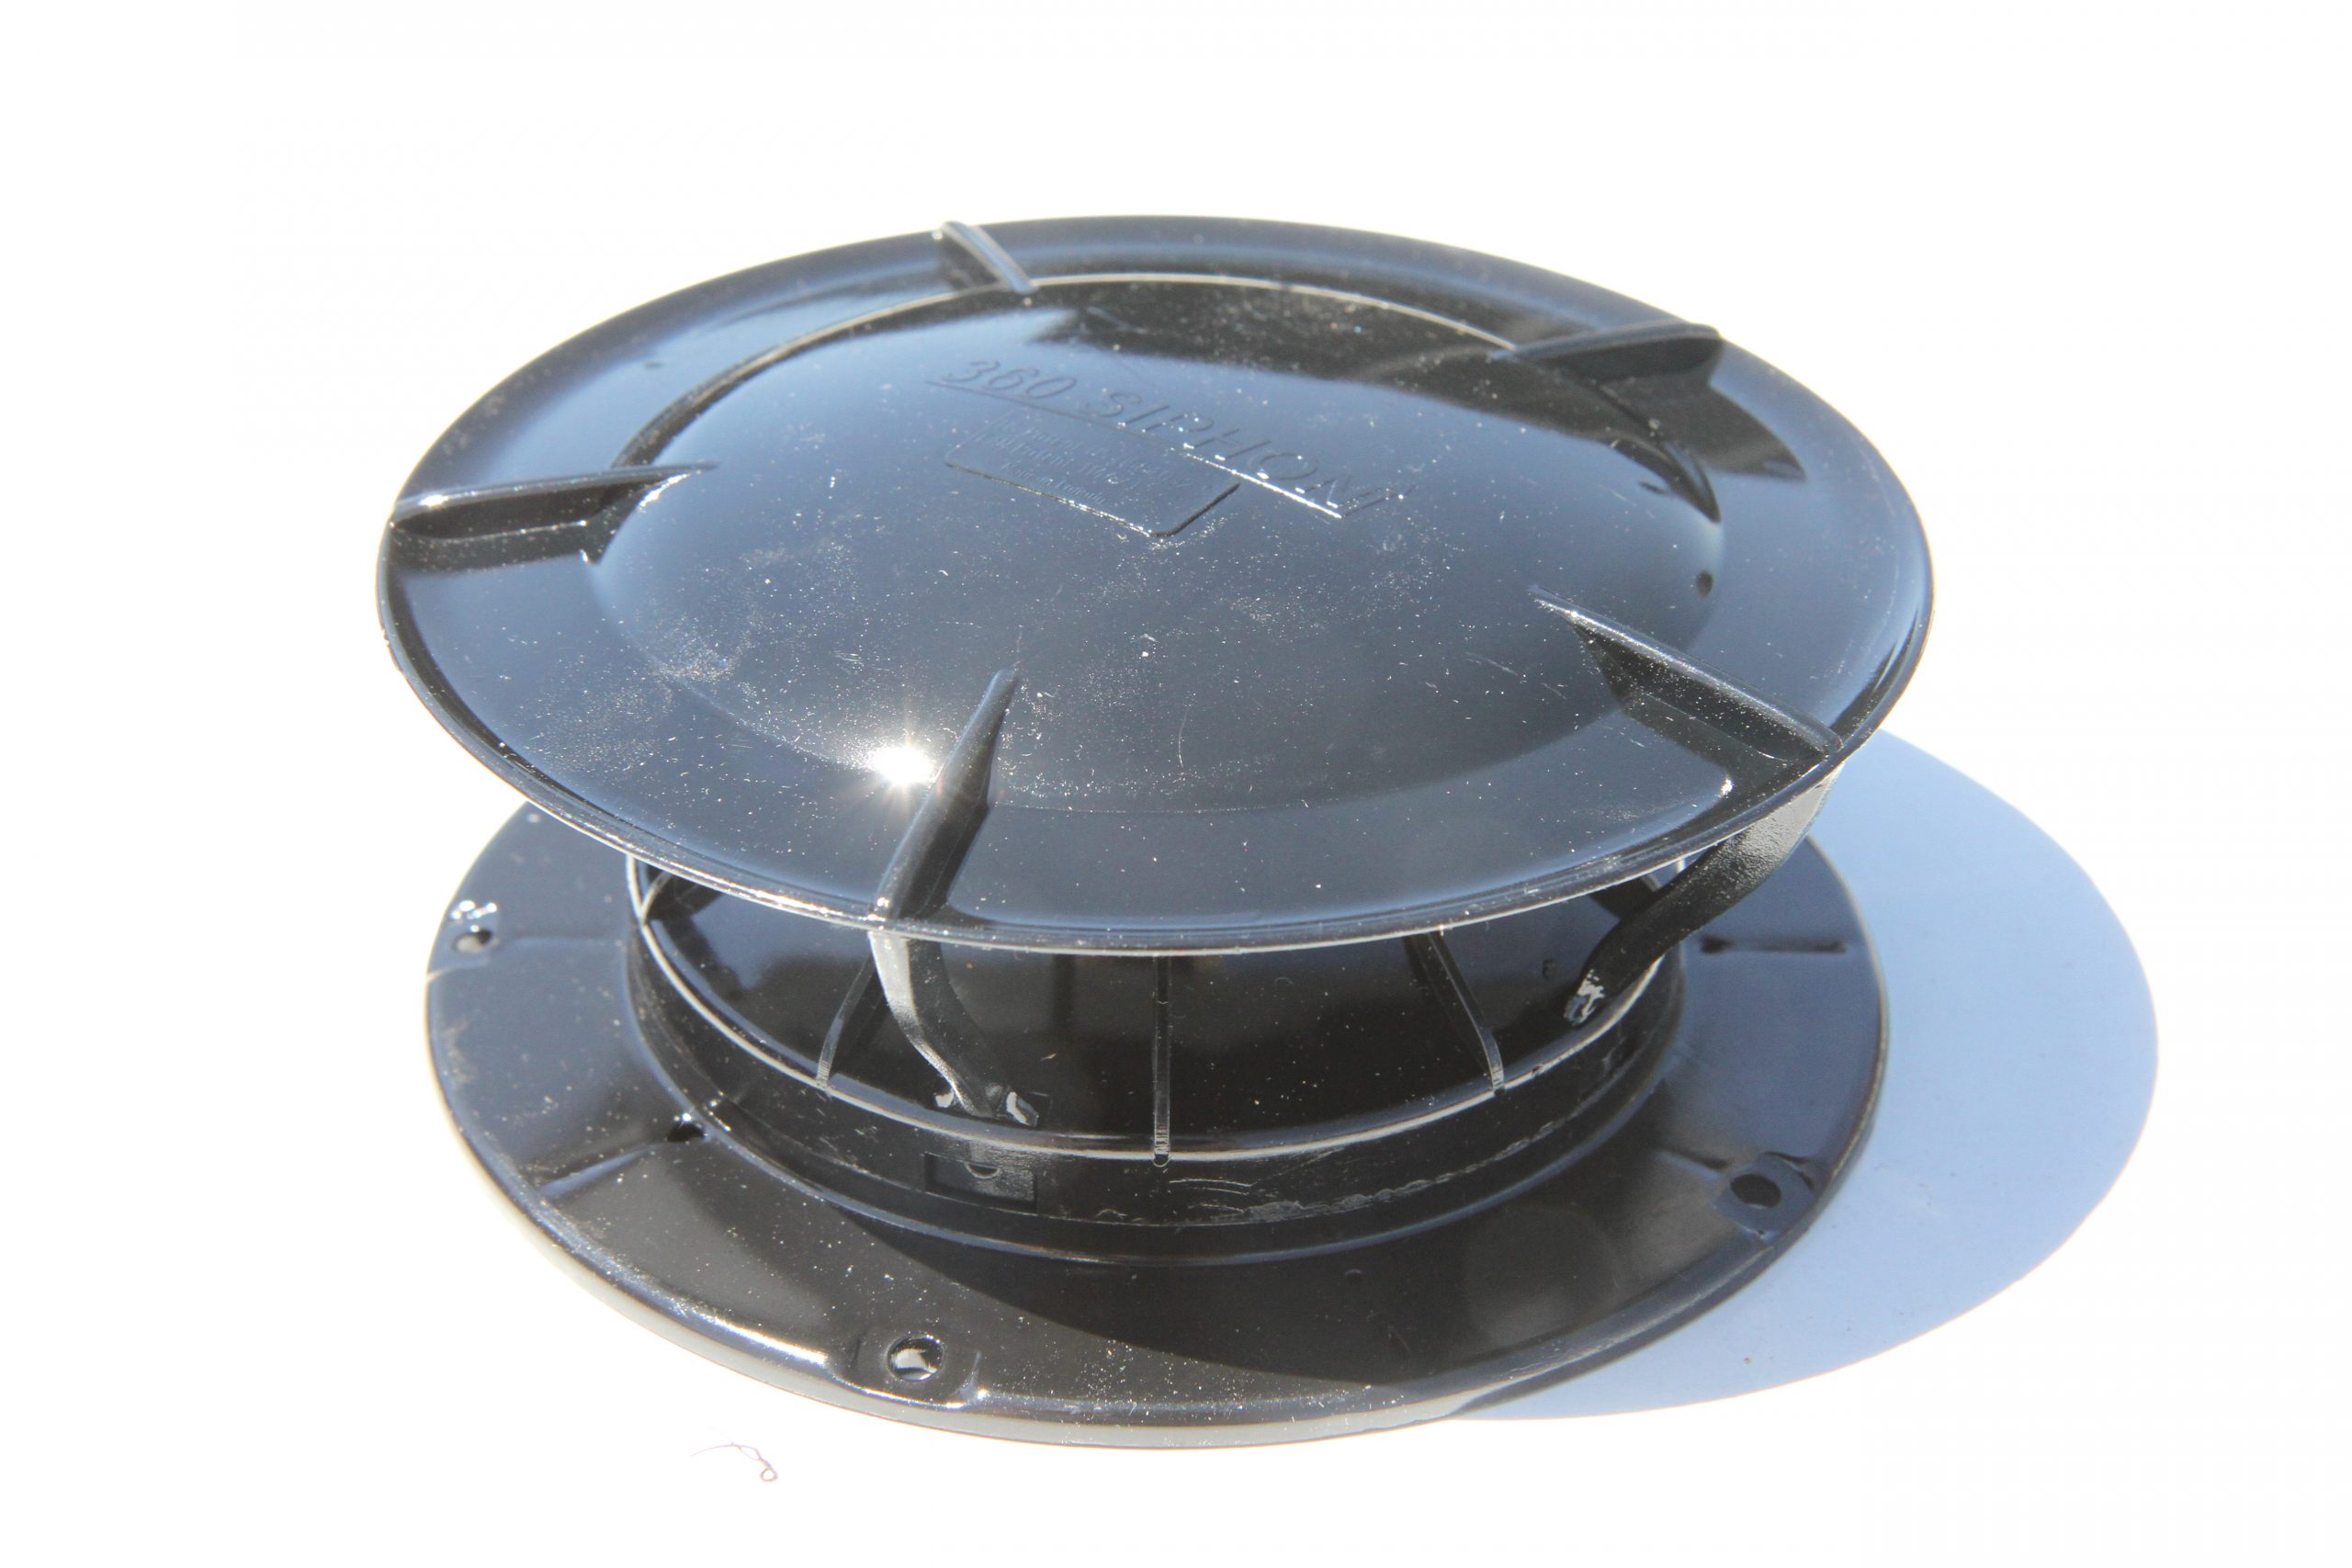
Each tank is connected to a vent stack that extends out of the roof to eliminate a vacuum from forming in the tank when draining and expansion as the tank is being used. It also allows for odors to vent from the tank. You may have a pair of vent stacks for the two holding tanks, or they may be tee’d together into one common vent stack. A hood is applied to the vent stack to prevent rainwater or debris from entering the tanks via the vent stack. These hoods can be simple rain caps or venturi style fittings that allow the wind to help ventilate the tanks.
Rooftop vents, such as this 360 Siphon, are required to ventilate the holding tanks and provide makeup air when draining the tanks.
Sensors
Of course, you’d never know when you have to dump your holding tanks without some kind of indicator. Early tank designs used three sensor probes that were inserted into the tank. One was located at the one-third level, another at the two-thirds level and one at the very top of the tank. These sensors were inserted through the sidewall of the tank and would conduct electricity when wet. A wiring harness connected them to a monitor panel inside the coach to display the tank levels. If the tank was full, all four LEDs would illuminate. If the fluid level in the tank reached the two-thirds level, only three LEDs would light up. At one-third, only two would light up and if below one-third, only the bottom “empty” LED would be lit.
This system worked for years but had a few drawbacks. For one, the sensors easily fouled and gave false readings, so it was imperative to keep the tanks as clean as possible. Another concern was their accuracy. If the tank level was just below the two-thirds sensor, it would register one-third full on the display. You might think you have plenty of room left in the tank but all you had to do was add a little bit of water to the tank and it instantly jumped to two-thirds full, so you never really knew exactly how full the tank was.
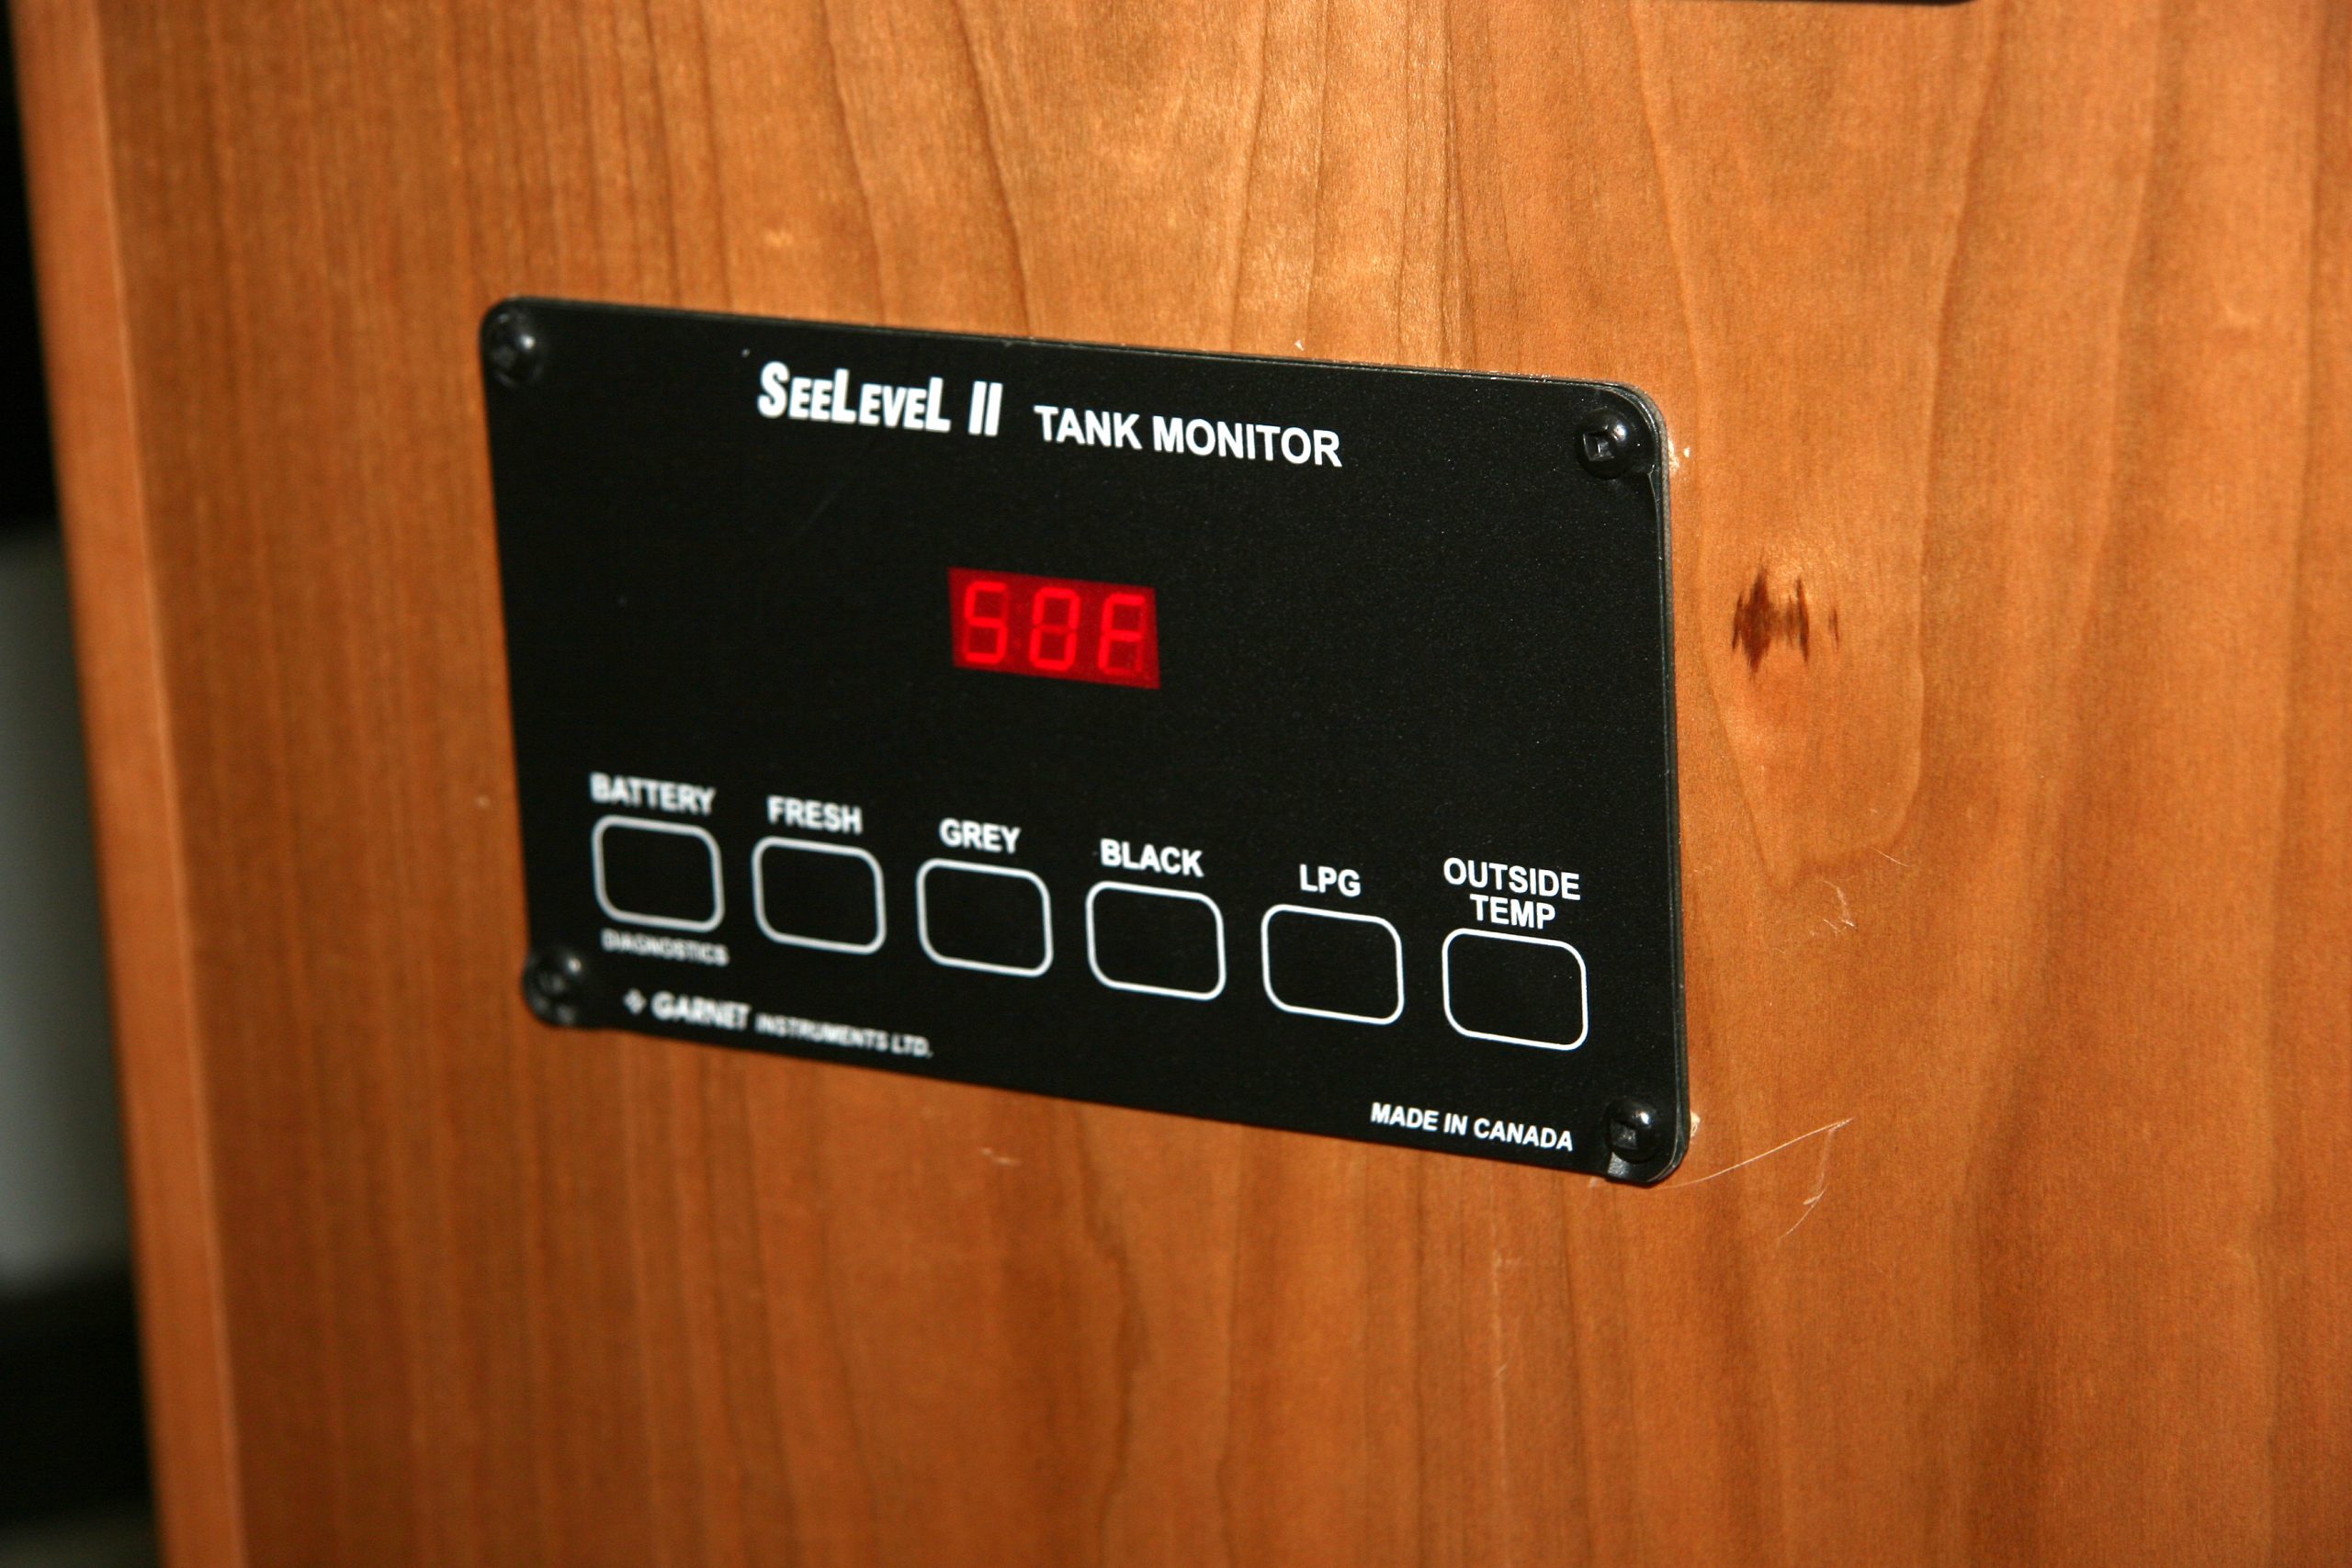
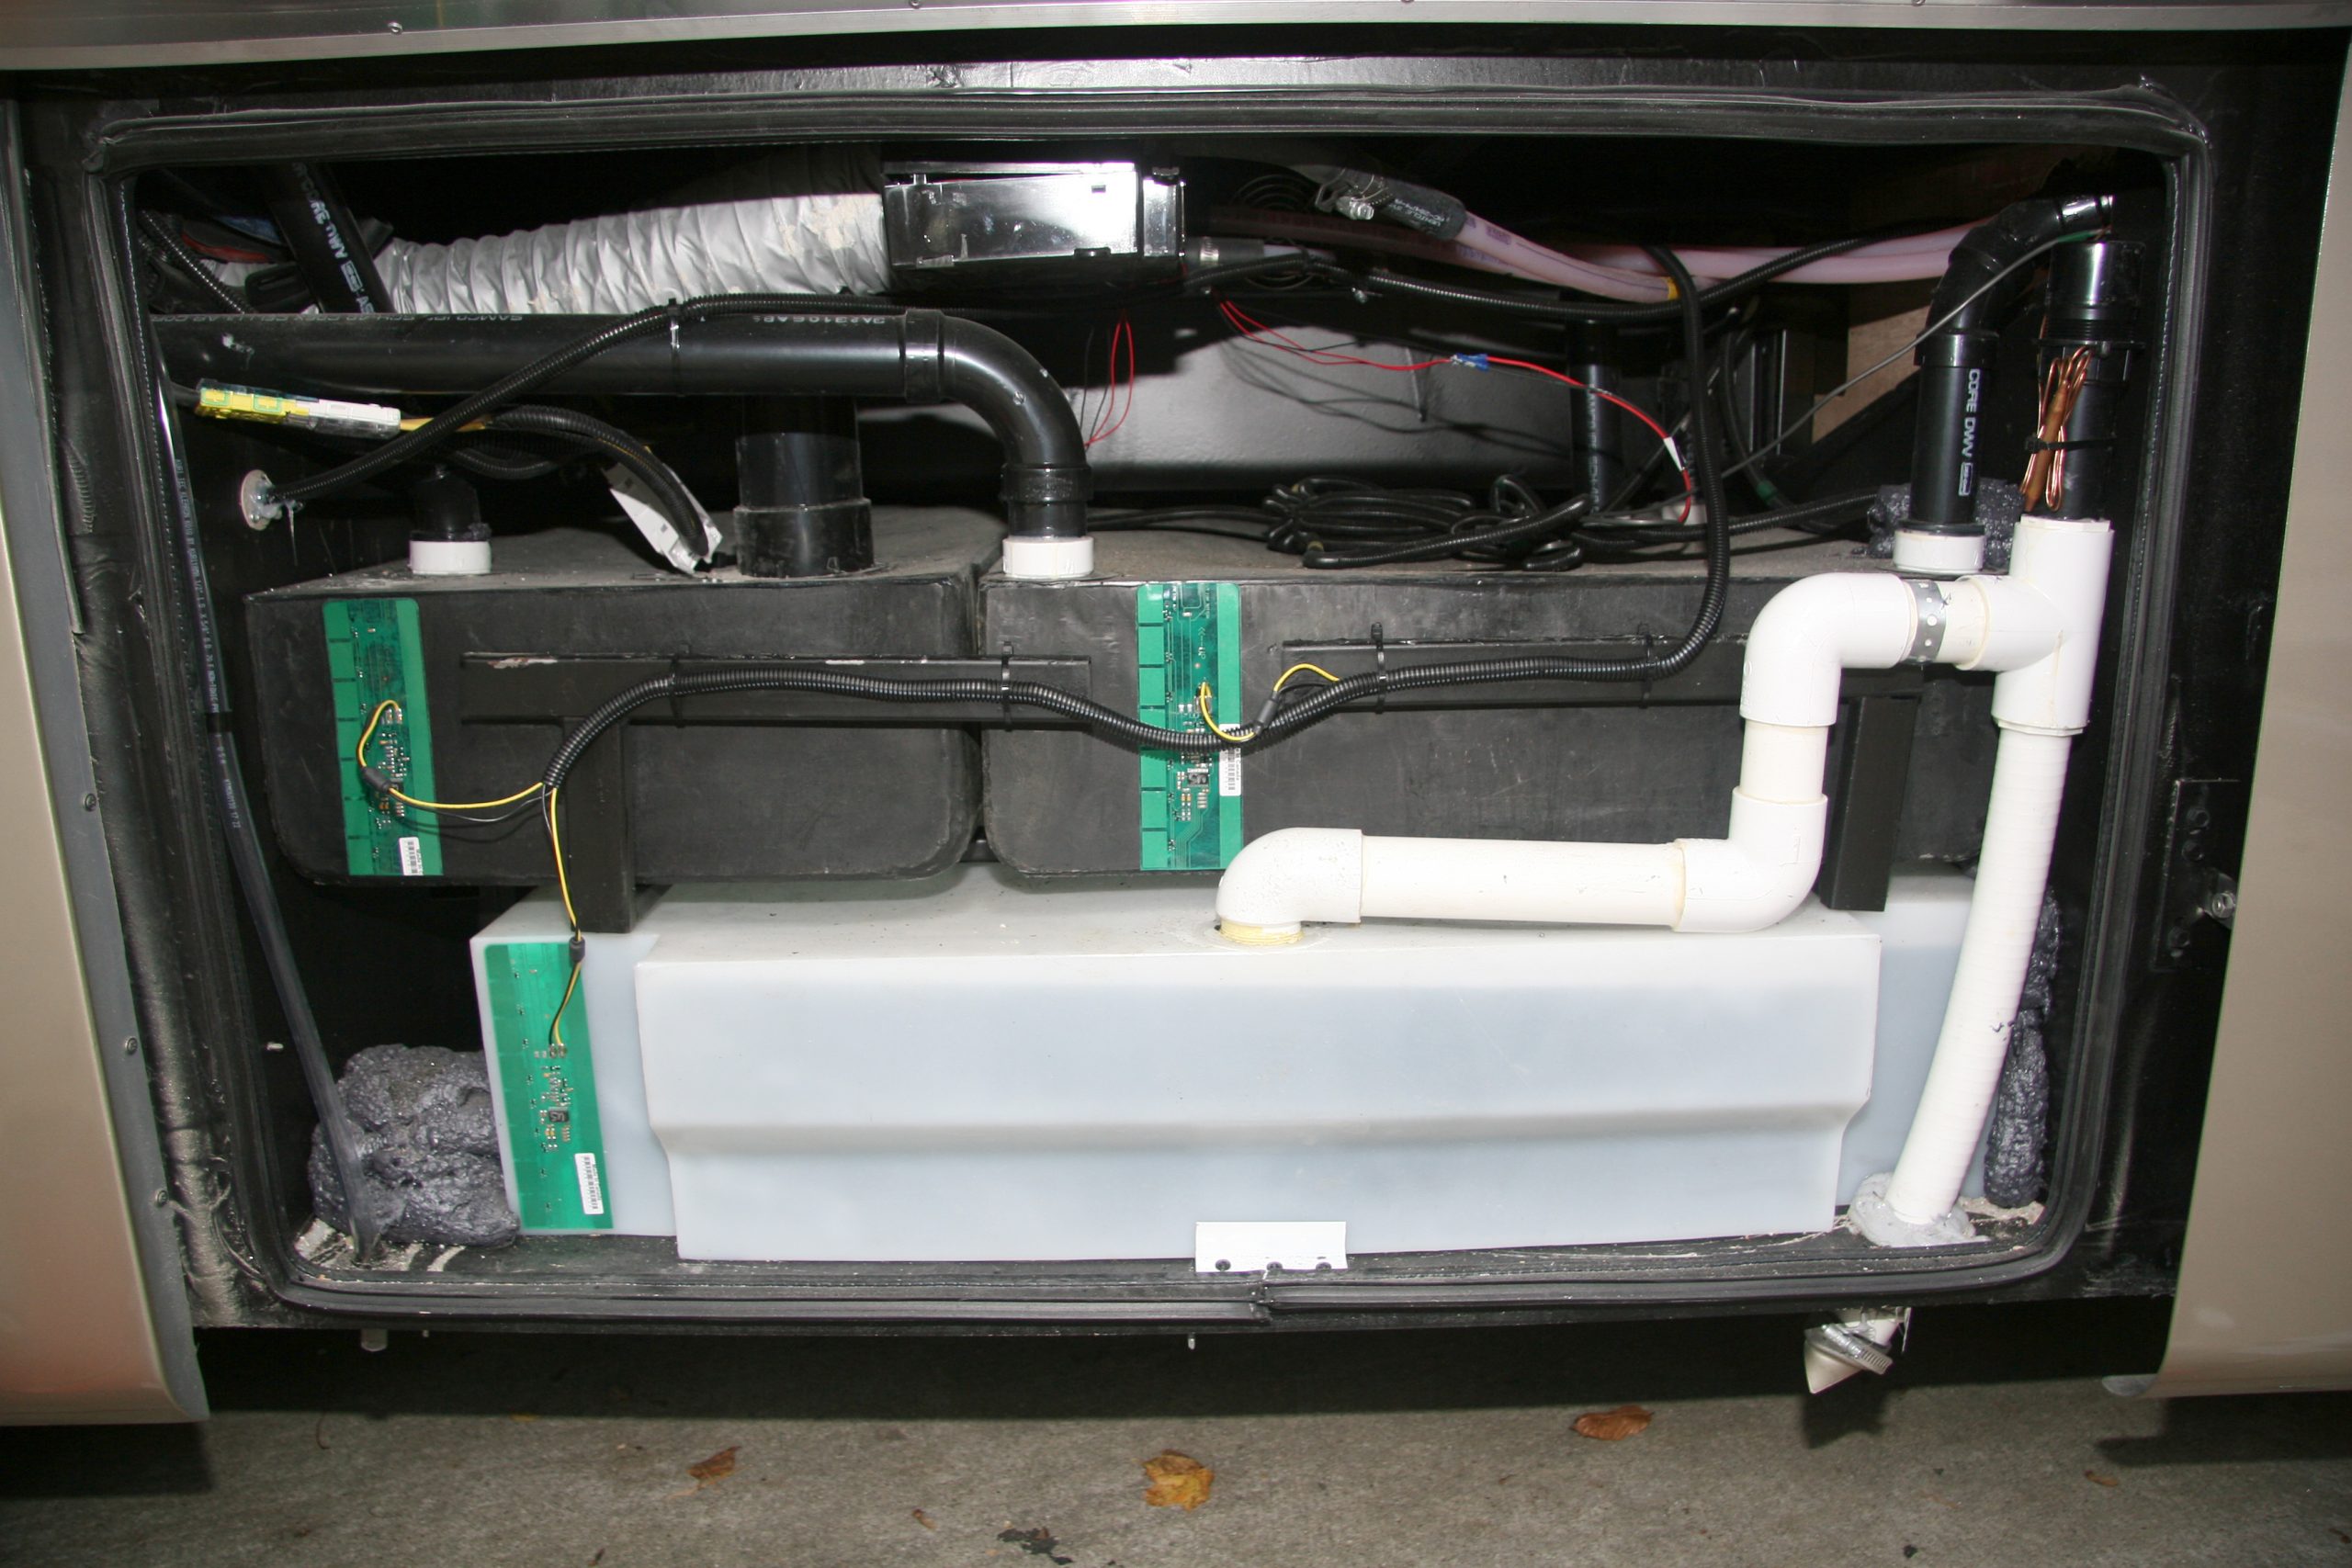
The next big improvement was the SeeLevel tank measurement system. This system used external sensors that used adhesive to attach to the outside of the tank. These sensors were full length and used radio waves to determine the precise level of the tank’s contents.
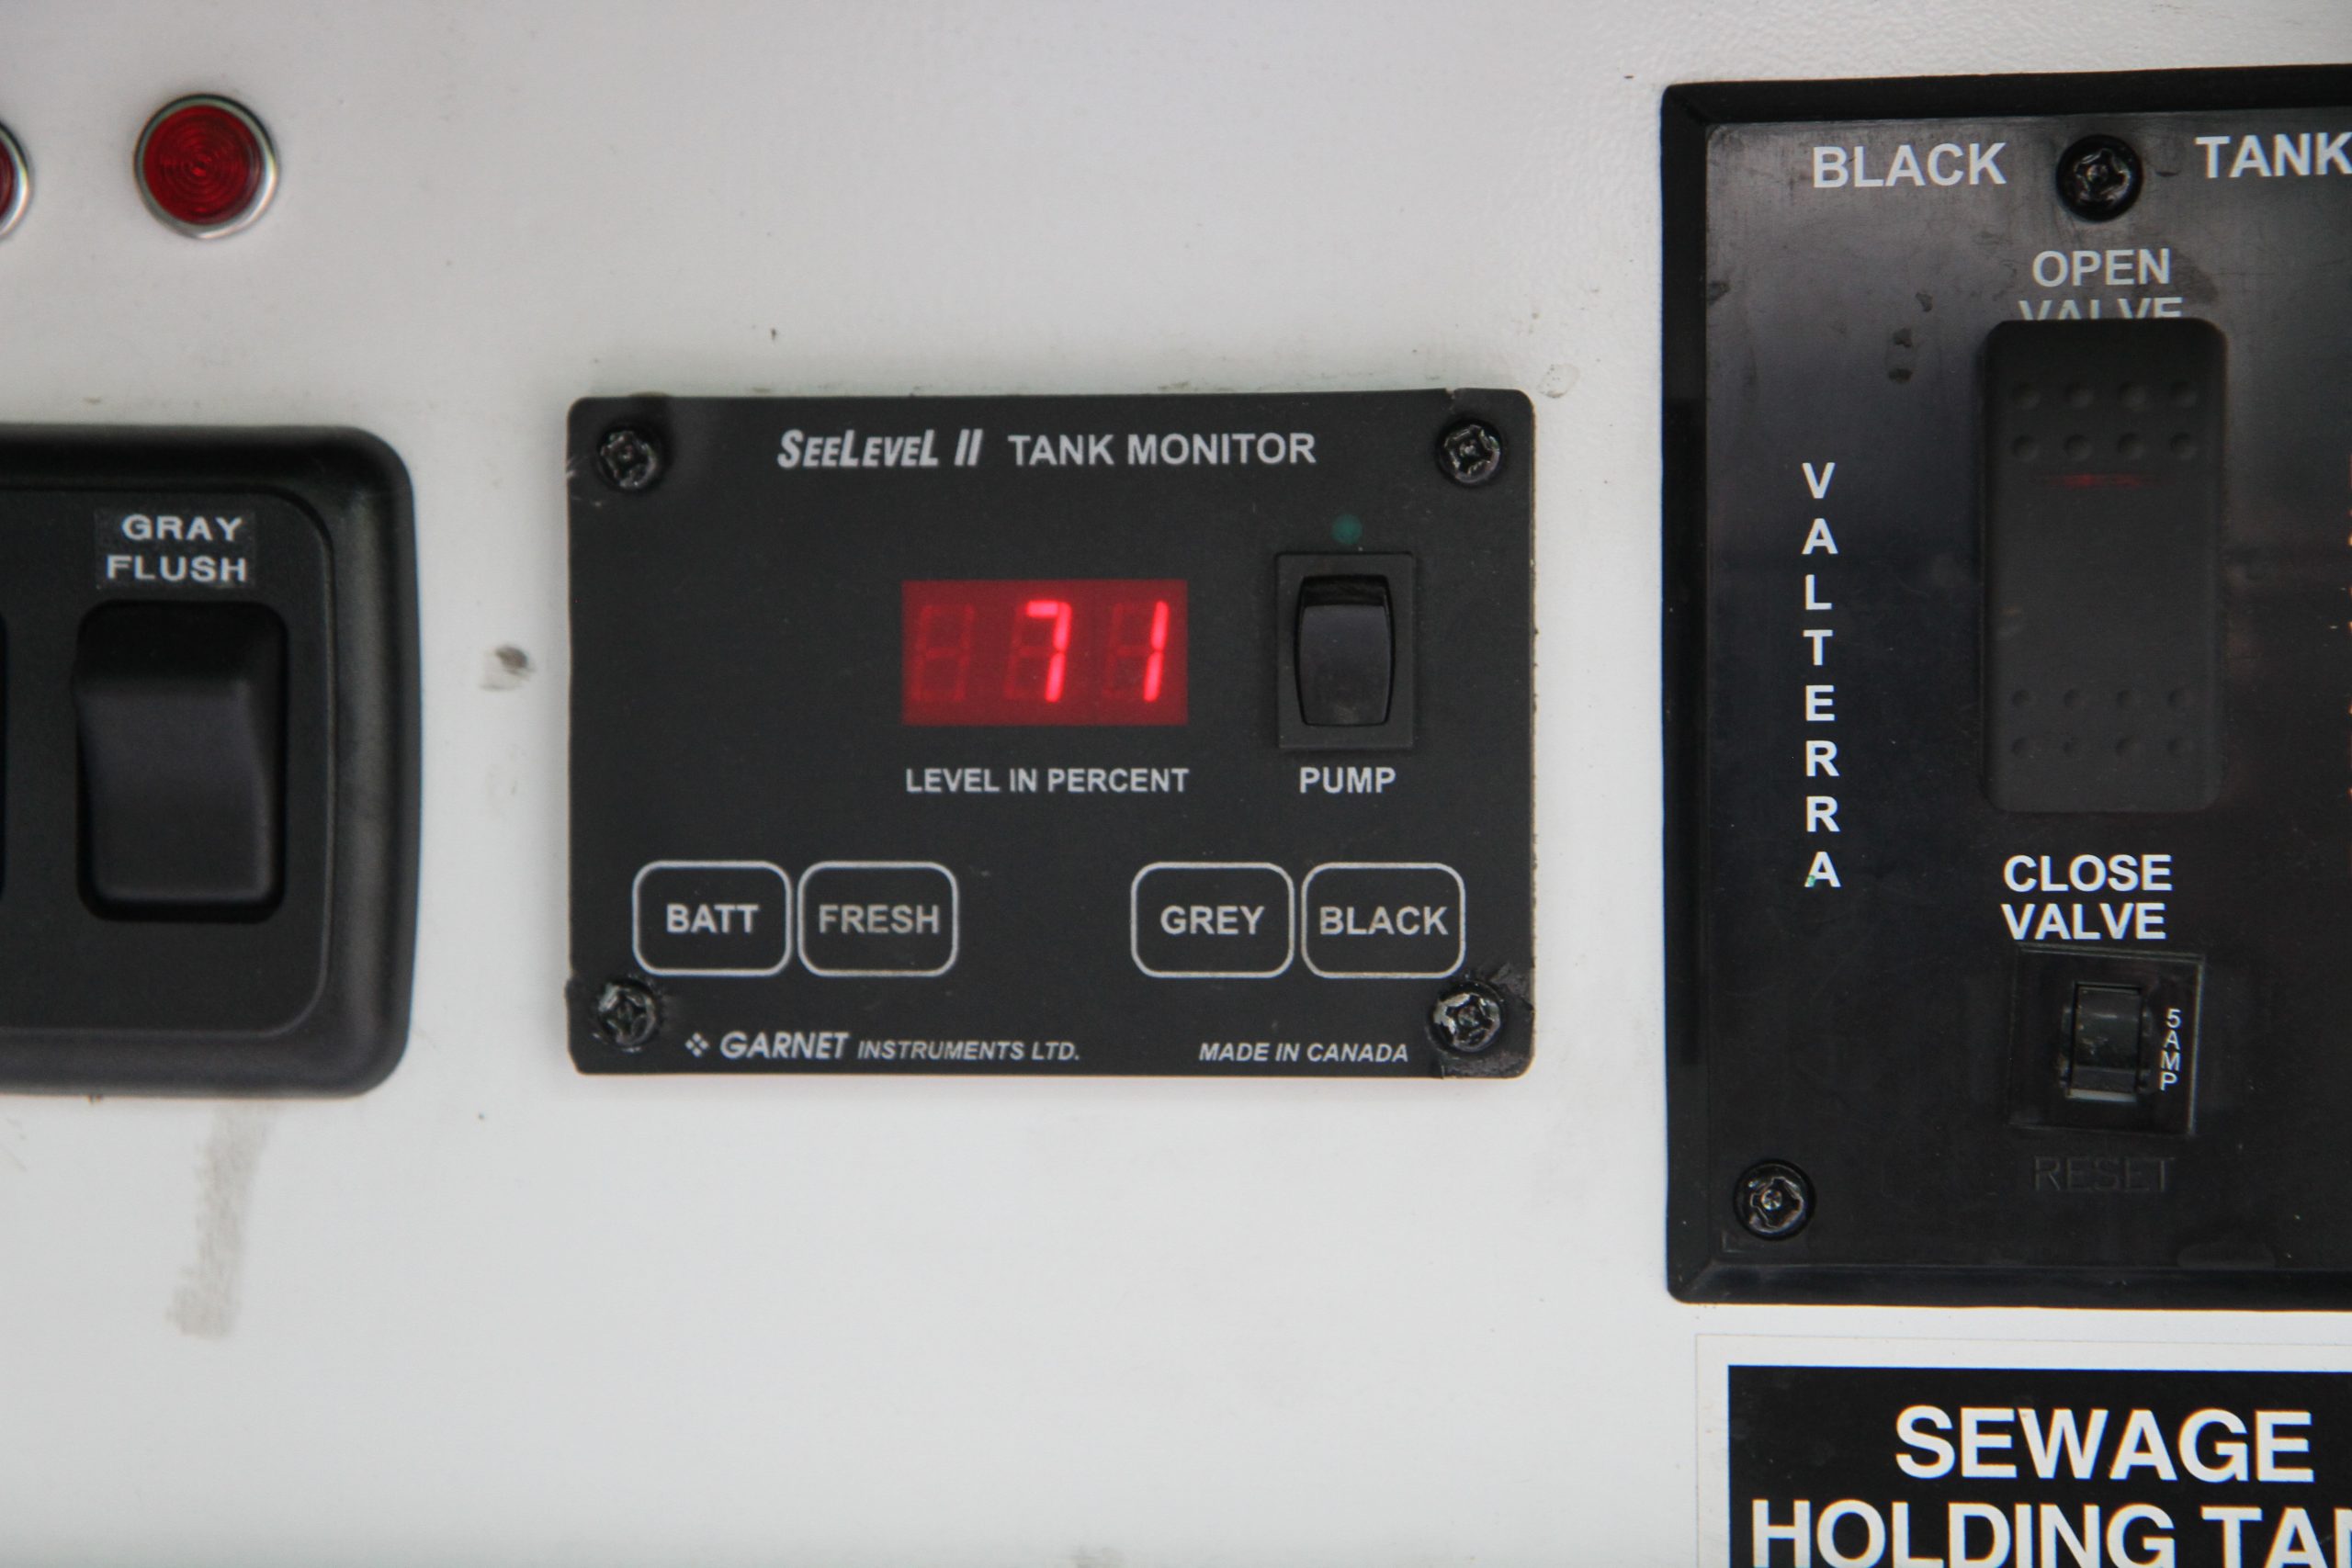
The SeeLevel system uses digital sensors that are externally mounted to the tank and displays the levels in 2% increments on a digital display within the coach.
A second SeeLevel display panel can be mounted in the wet bay to monitor tank levels when draining or filling the tanks.
In addition, the external mount prevented the sensor from fouling. The only time an errant reading was displayed was if the inside tank wall was seriously caked up and needed a major cleaning. The display panel inside the coach was a digital display that reported in actual percentages, usually with 2-4% accuracy. The displays were available in multiple configurations that could cover the LP tank level if needed as well as switches for water pumps. Multiple displays meant you could have one display inside the coach with a second display in the wet bay. Eventually this sensor technology also found its way into the multiplex wiring systems, such as Firefly’s VegaTouch system, so that it could be displayed on their central touch screen panel.
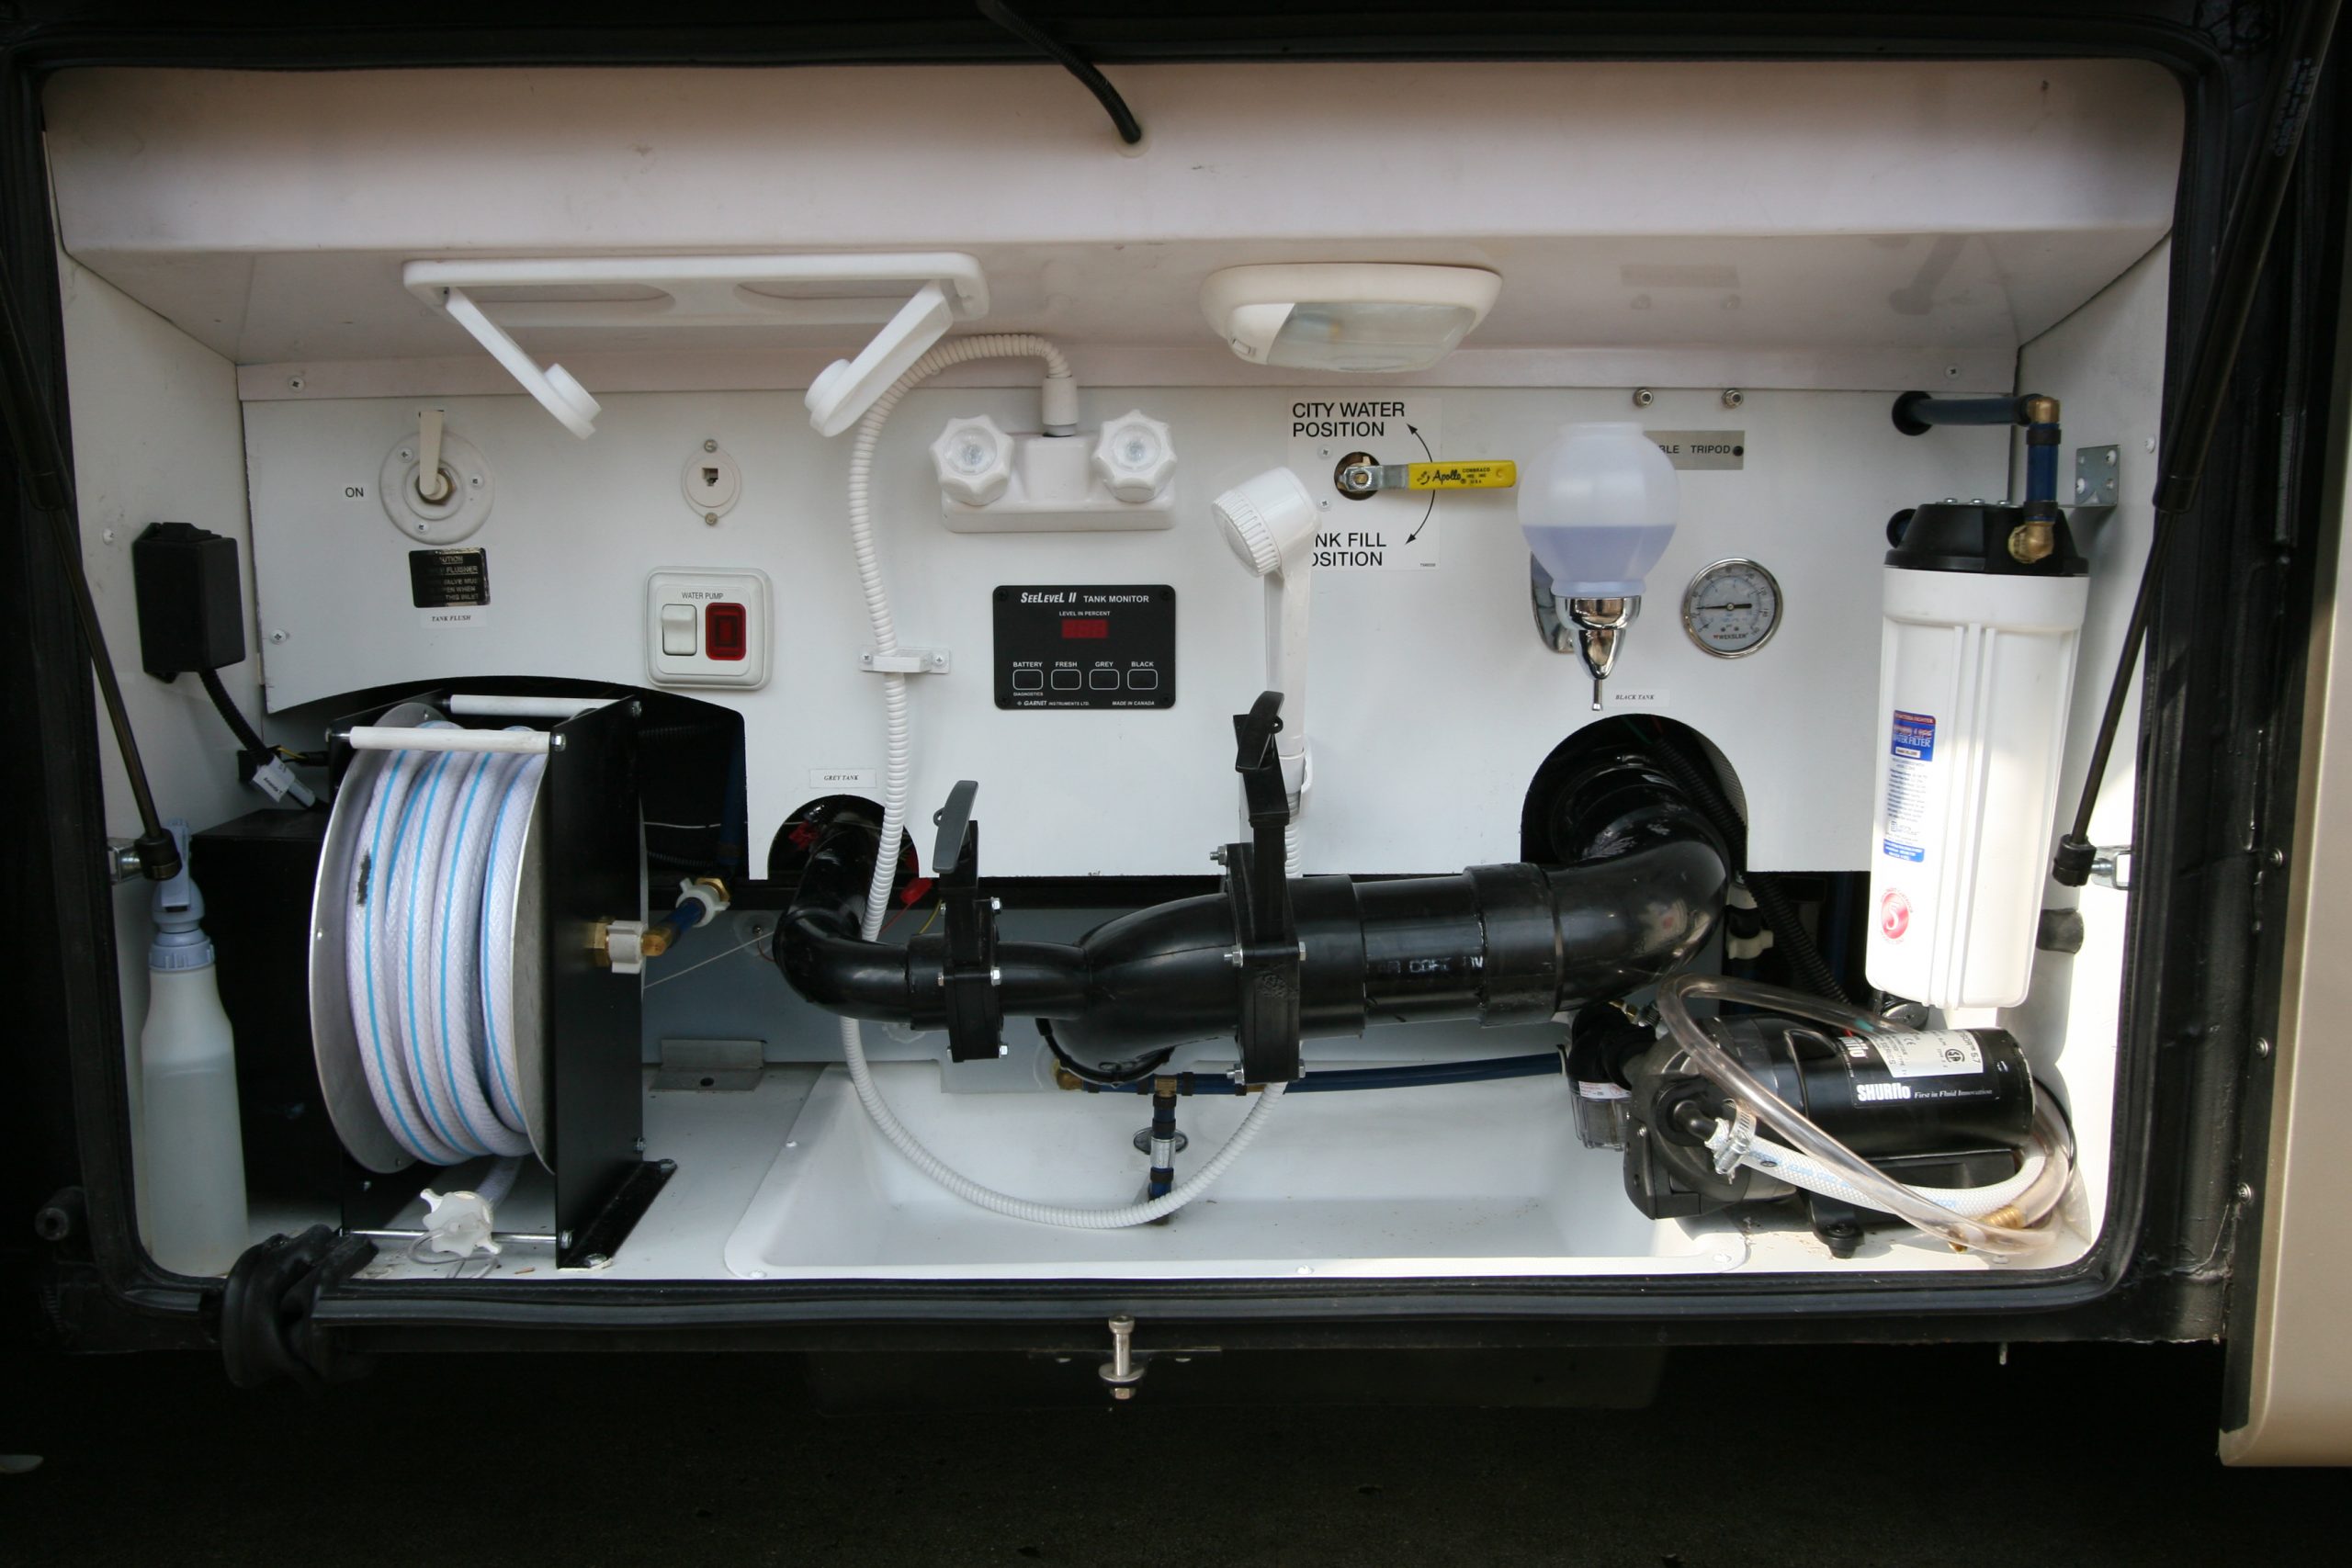
Typical basement wet bay from my Allegro Bus, showing water filter, hose reel, dump valves, water pump and all valves and controls.
RV Toilets
While sinks, showers, dishwashers and laundry centers aren’t that much different than what you would find in a sticks and bricks home, the toilets used in an RV are markedly different. A residential toilet has a large water closet that acts as a storage tank for clean flush water. It also has a trap that fills with water to prevent any sewer gas from backing up into the home. When you press the flush lever the tank water runs into the bowel with a vengeance, rinsing the bowl and using gravity to flush the water down into the sewer. The tank then refills with water to be ready for the next flush. An RV needs to conserve water because both the freshwater and holding tanks are limited in size, so a different design is used. In most cases an RV toilet consists of a blade valve that is kept closed except when flushing. These gravity dump toilets are placed directly over the black water holding tank. The blade valve is either operated manually via a foot pedal or electrically via a wall mounted switch. When you activate the flush mechanism, the blade valve opens to allow the waste to fall into the tank below and a measured amount of flush water is expelled to rinses the bowl and provide some water to the holding tank to prevent the waste from drying out.
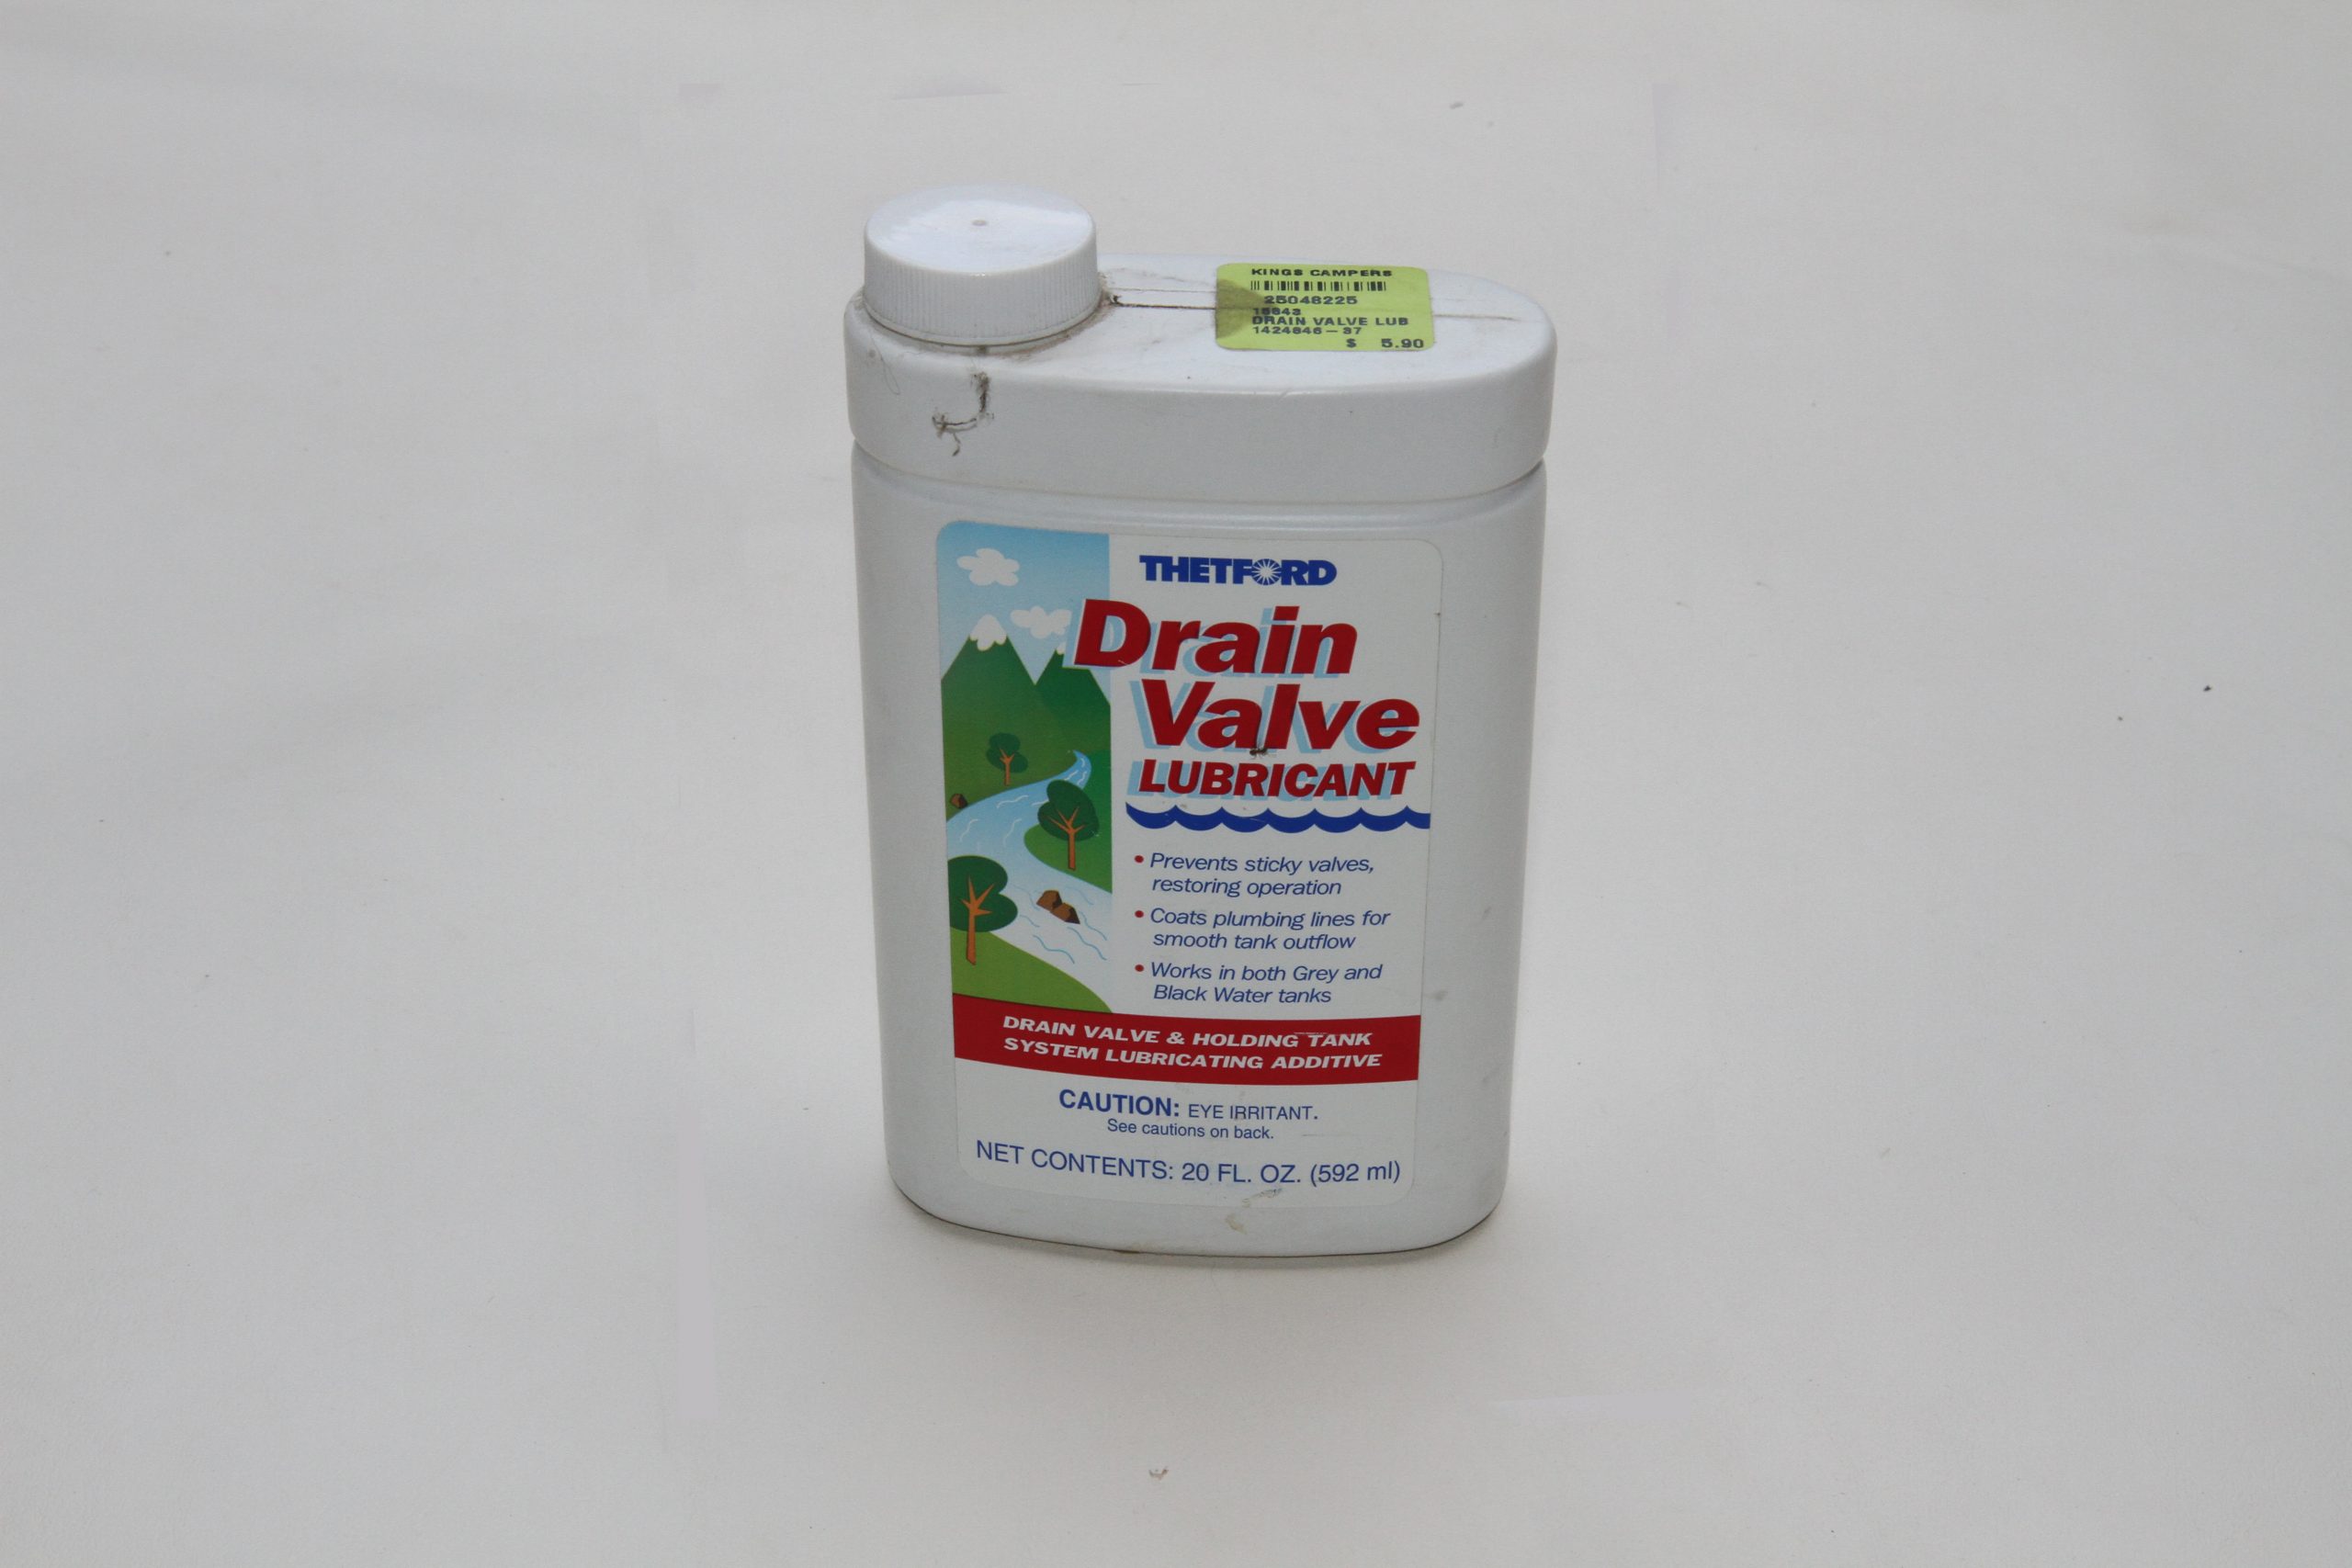
If the dump valve blades get sticky a drain valve lubricant can be added to the tank to help free it up.
In some cases, it’s not possible to locate the toilet directly over the black tank. This is especially true when your coach has a 1.5 bath floorplan with one toilet midship and another in the rear bath. In that case, a macerator toilet is used. A macerator toilet uses a motorized grinder to grind the waste up and pump it to the black tank regardless of where the tank is located. Instead of a blade valve, this style does use a small trap filled with water. When you push the flush button, the bowl fills with more water and then the macerator kicks in and pumps the waste through a smaller 1-1/4” line to the black holding tank. Then it adds some more water to the bowl. Macerators are necessary when the black tank isn’t located beneath the toilet. The only real disadvantage to them, other than cost, is that they do use more water when flushing than a direct gravity dump toilet, which can be a concern when boondocking with a limited water supply. However, the extra water used helps to keep the solids in the black tank suspended and will keep the tank walls cleaner.
Macerators use a smaller diameter 1-1/4 to 1-1/2” hose and can pump the waste uphill and for longer distances than a gravity dump 3” sewer connection.
RV Sewer Hoses and Fittings
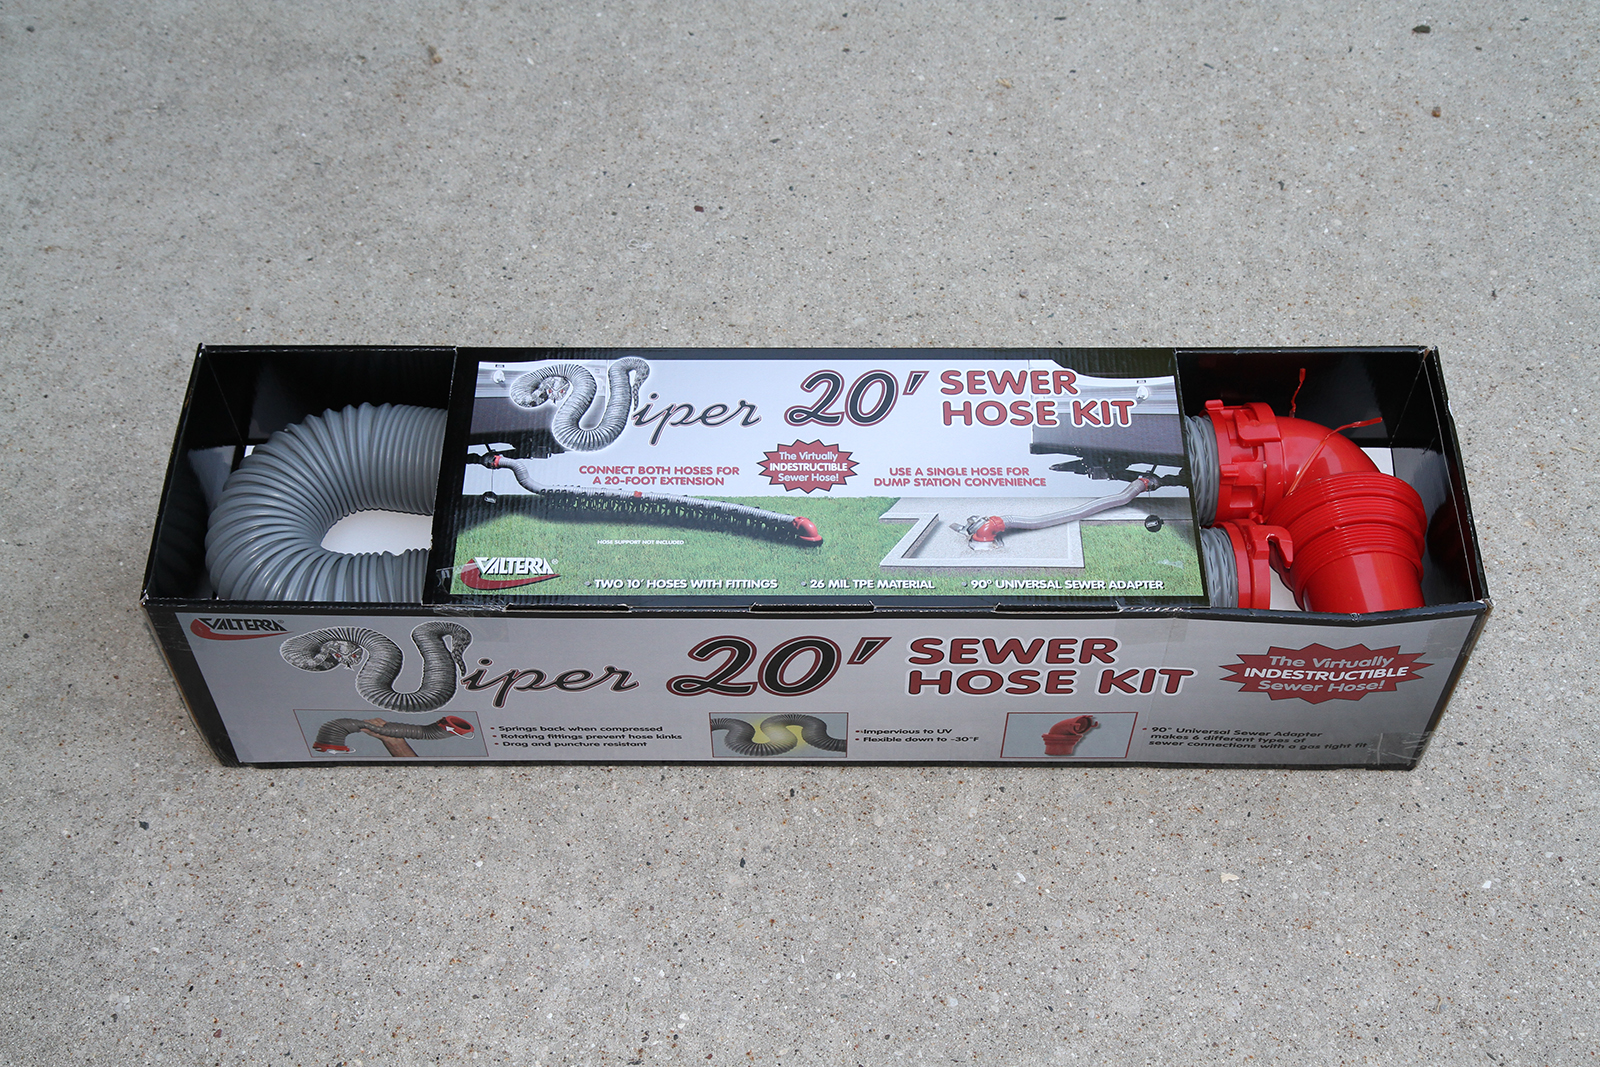
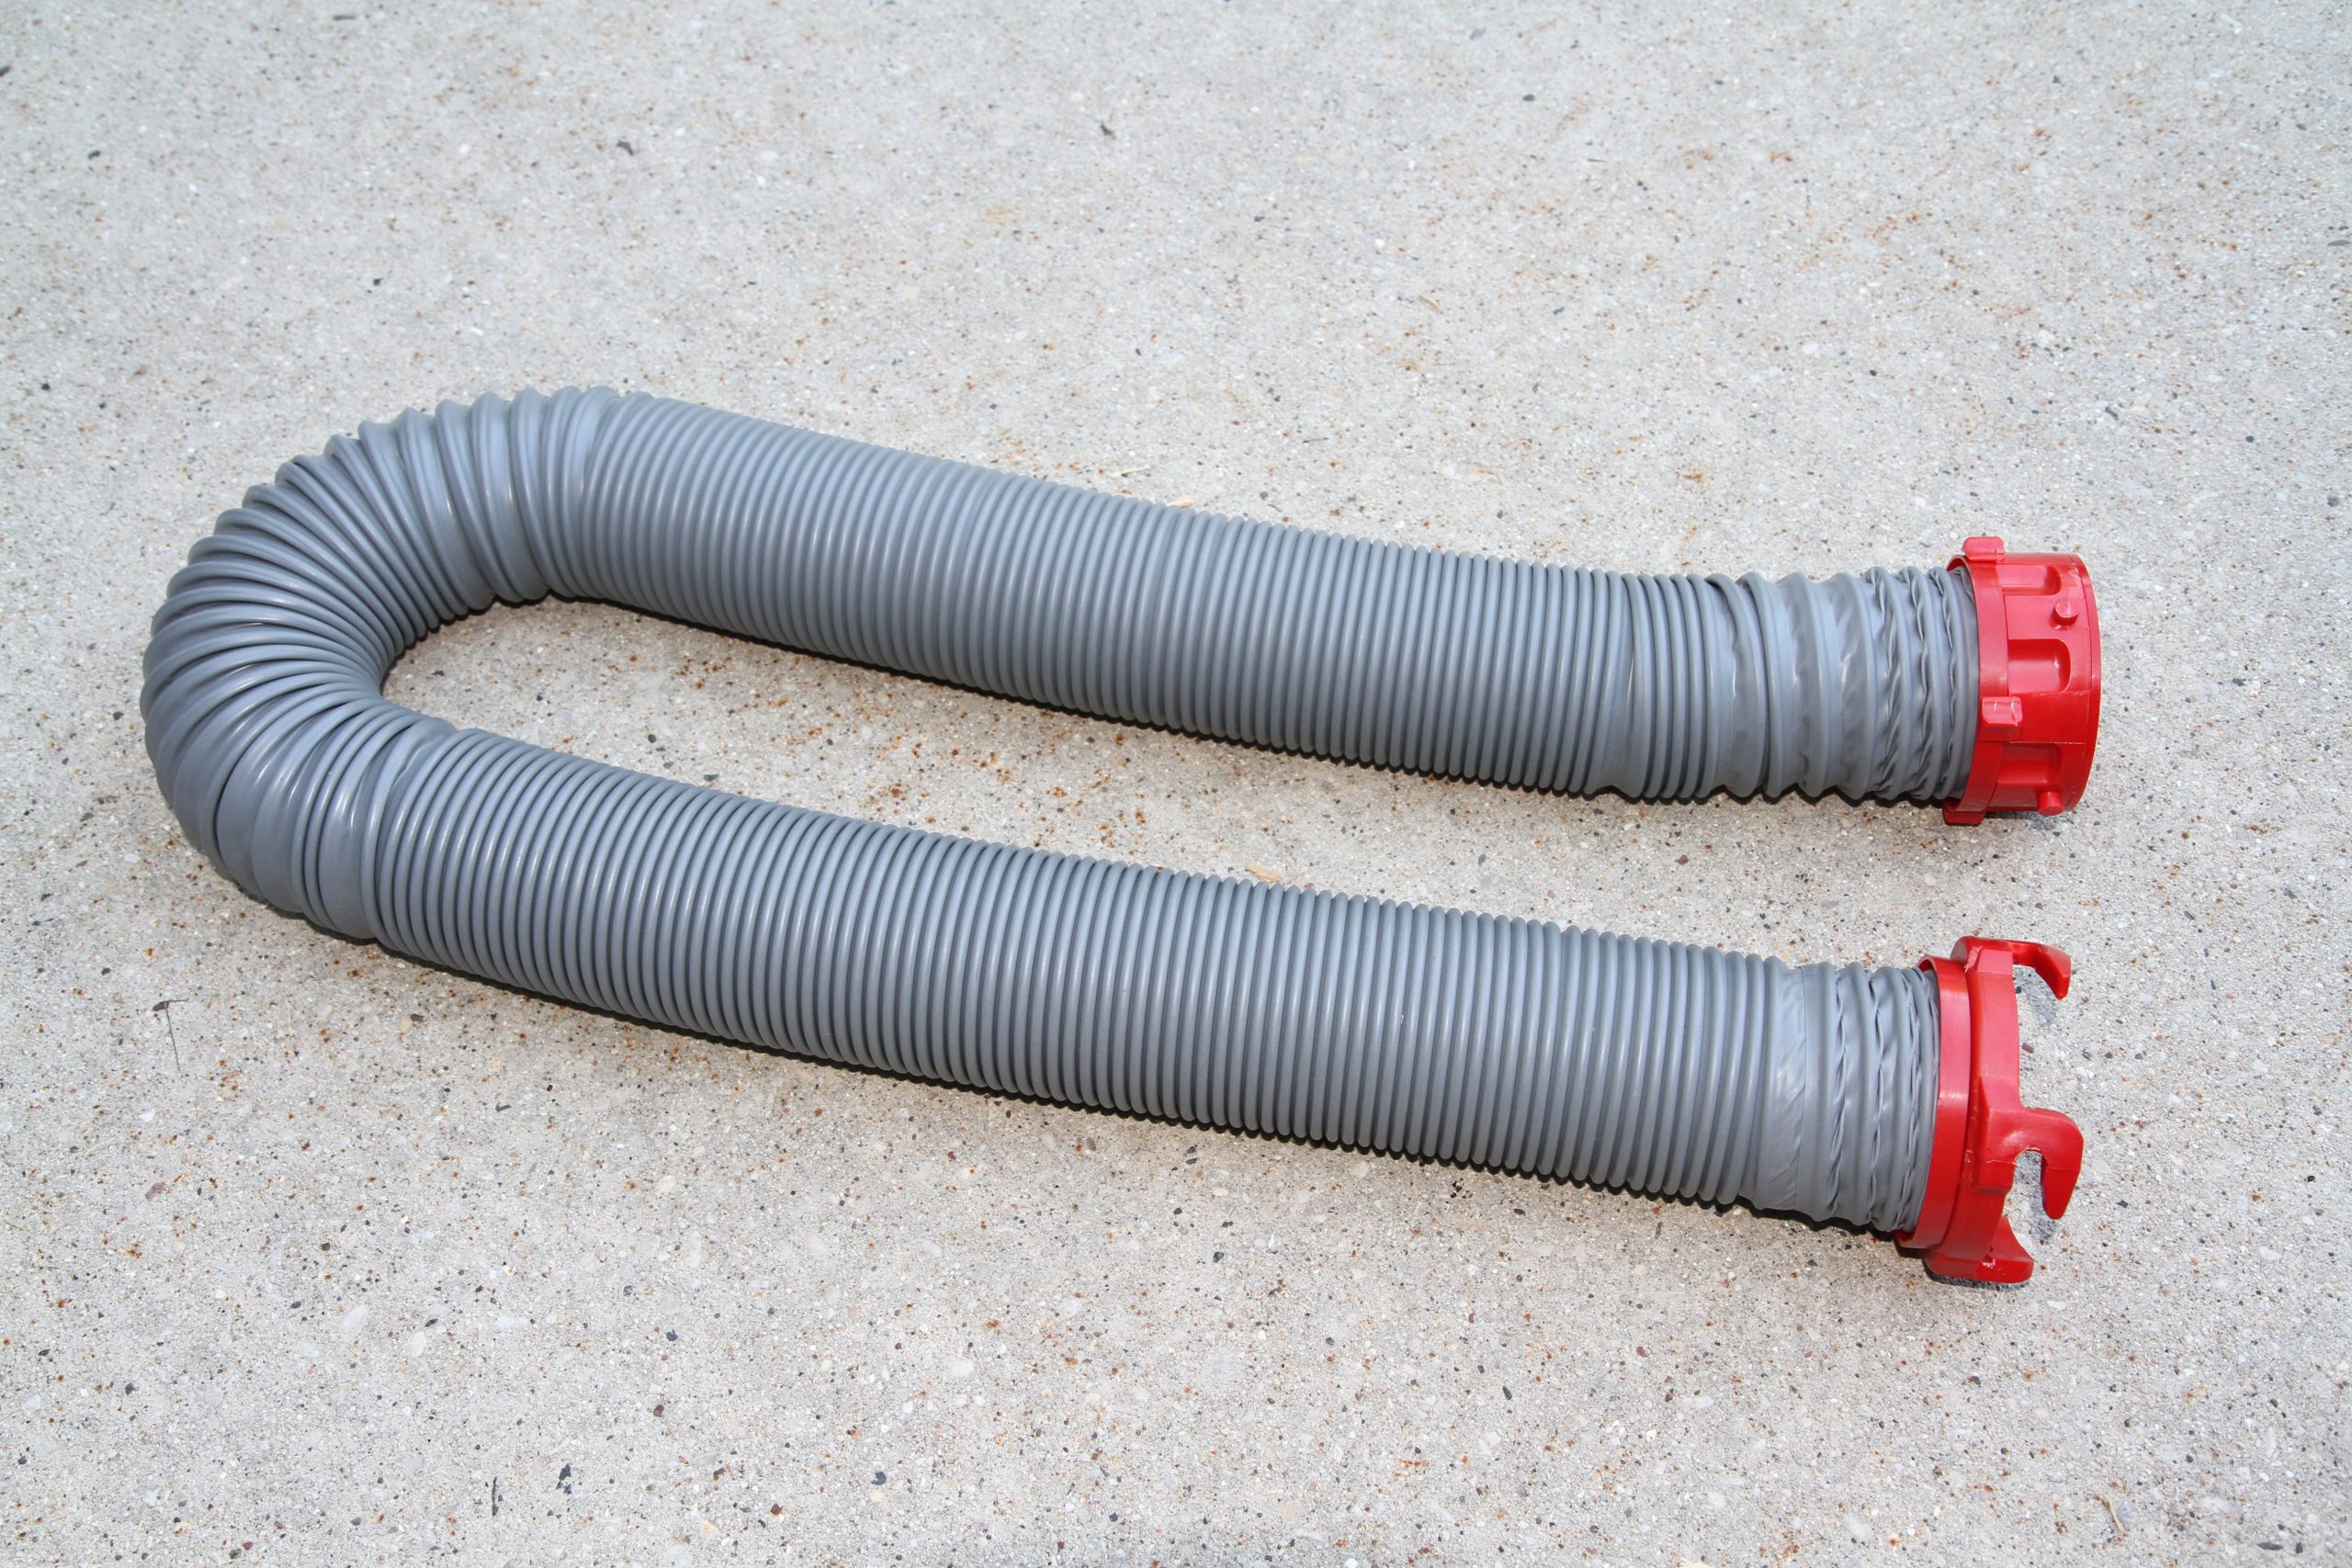
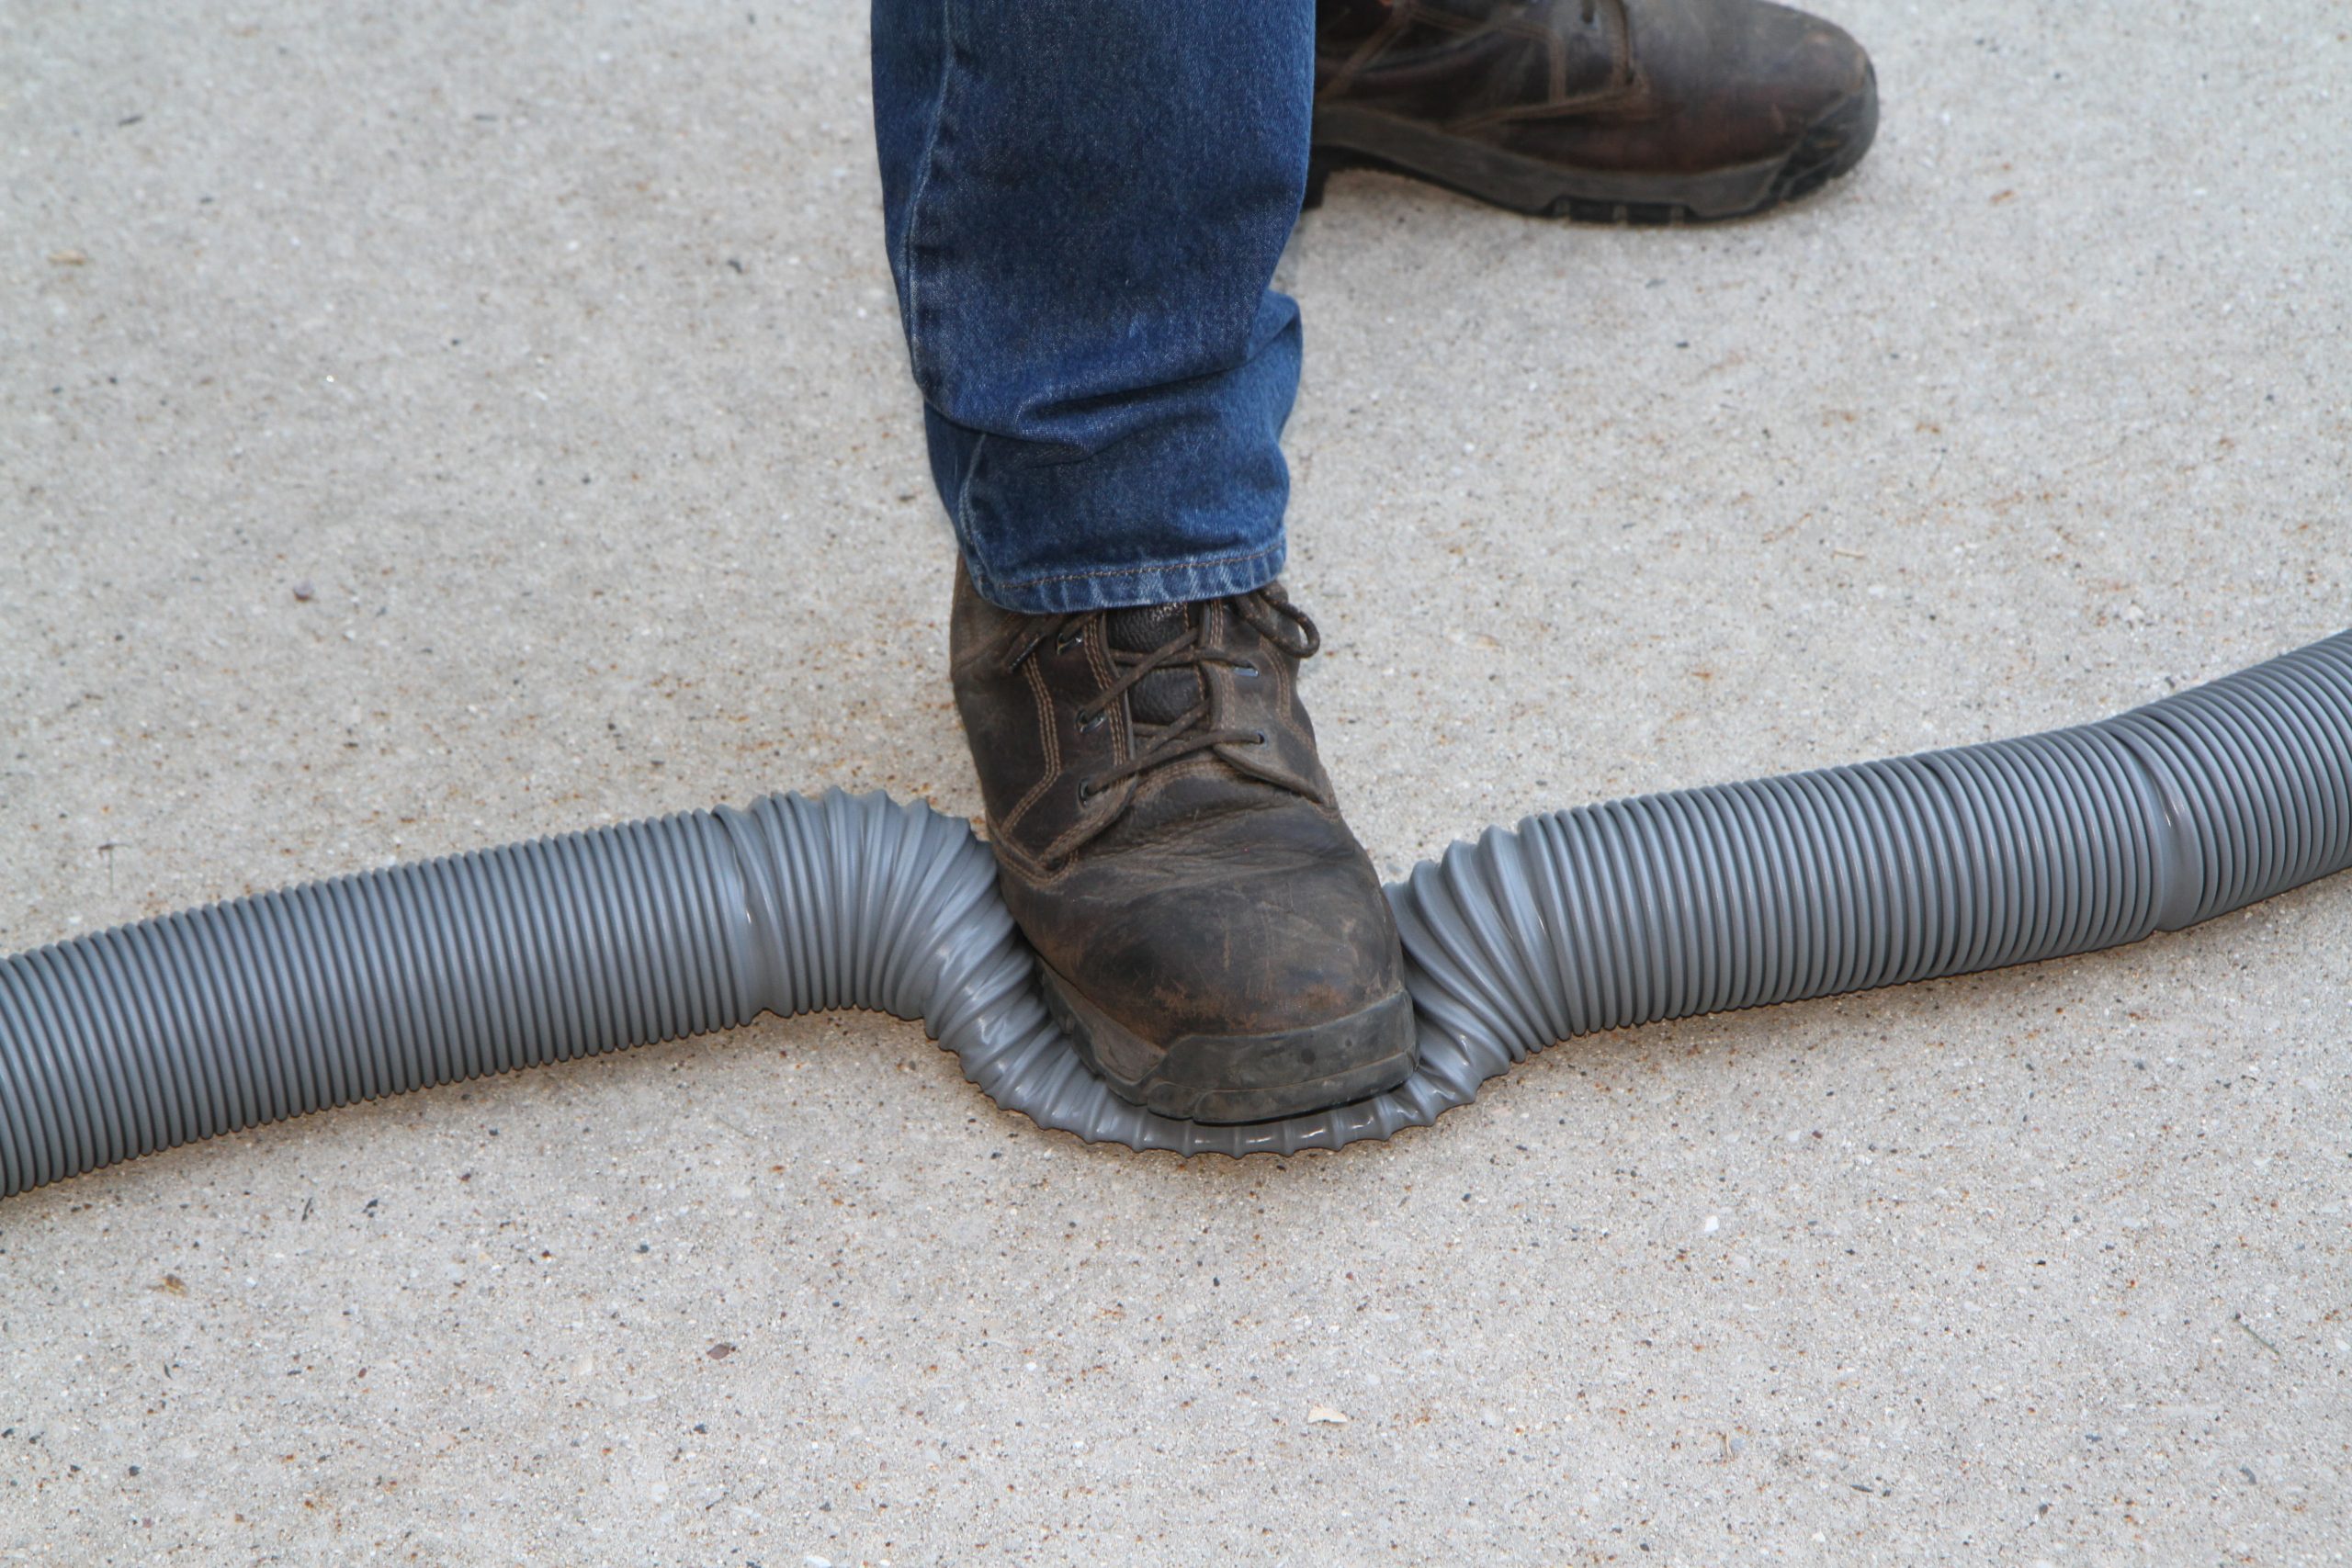
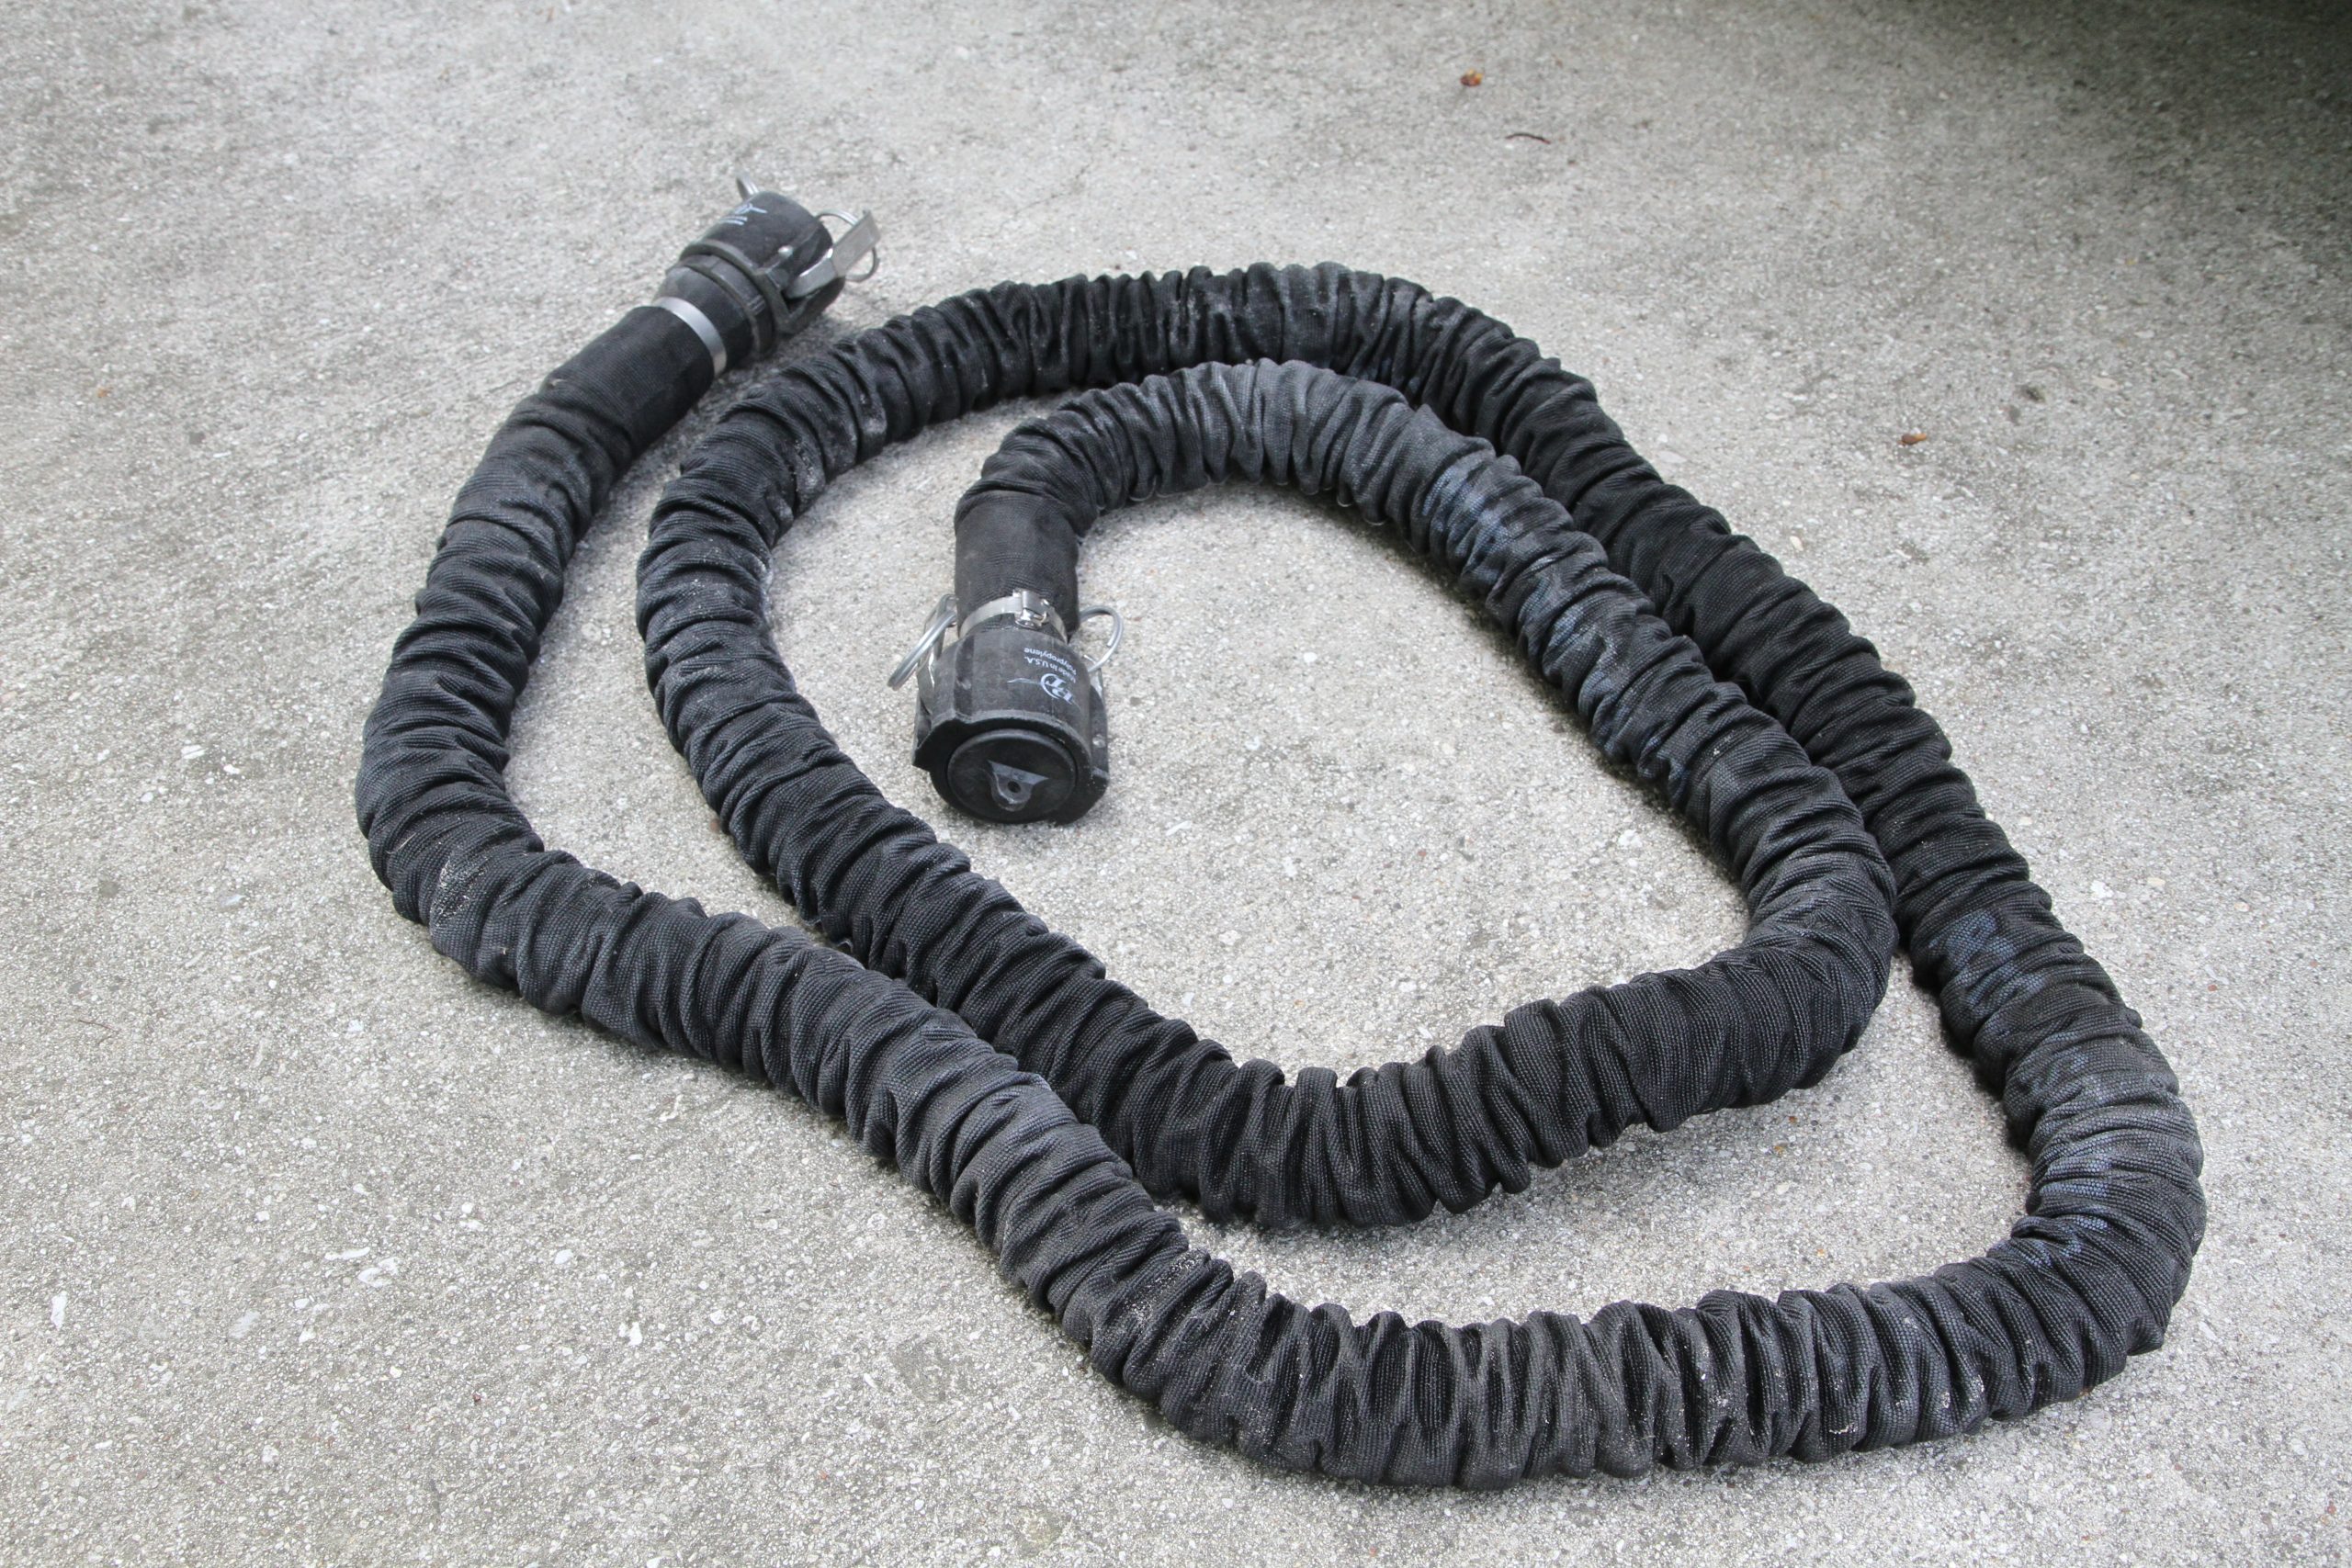
You need to have a way to transfer the waste from the tanks to a sewer connection or dump station so that requires a sewer hose. Sewer hoses use a common 3” inside diameter hose with an industry standard bayonet connection. These “slinky” hoses are typically vinyl with a spiral wire reinforcement to prevent the hose from collapsing and come in various grades. The cheapest hoses are very thin and won’t last very long. You will develop pinhole leaks, cracks and tears quickly. Upgrading to a heavier vinyl helps but even with the extra heavy-duty hoses, you’ll still have issues. Many motorhome owners have gone with Camco’s Rhino Flex hoses, which are a step up over traditional vinyl hoses. These hoses can hold their shape more easily and are quite a bit stronger. My personal choice is Valterra’s Viper sewer hose. The Viper hose is unique in that it doesn’t uses any helical wire in the hose. The spiral wire used in typical sewer hoses keeps the hose from collapsing but it also leaves a corrugated interior to the hose, which provides restriction when dumping and lots of crannies for waste sediment to pack up inside the hose. This requires additional water to rinse the hose clean. The Viper hose has no wire and the interior is smooth so it rinses clean. You can also step on it to crush it flat and it will bounce right back, unlike a corrugated wire hose which will remain flat and kinked. It also remains flexible at down to -20 degrees Fahrenheit, so it really blows all of the other hoses away.
Sewer hoses, such as this Valterra Viper are available in kits or as individual components.
A Viper 10’ extension hose.
The Viper hose has the ability to be crushed, yet return to its original shape.
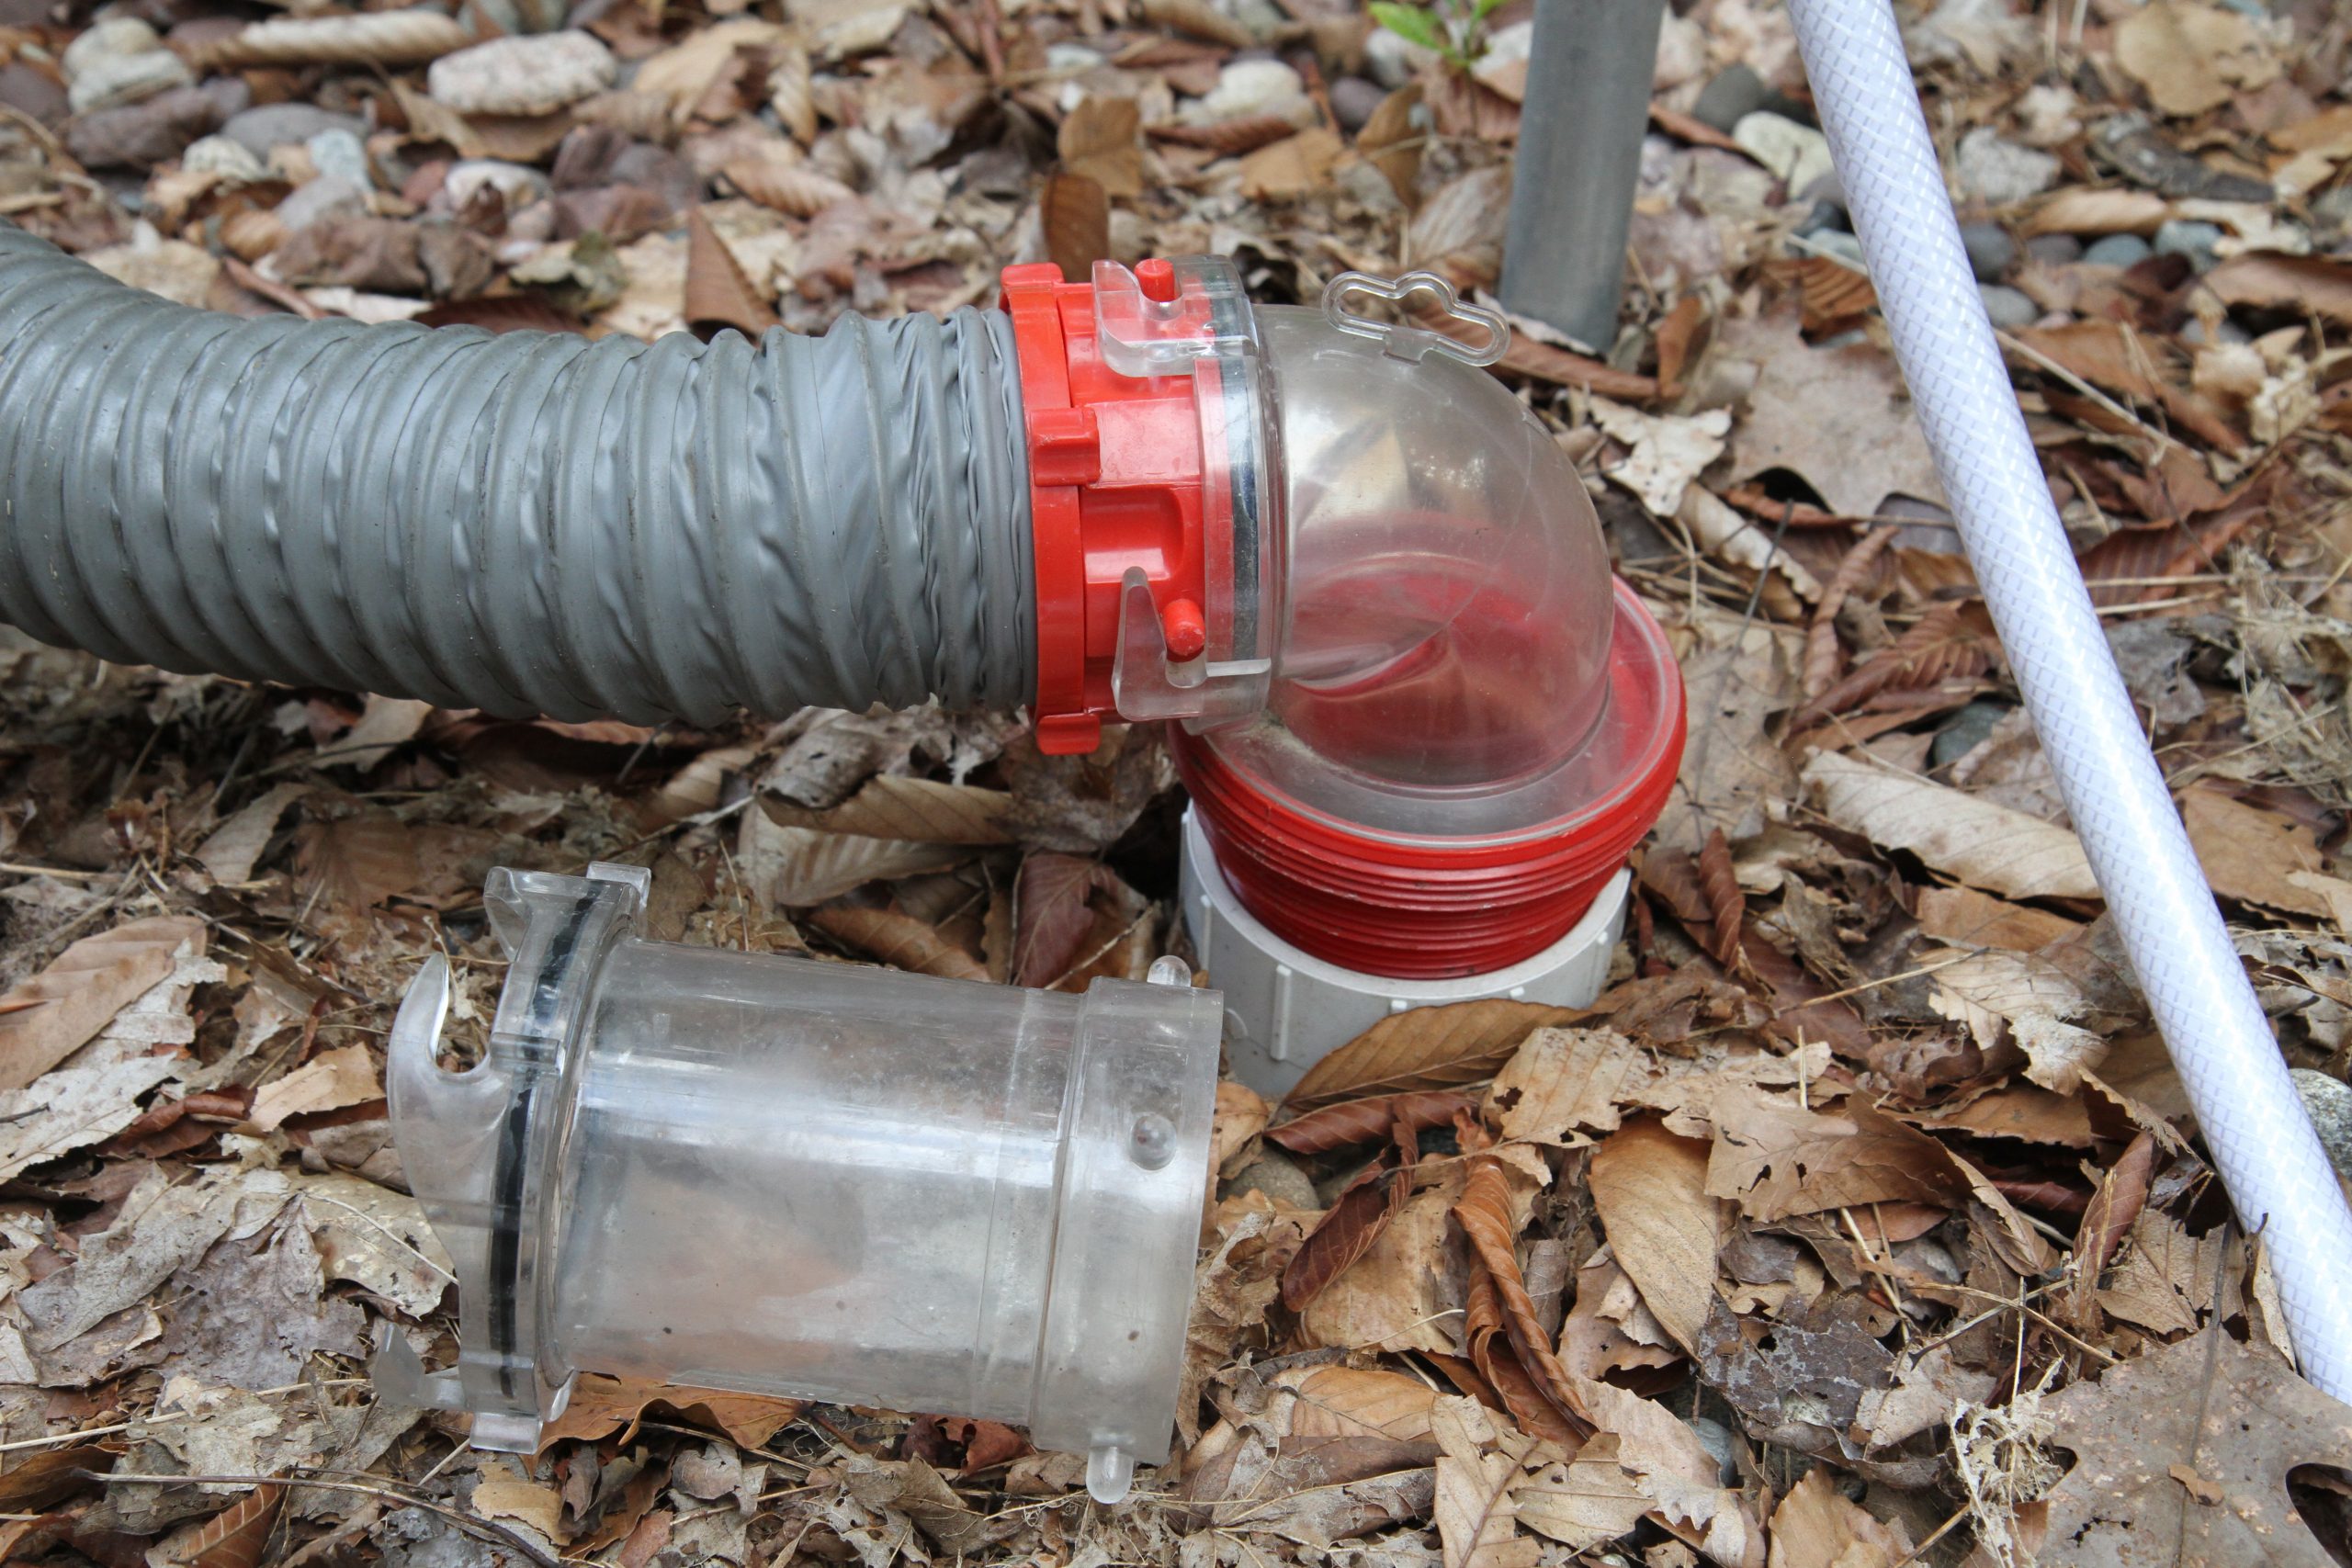
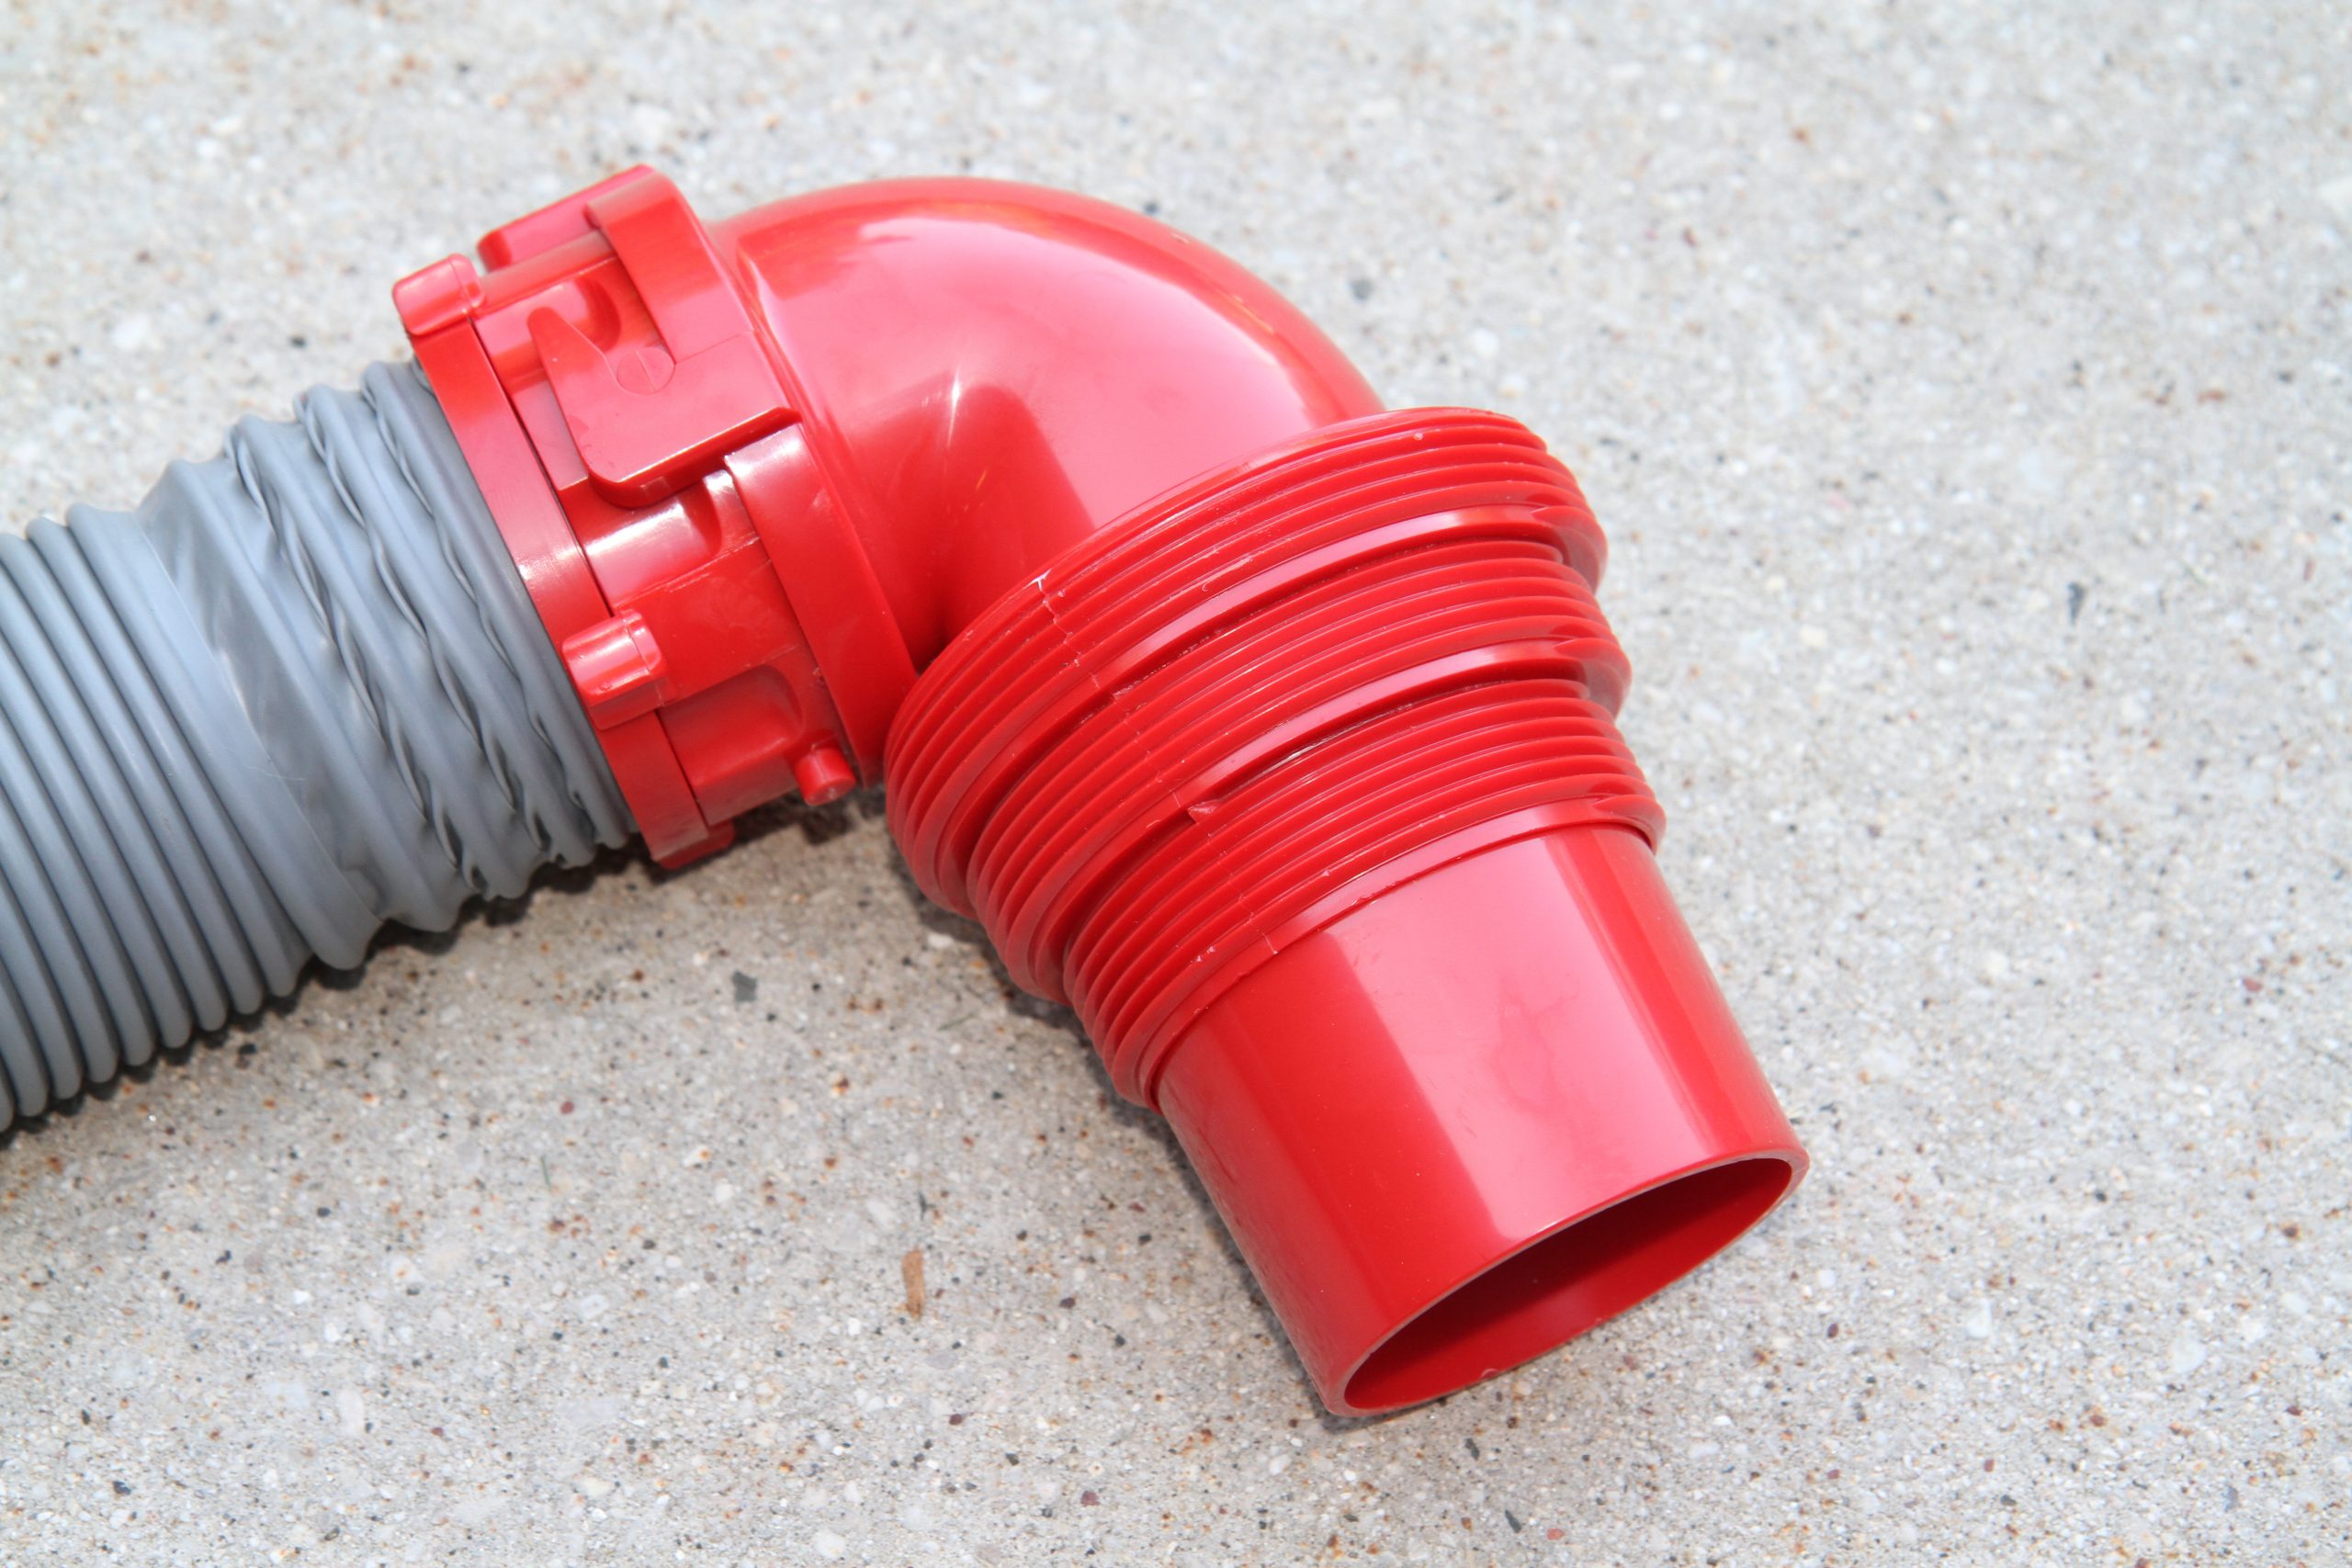
Sewer hoses have a male and female bayonet connector so you can connect multiple hoses together if you need additional length. They typically are available in either 10’ or 20’ lengths. I prefer to use 10’ lengths because I can always use two to get to 20’ if I need the extra reach. Plus, I keep a third hose on hand in case I ever have a failure. Various fittings are available to connect to a sewer connection. A campground sewer connection may be as simple as a bare pipe sticking out of the ground or it can be a PVC pipe with either 3” or 4” pipe threads. The most common connector for any RV is a 90-degree elbow with a female bayonet connector to connect to your sewer hose and a long snout to insert into the sewer. Most have a slide-on threaded adaptor that is molded onto the snout. This adaptor has both 3” and 4” male pipe thread so that it can fit either size sewer pipe. If you find you are at a site with a bare unthreaded pipe, you can slide a rubber or silicone donut over the pipe. This will allow you to press the elbow into the unthreaded pipe when necessary. It’s also typically used at a dump station, where the sewer pipe is generally just a hole in the concrete pad. These elbows can also be found in clear plastic so that you can monitor the color of your waste. This is helpful when you are rinsing your black tank and want to know when it is clean. Clear pipes that can be inserted in line with the hose are also available.
A threaded sewer elbow in clear plastic allows you to see when the tank flushing process has been thoroughly cleaned.
90 degree sewer elbows are threaded for various size pipe threads and also a long snout to accept a donut for unthreaded sewer connections.
Sewer hoses do have limited use because they use gravity to dump. If your motorhome’s sewer connection is fairly low and the campground sewer sticks out of the ground quite a bit, gravity isn’t going to work very well for you on this uphill battle. If it’s not too serious, you can just walk the hose from the coach to the sewer after dumping to drain the fluid resting in the hose manually.
Macerators grind up waste and can be portable or mounted in the coach, as in this Entegra.
Macerators use a smaller diameter 1-1/4 to 1-1/2” hose and can pump the waste uphill and for longer distances than a gravity dump 3” sewer connection.
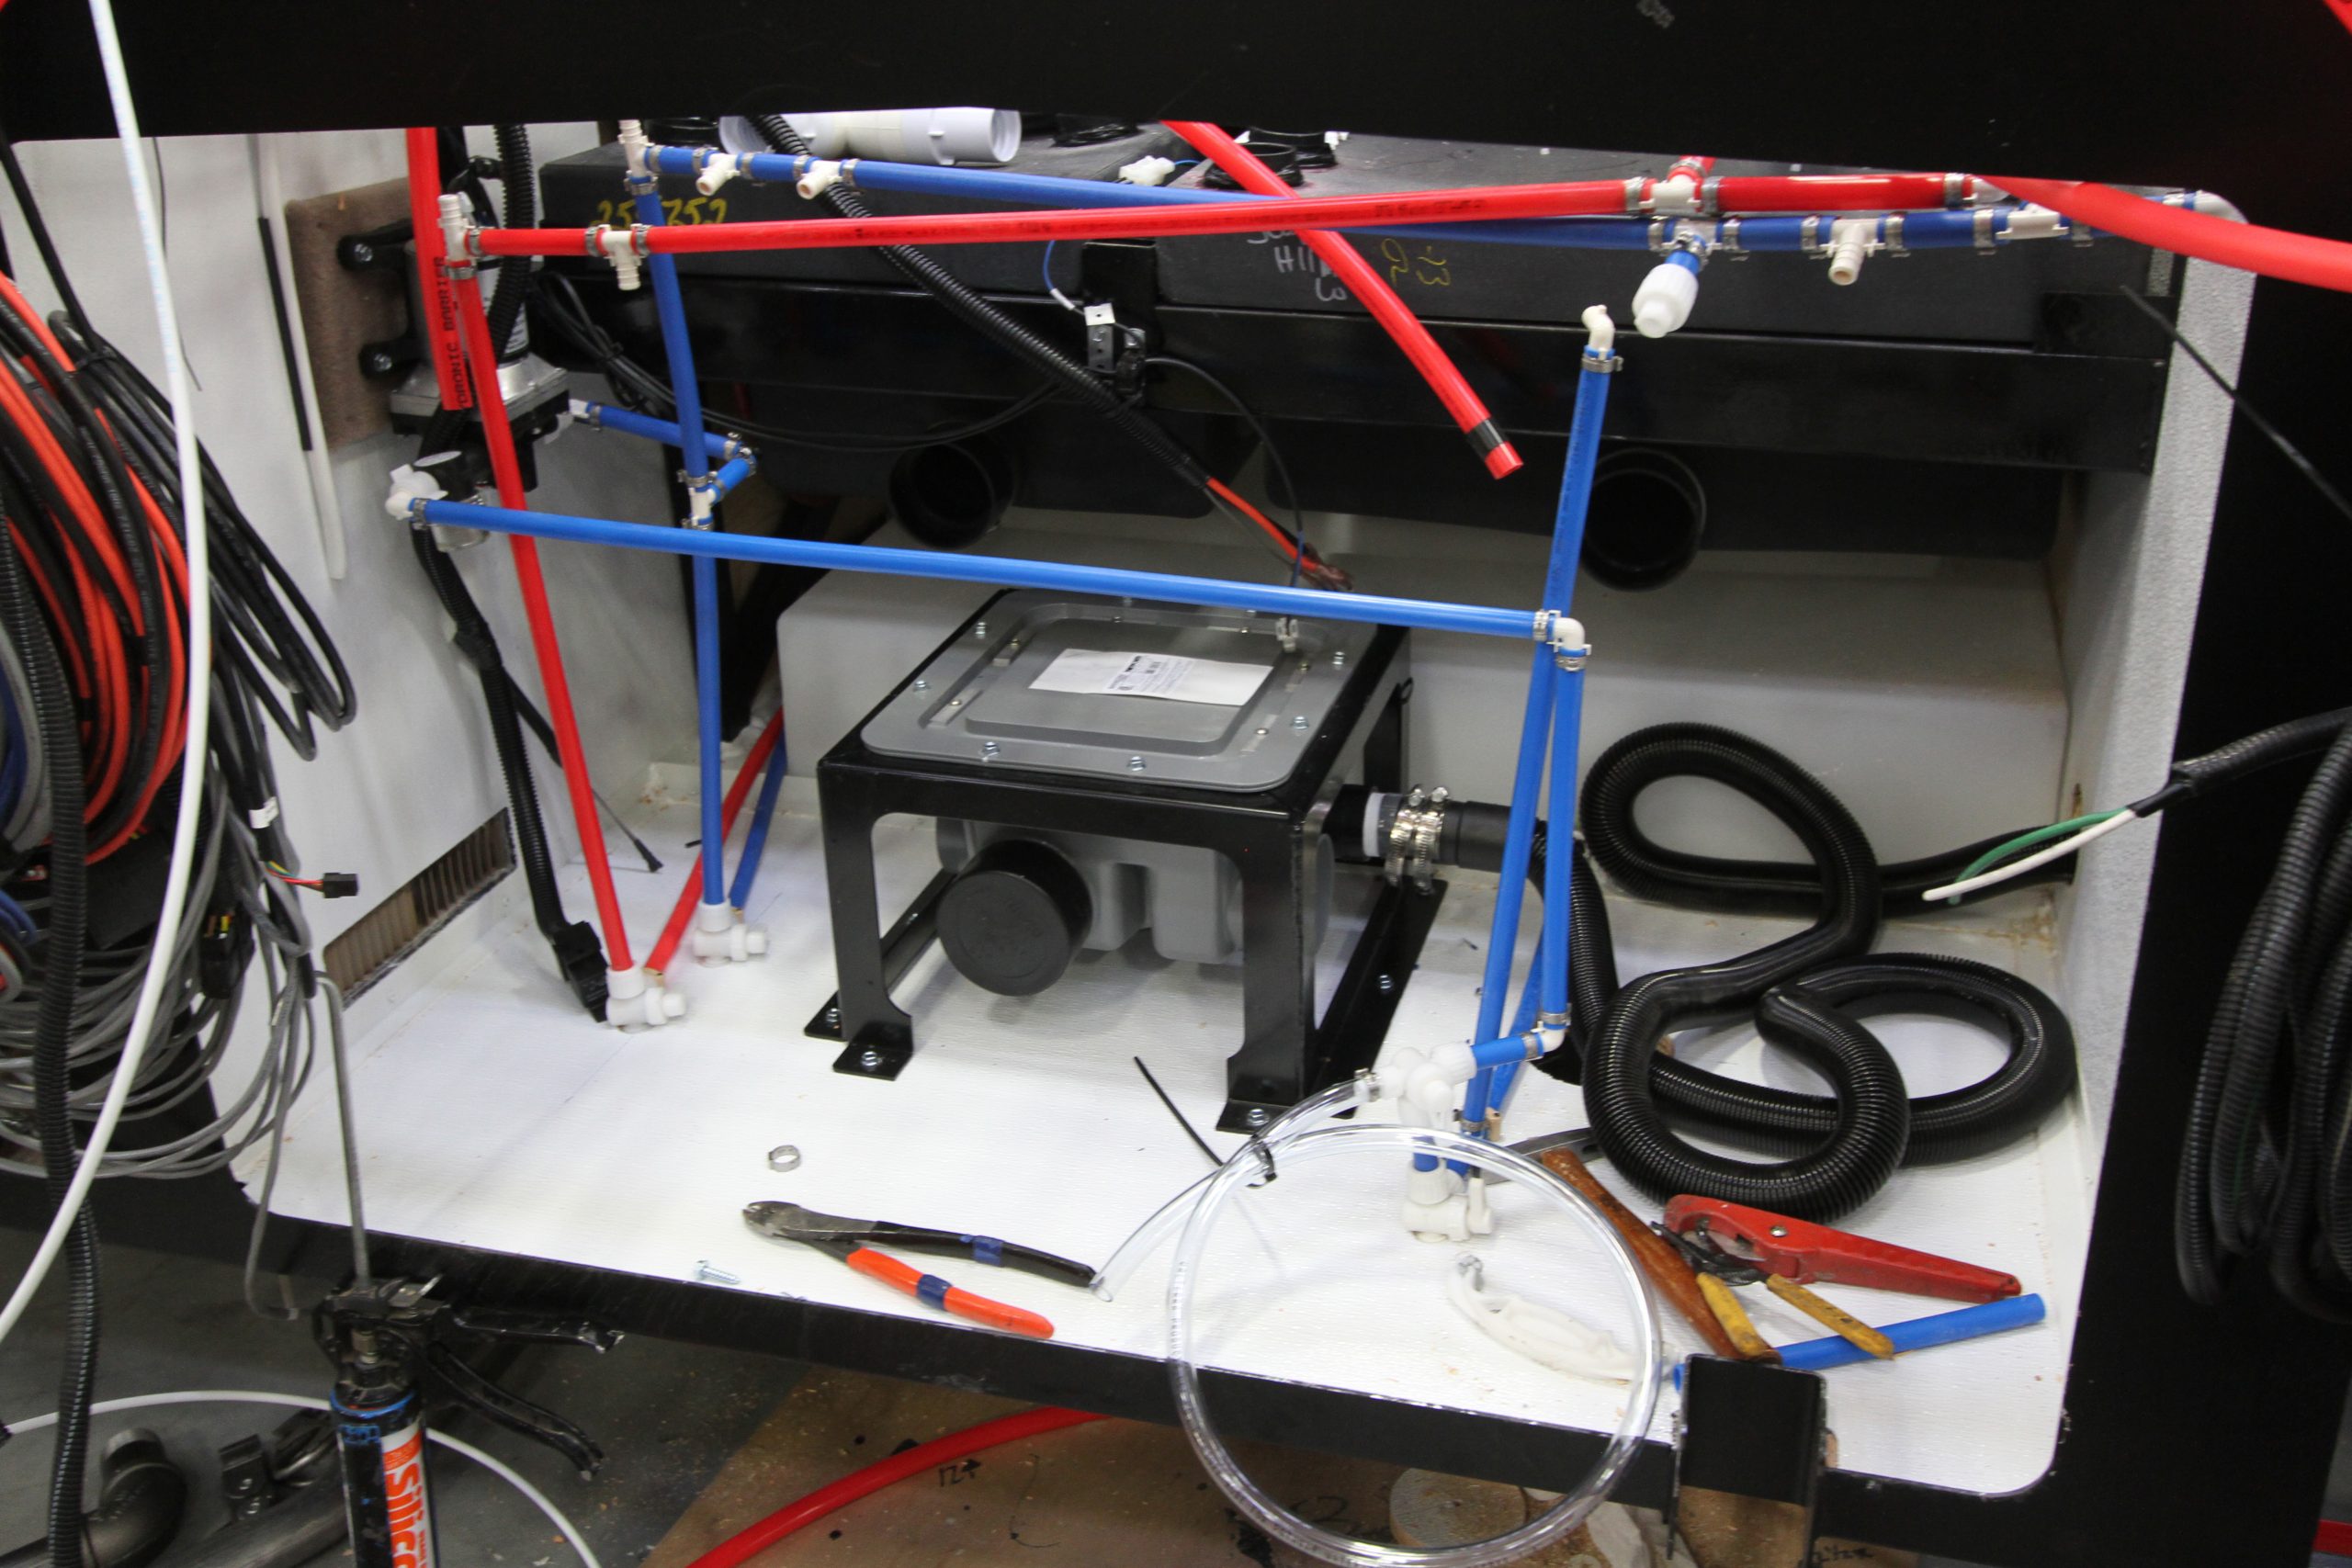
Another option is a macerator. A macerator uses a motor to grind the waste and pump it uphill, similar to a macerator toilet. While a 3” slinky hose has a limited length and cannot go uphill, a macerator uses 1-1/4” or 1-1/2” hose that can pump uphill up to 9’ vertically and 100’ horizontally. Some of these models, such as the SaniCon Turbo, are installed permanently in the RV and feature a 3” bypass port for a slinky. Other models are portable and will connect to the coach’s bayonet fitting on the dump valve wye. They are a bit slower to dump that a 3” slinky but offer the ability to overcome gravity when dumping your tanks.
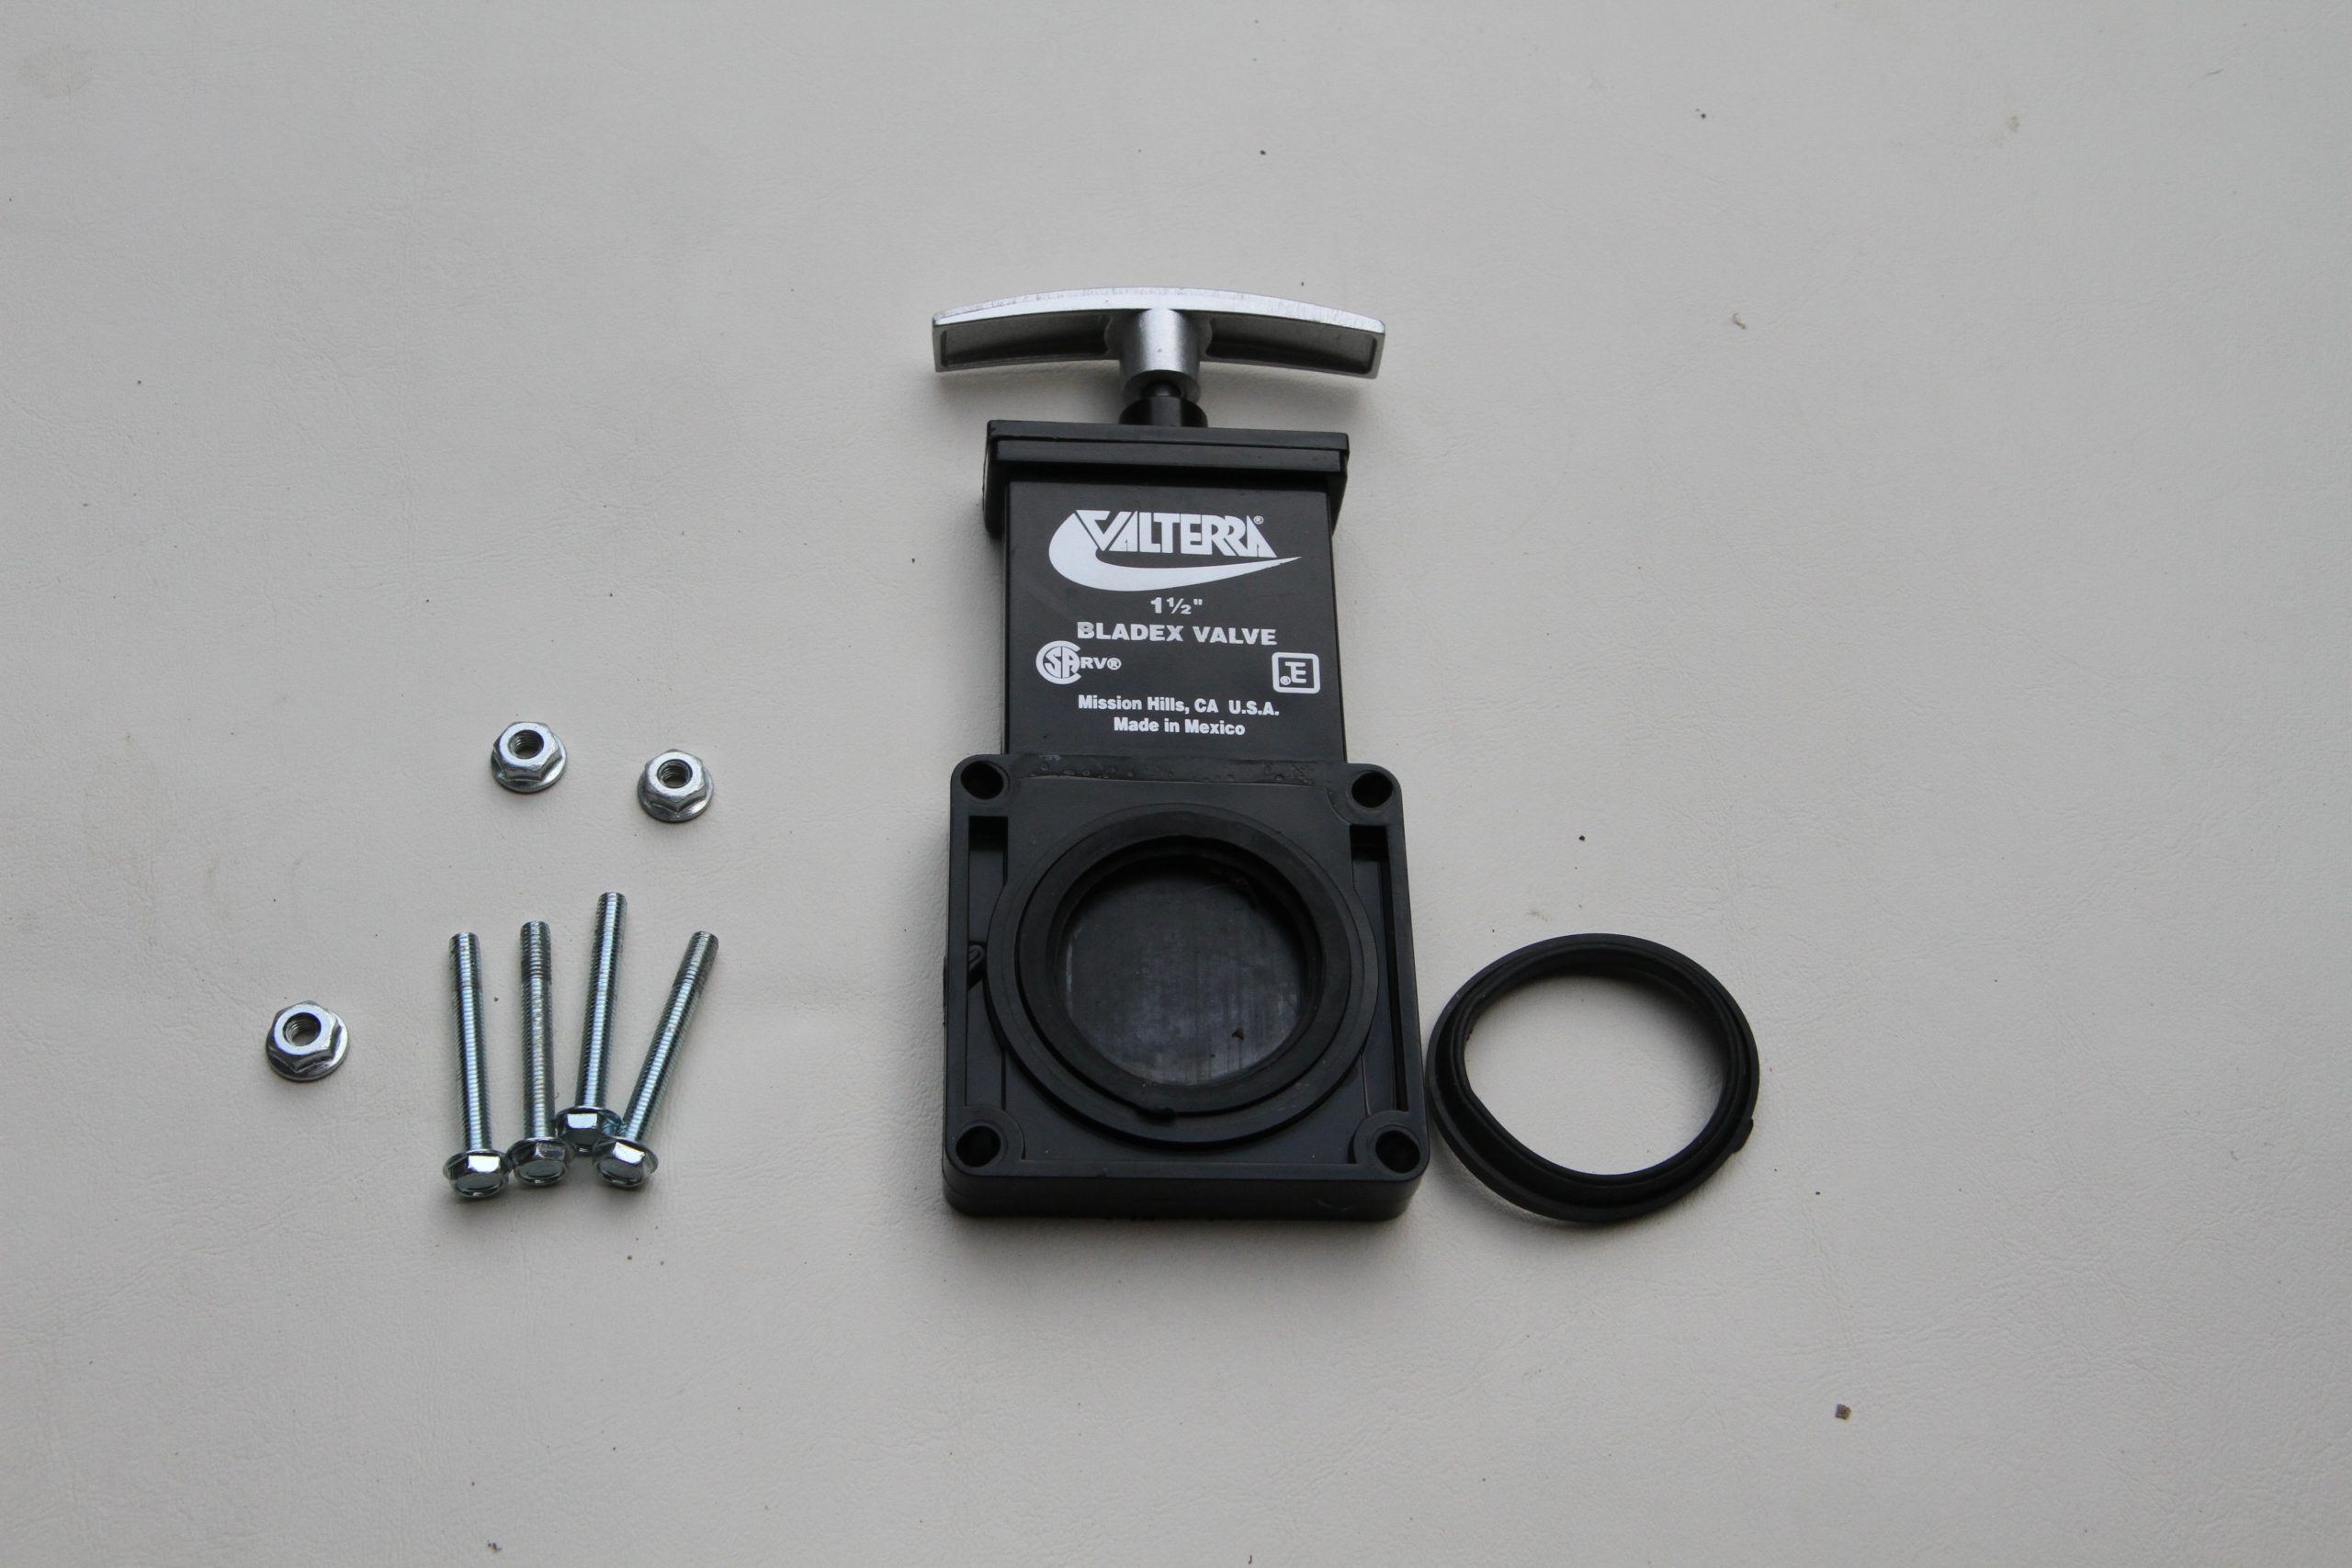
Dump valves come in 3” and 1-1/2” sizes and are easy to replace. Replacement seal kits are also available.
Operation and Cleaning
Your gray water tank isn’t very fussy. As long as you scrape the heavy stuff off your dishes before washing them and keep from pouring oils and fats down the drain, your gray tank will remain pretty clean. The soapy shower water and dishwater help keep the inside of the gray water tank clean so that your sensors won’t give you any trouble. But your black water tank is a bit pickier, so you’ll need to pay attention to it to prevent any issues from appearing. The biggest problem with black tanks is that the waste can dry and cake up on the inside of the tank walls. This leads to unreliable sensor readings. The most important thing is to keep the waste fluid and don’t let it dry out. Saving water can be a disadvantage in that respect.
It’s possible to use a gravity dump toilet with very little water usage. When the toilet’s blade valve opens, the solid waste and toilet paper can just fall through the gate and lay in a lump beneath if the tank is low on water. With continued use, this “pyramid of death” builds and you’ll need a construction crew to break it up. Avoid this by using plenty of water when you flush the toilet. When you dump the black tank, be sure to add plenty of water to the tank so that you aren’t starting out with a dry tank. This water will help to keep future waste additions soluble. Some users like to keep their gray tank dump valve open, but this can lead to a tank with dry sediment caked in it over time. It also allows for certain insects to leave the sewer and enter the coach – you may wind up sharing a shower with them.
Many black tanks will have a flush mechanism installed. This is basically a spray head that sprays water around inside the tank. In some cases, this sprayer can rinse down any accumulated waste that is caked on the tank walls. In other cases, it’s limited to merely pushing any loose sediment on the floor of the tank to the dump valve. Frequent use of the sprayer whenever dumping the black tank is recommended. If you wait too long, the waste will cake up on the walls and be much harder to remove. If you find that this is the case, it’s best to mix up a solution of Pine Sol and fill the tank to about ¾ full, then drive to your next destination. The sloshing action while driving will help rinse the tank walls and put everything into suspension. Then dump immediately after arriving at your destination and finish off with the tank flushing attachment.
Electric dump valves can be located in hard to access areas, like this Entegra Coach, and can be remotely operated.
Never leave the black tank dump valve open when camping or you’ll experience severe caking and bad sensor readings. Always keep the valve closed unless dumping. It’s a best practice to always dump your gray tank after the black tank. The onrushing flow of soapy gray tank water will help flush any black tank residue from your sewer hose.
If you dump the black tank too often, you’ll never get the water level high enough to prevent waste from caking on the upper portion of the tank walls. Be sure to get the fluid level up high enough before dumping. Ideally, you can do this after a day’s drive to derive the benefit of the sloshing that has taken place. Also be sure to only put human waste and approved toilet paper into the black tank. Never put facial tissue or feminine products down the toilet. You don’t have to buy expensive “official” RV toilet paper from an RV dealer or camping supply store. You just need to use a septic safe paper that will dissolve and break up in water.
You can test your choice of paper by doing the Mason jar test. Place a wad of toilet paper into a Mason jar and fill it about ¾ full of water. Screw on the lid and shake it for about 15 seconds. The wad of paper should now be dissolved into a bunch of fluff suspended in the water. If it is – you pass the test and it’s RV safe. If it’s still a wad of paper and hasn’t broken down – don’t use it in the RV because it will plug up the system.
Chemicals and UViaLite
This brings us to chemicals. A common misconception is that you need to add RV-specific chemicals to treat your waste tank. This is not quite true. Both human waste and toilet paper will dissolve in plain water. You don’t need tank treatment chemicals to do that. If you neglect your black tank, you may need some heavy-duty tank chemicals or Pine Sol to clean it but under normal use, you won’t. One thing chemicals do is deal with odors – although that’s not all it’s cracked up to be either.
Some chemicals are nothing more than perfume. They don’t remove the odors, but they mask it by adding a more favorable scent to the tank. Other chemicals include enzymes that do react with the odors, but enzymes are organic organisms that take 5-7 days to become active. Most RV owners don’t wait that long to dump their tank, so they are basically flushing away good money every time they dump.
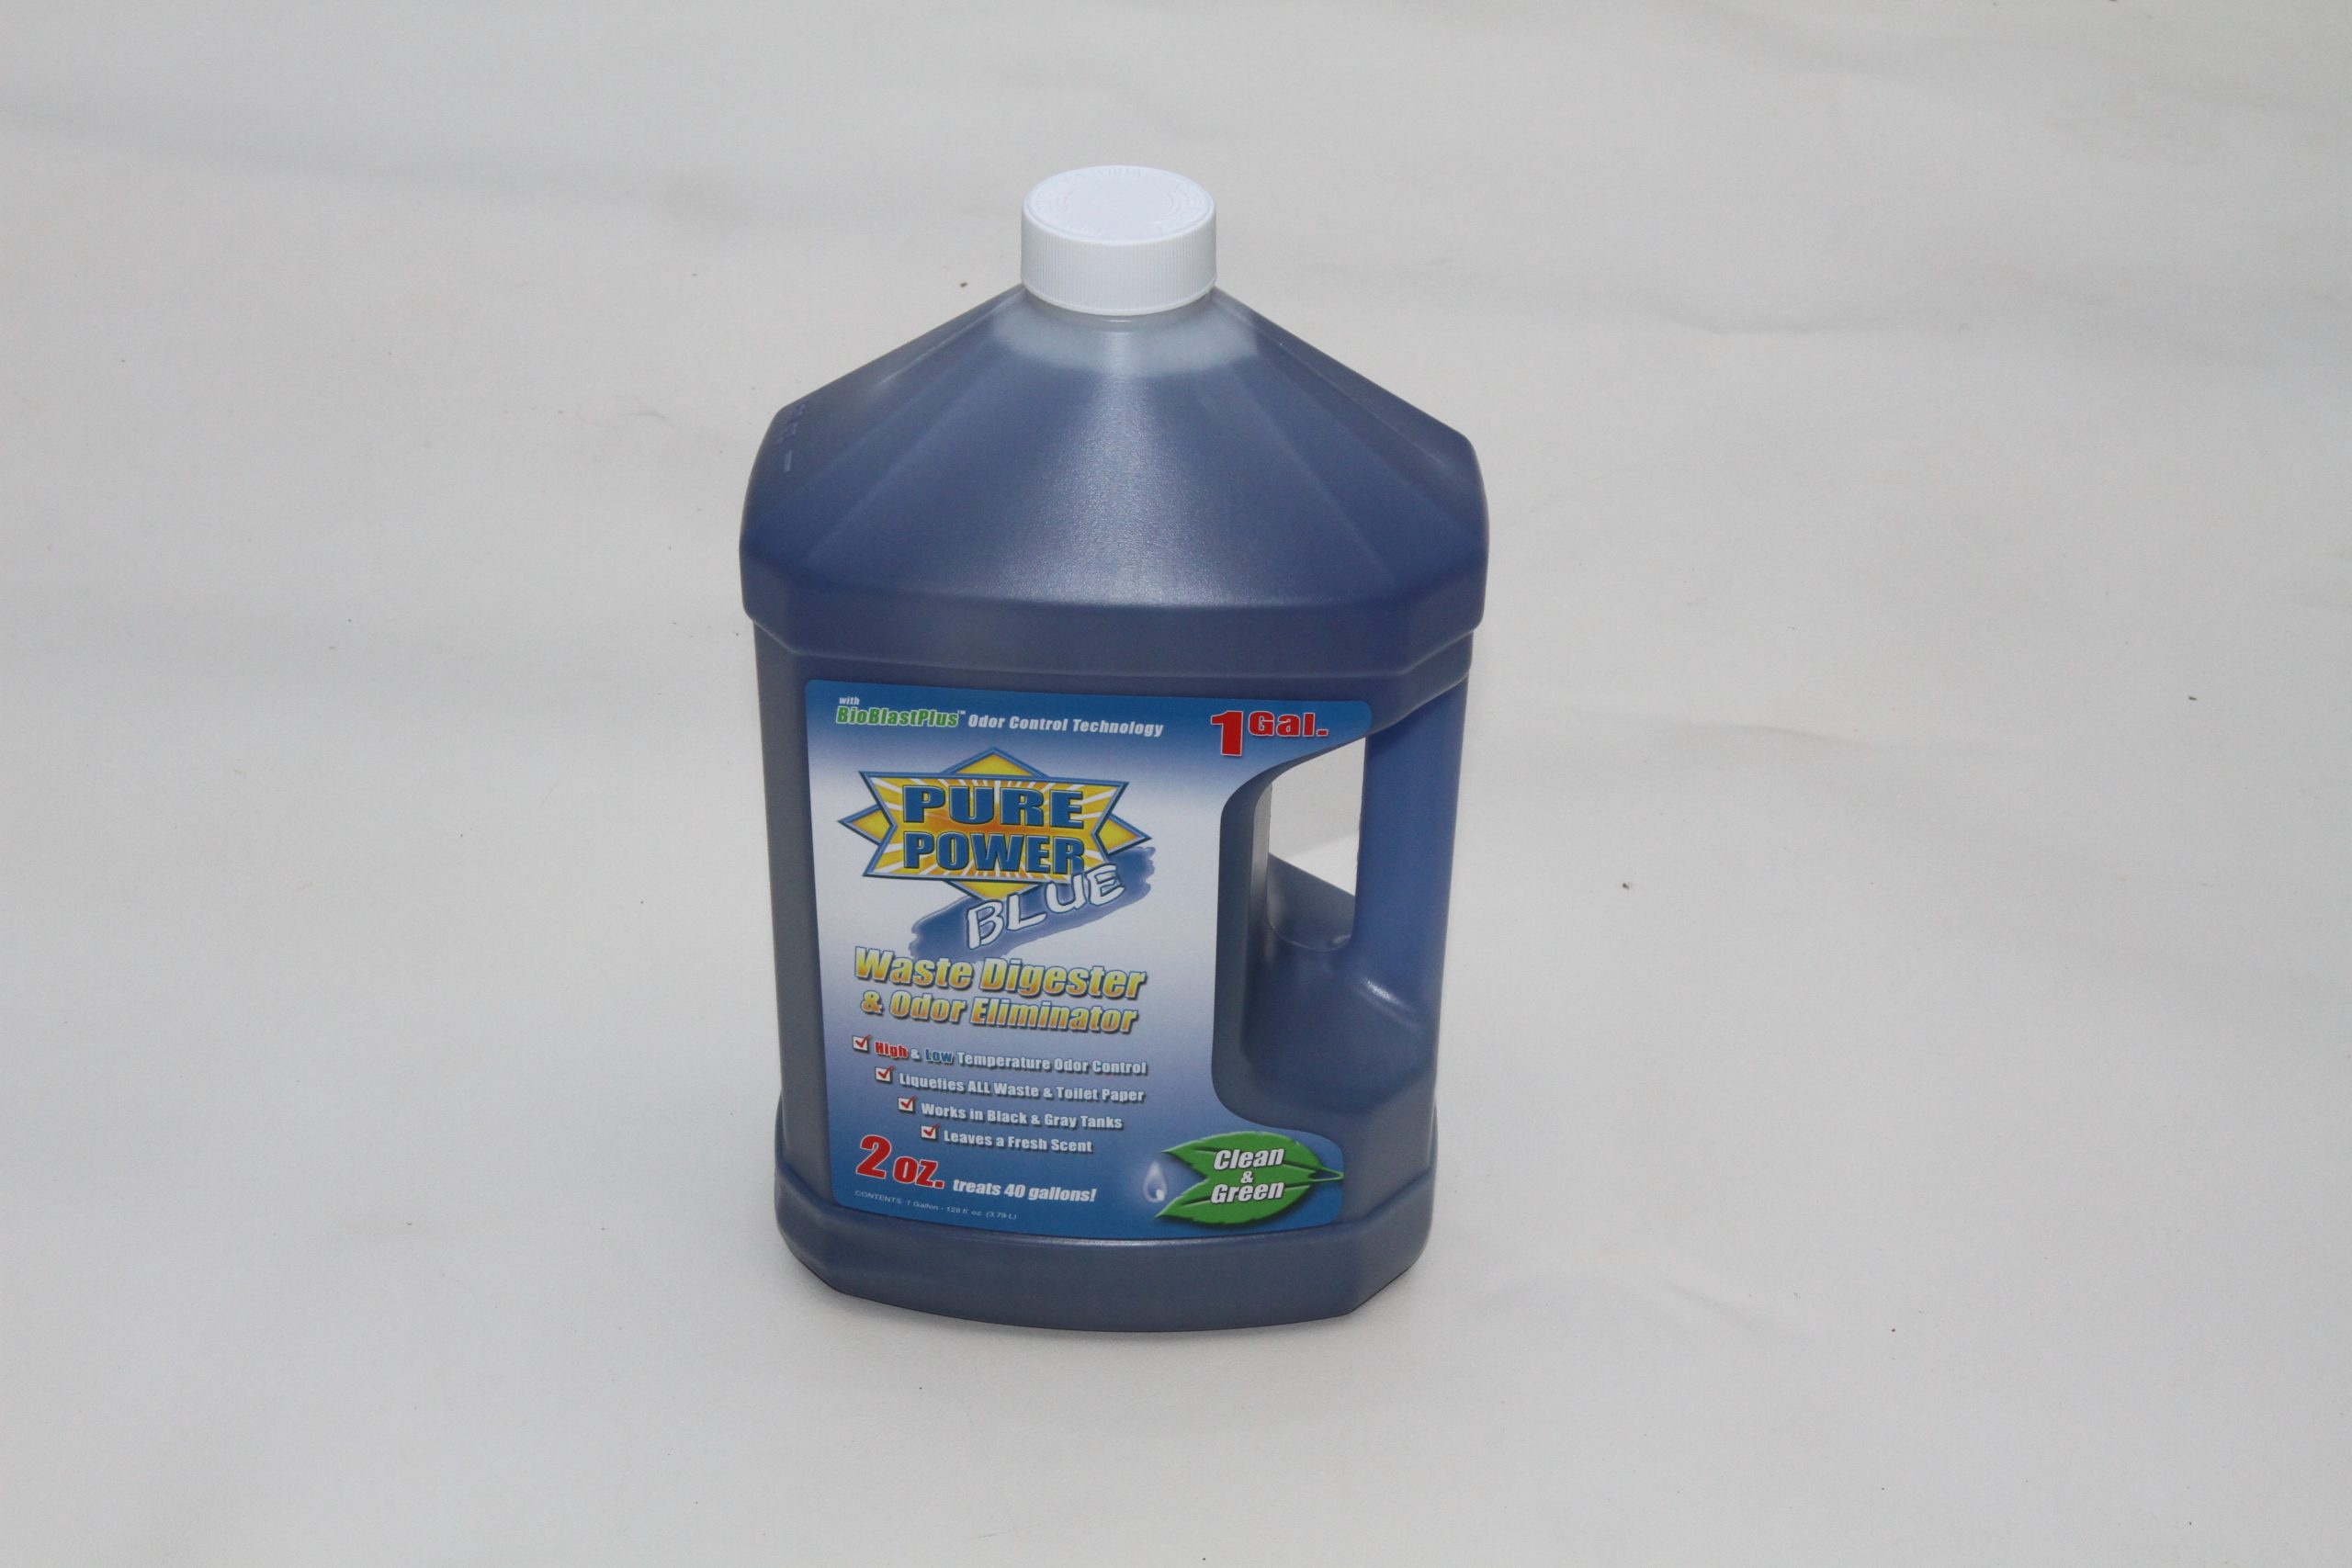
Liquid waste digester, such as this Pure Power Blue, will help treat solid waste to prevent clogs and prevent odors.
A great system that I am familiar with is the UViaLite system. I first noticed this system when reviewing an American Coach for a magazine article I wrote for another publication. I also noticed this system on a Thor diesel coach on another article and have since learned that other manufacturers are looking at implementing this system.
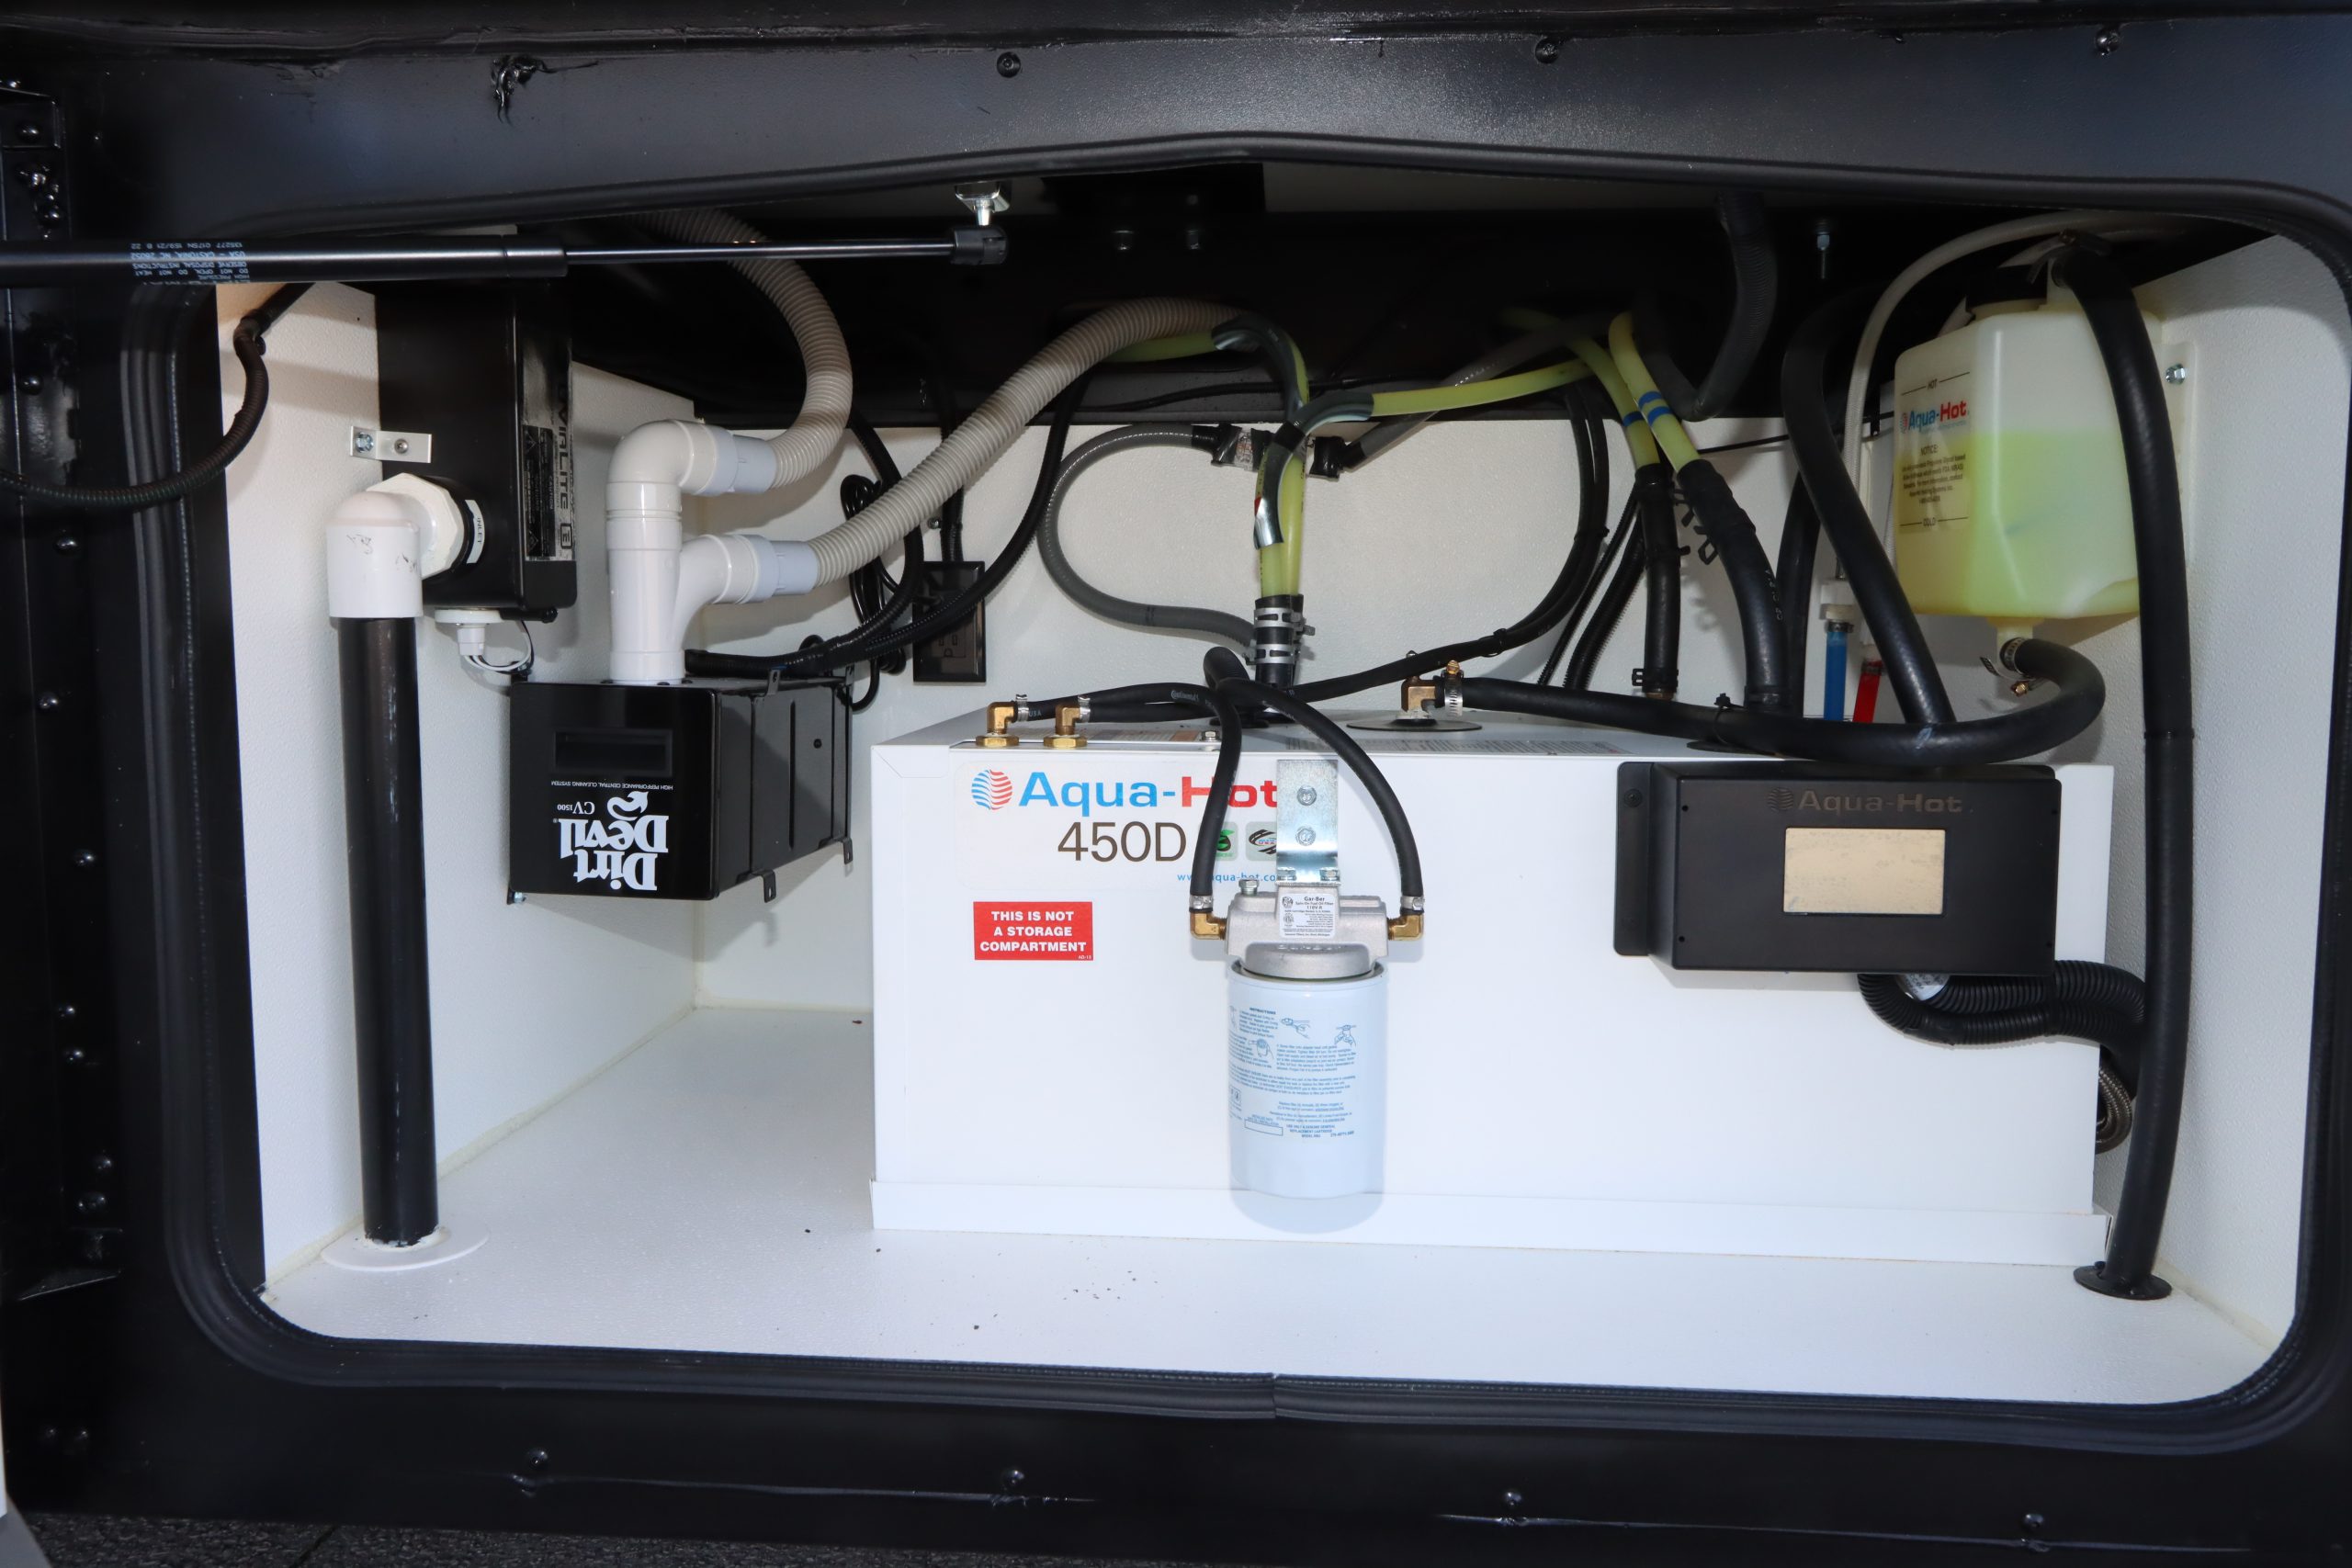
This particular bay on an American Coach shows the UViaLite waste tank ventilation system installed.
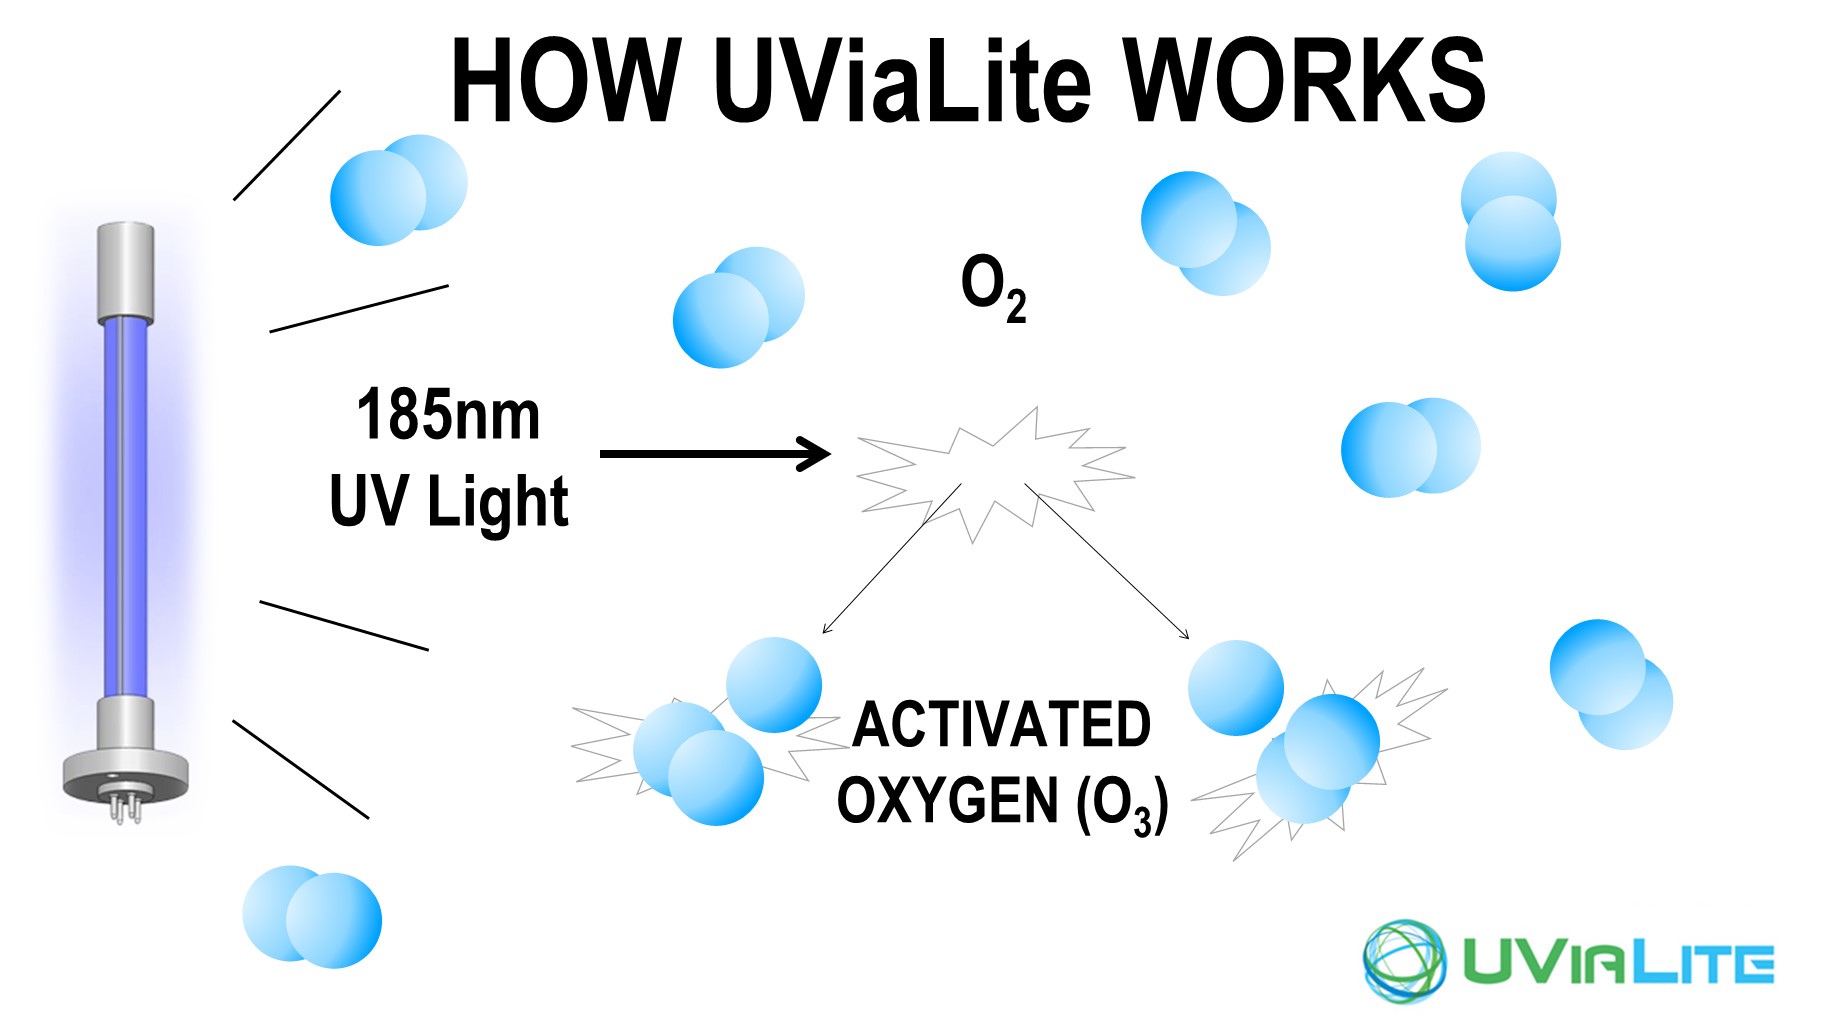
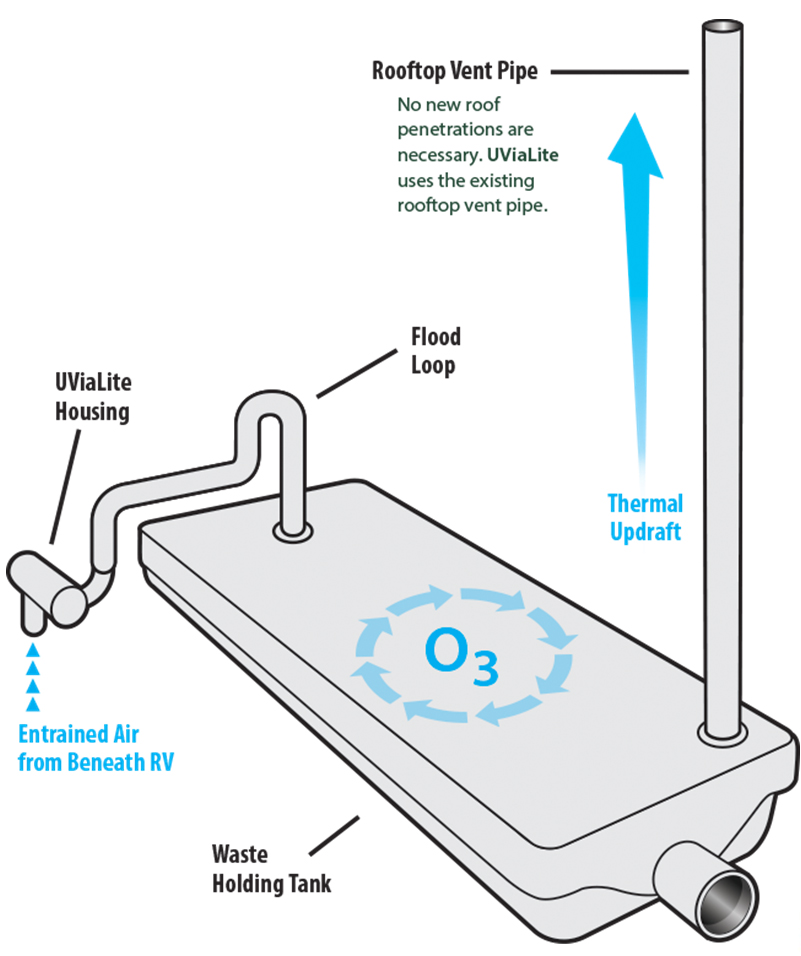
UViaLite uses proven technology that uses an ultraviolet light set to a specific frequency of 185 nanometers to react with oxygen (O2) to create ozone (O3). This unit picks up fresh air from beneath the coach and passes it through the UV module and into the top of the tank via a 1-1/4” PVC pipe. There are no moving parts because the system uses the chimney effect of natural airflow rising through the tank’s vent stack. 6 to 20 PPM of ozone are created in the unit and the thermal updraft of the vent stack draws the ozone into the holding tank at less than 1 CFM. Once powered up, the unit can remain on and only draws 0.8 amps of 12 VDC power, which is around 10 watts. The unit can remain on until the user stores the RV at the end of the travel season.
This image shows how the UV light creates O3 from O2
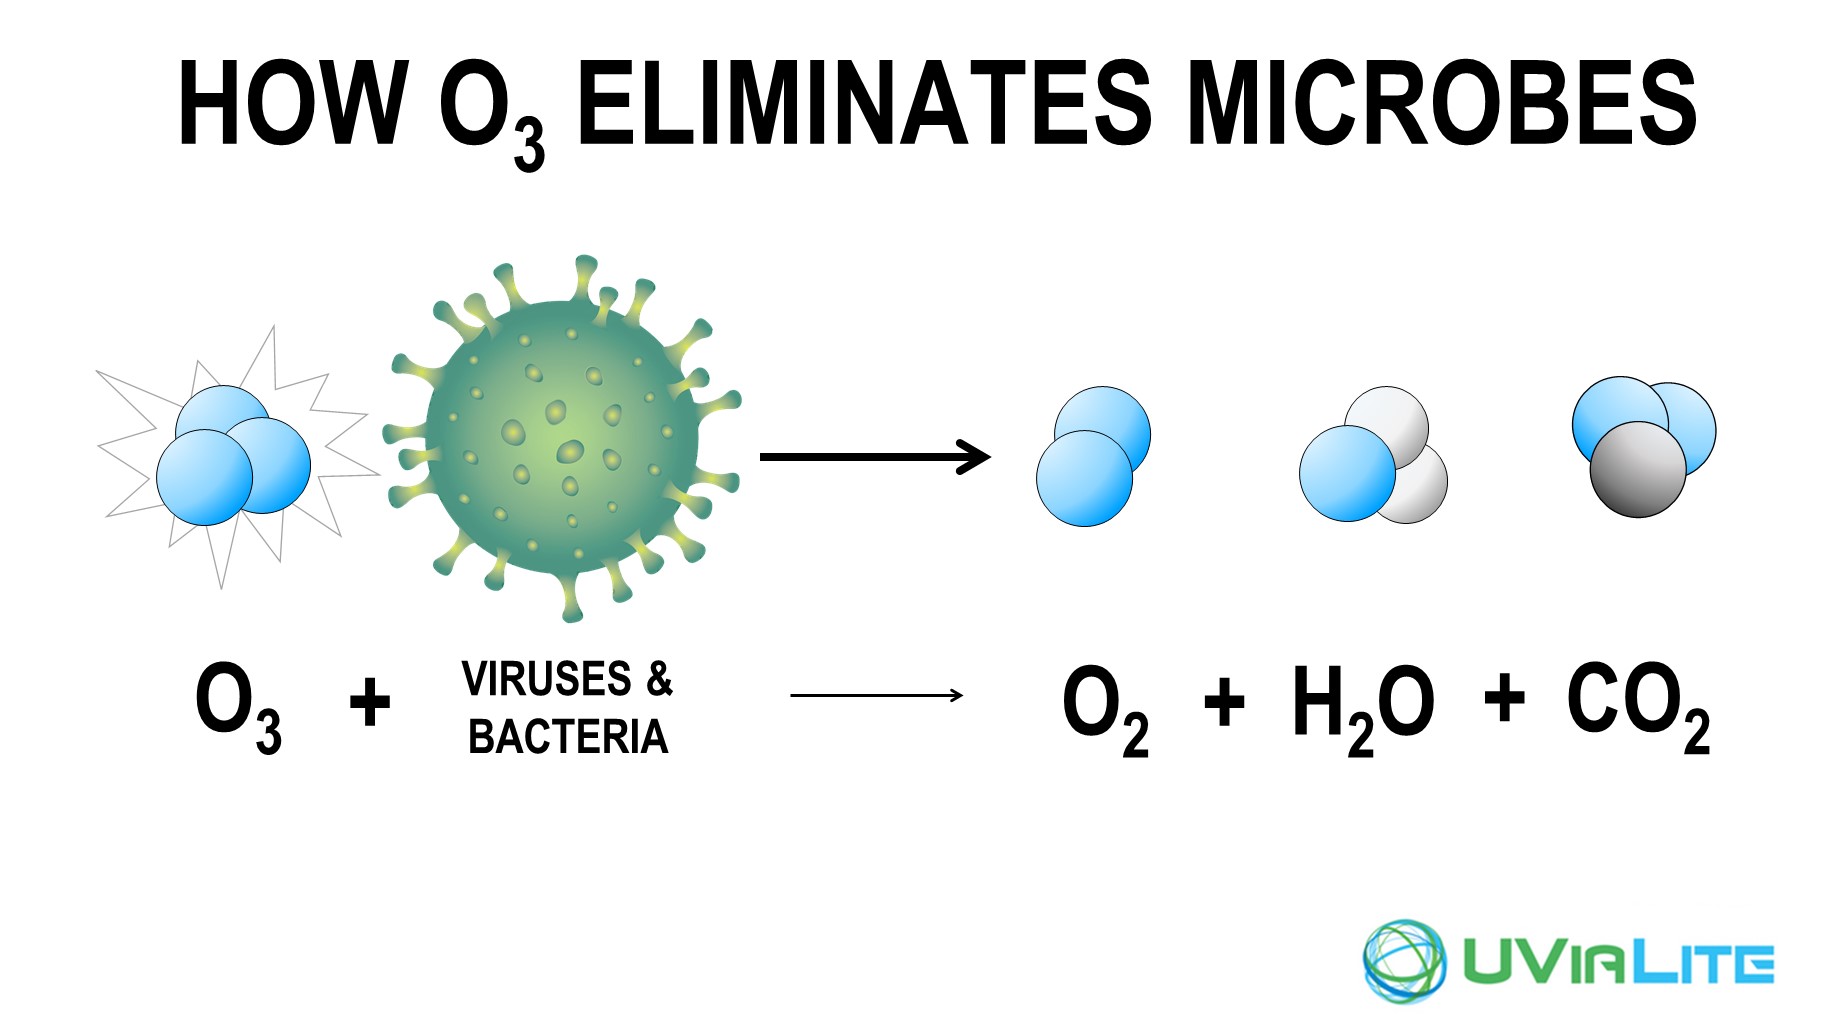
Shows how Ozone attacks viruses and bacteria to form oxygen, carbon dioxide and water vapor.
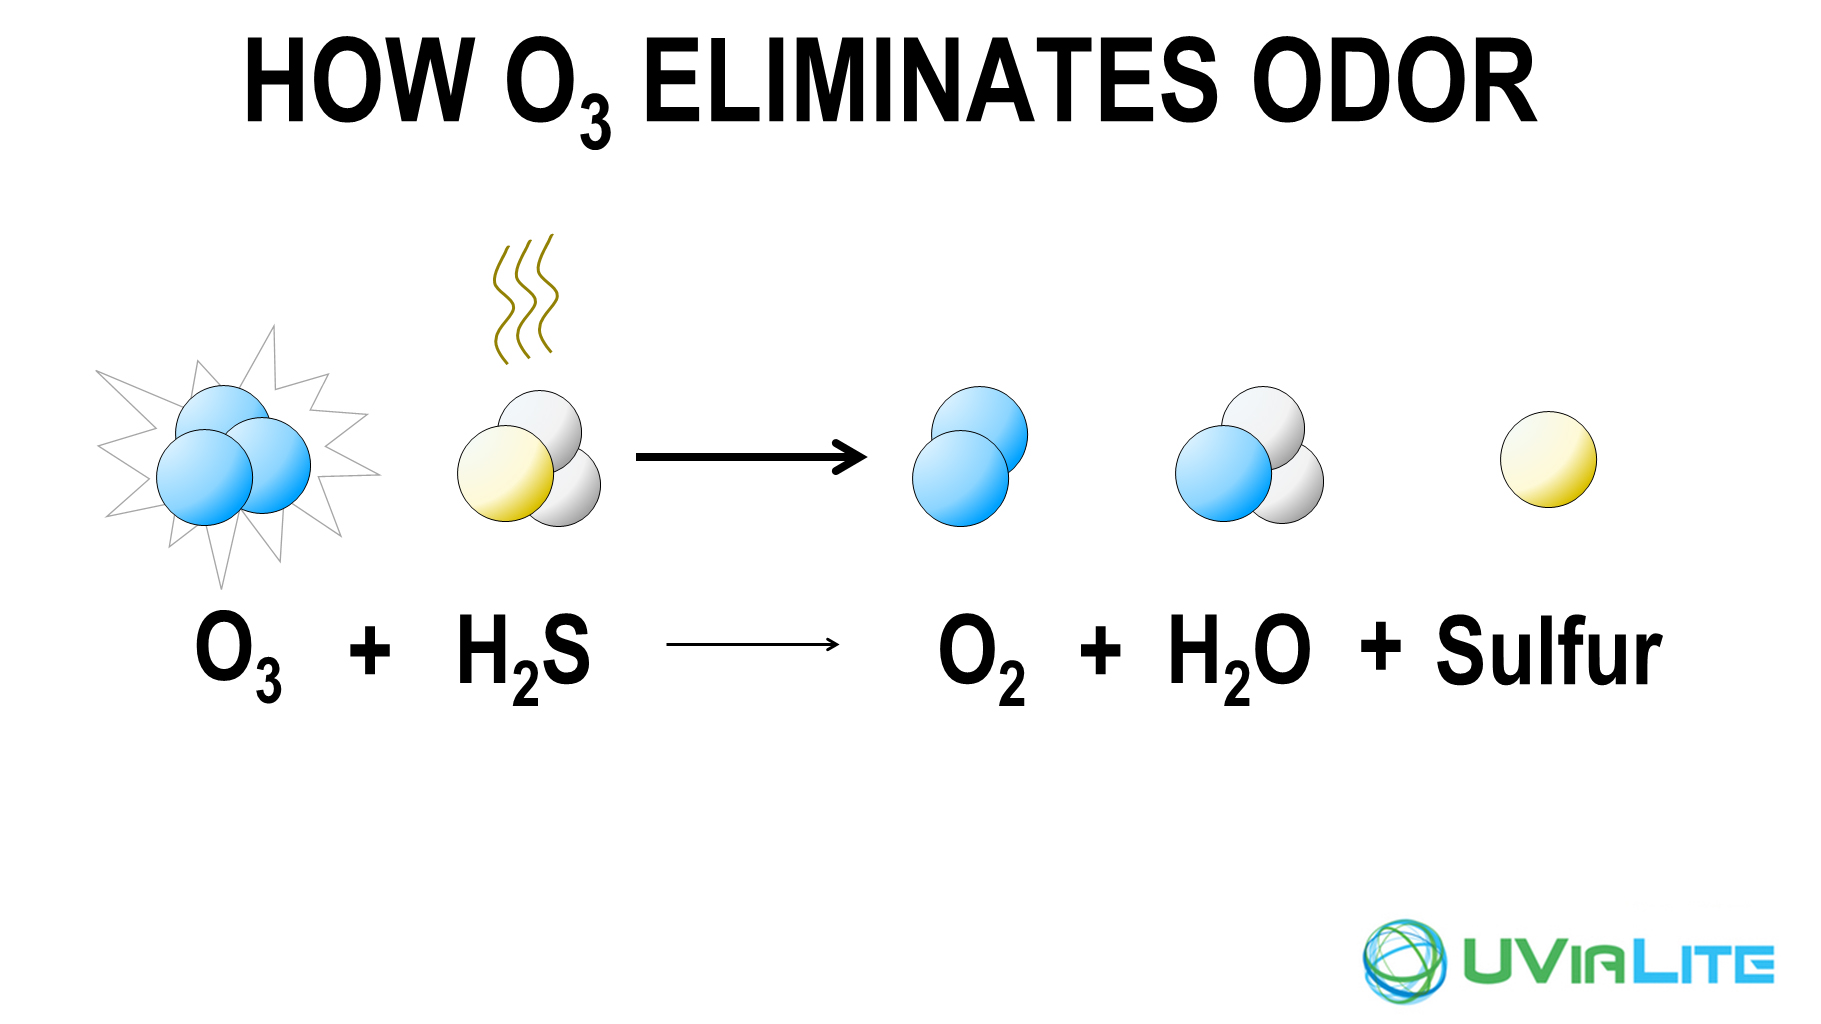
Shows how odors are eliminated by converting the smelly hydrogen disulphide to water and sulfur that settle in the water and oxygen which vents out the stack.
Ozone is a powerful oxidizer that will kill bacteria and chemically destroy viruses in seconds. The ozone generated by the eco-friendly UViaLite attacks the molecular bonds of viruses, bacteria & mold, breaking them up into harmless water vapor and carbon dioxide (CO2). UViaLite removes the stinky smell caused by hydrogen disulfide in the tank by converting it to freshwater vapor and sulfur that falls out of the air and into the tank.
This diagram shows how the air flows through a UViaLite system.
Eliminating odors rather than masking them with a perfumed scent will make a big difference whenever someone flushes the toilet, especially when the bathroom exhaust fan is on. Because it also kills any pathogens, it will prevent viruses shed from a sick person from wafting up out of the tank and possibly infecting other people in and around the coach. UViaLite does not affect anything in the liquid portion of the tank so it won’t affect any chemicals you may have in there. It only affects the air above the liquid, which is where the odor is anyway.
Keep in mind these few tips and you’ll qualify as an RV sanitation expert in no time!

Mark Quasius is the founder of RVtechMag.com, the past Midwest editor of RV Magazine, writes for numerous RV-related publications and a regular Contributor to FMCA’s Family RVing Magazine. Mark and his wife Leann travel in their 2016 Entegra Cornerstone.

